Hey everyone, happy Thursday! We just got back from our California trip and are still trying to get back into our normal routine. It’s been a little bit of a struggle but hopefully by this weekend we should be all caught up just in time to start this season of the One Room Challenge. In case you missed my post about my plans for this season you can catch it here.
Okay let’s dive in to this month’s upcycle challenge!

The Rules:
- Upcycle an item(s) from a thrift store, resale store, or garage sale into a new piece of decor.
- There’s no monthly theme.
- There’s no budget to stick to.
Meet the Hosts
Angela | Simply Beautiful By Angela – Beverly | Across the Blvd – Marci | Stone Cottage Adventures
Our Thrift Store Upcycle group of bloggers is always looking to expand — and we need your help! Why not consider joining in our thrift store upcycle challenge on the last Thursday of each month? Make some friends while having fun and share your love of DIY with the world. It’s a win-win! Sound like something you’d be interested in? Just leave a comment at the end of this post with your contact info and a link to your blog. Someone will get back to you right away. We can’t wait to meet you!
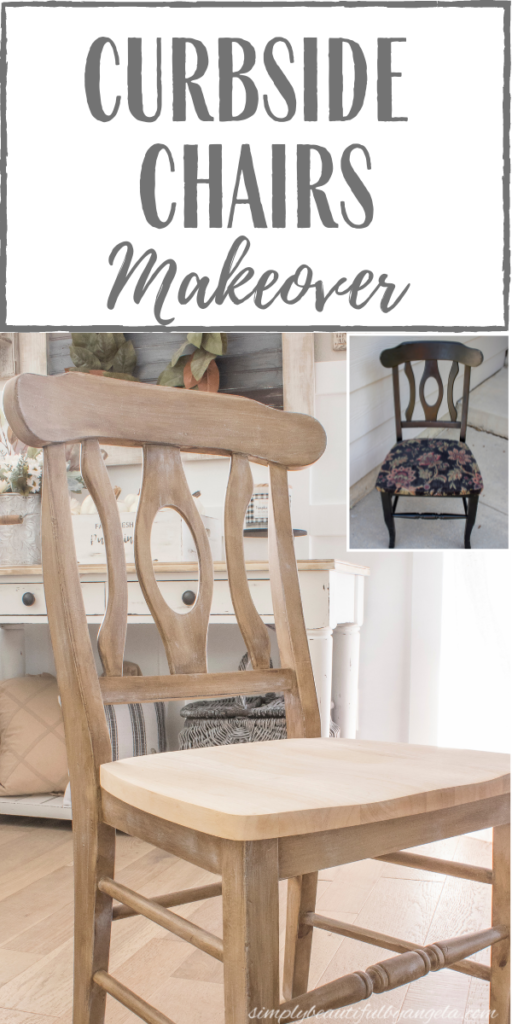
Two days before we left, I spotted some chairs that a neighbor had set out for the trash. I drove by them in the morning on my way out to run errands, but I wasn’t sure if I reeeeally needed them or not. When I got back a few hours later and saw that they were still there, I took it as a sign so I loaded them up and brought them home. I didn’t grab a picture of them all together, but here is look at one of them.

I knew that we are always needing extra chairs when we have company over, so I decided to give them a makeover to fit in with my style better.
Supplies Used:(Affiliate links may be provided for convenience. For more info, see my full disclosure here.)
- Zinsser 1-2-3 Primer
- Flat White Latex Paint
- Paint Sprayer
- Valspar Dark Sealing Wax
- Wax Bristle Brush
- Chip Brush
- Microfiber Cloths
- Ryobi Corner Cat Sander
If you followed my Instagram stories you saw that I went back and forth between what seemed like a million different game plans for these chairs haha. I wasn’t sure if I wanted to go with chippy white paint or a faux wood look, but either way I needed to prime them first. So I used my paint sprayer to apply two coats of Zinsser 1-2-3 Primer to each one. I then sprayed on a coat of flat white latex paint.
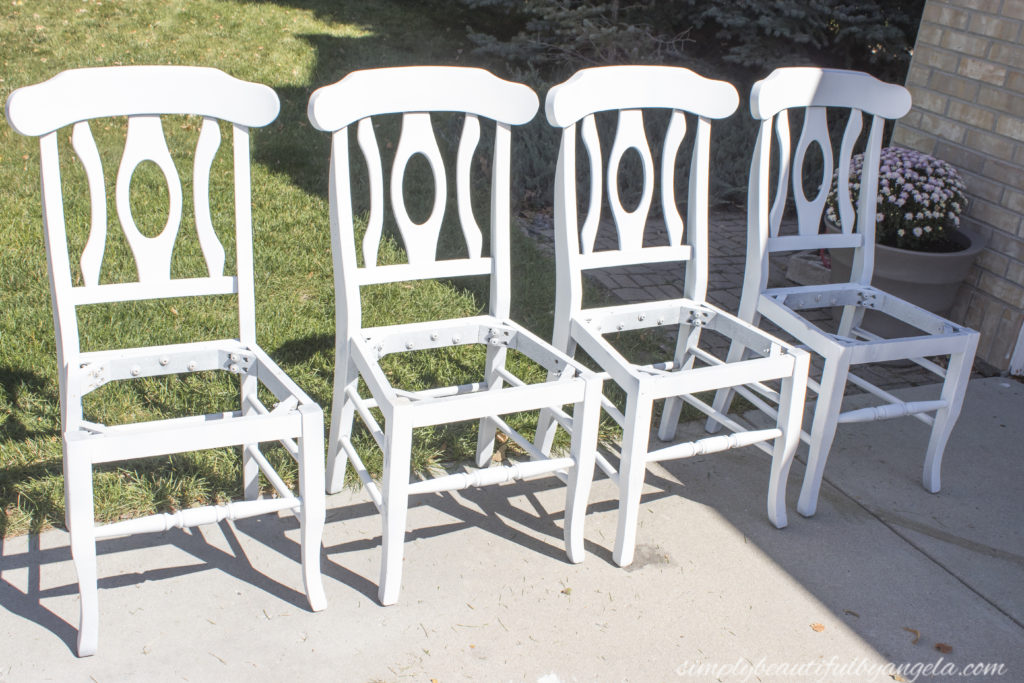
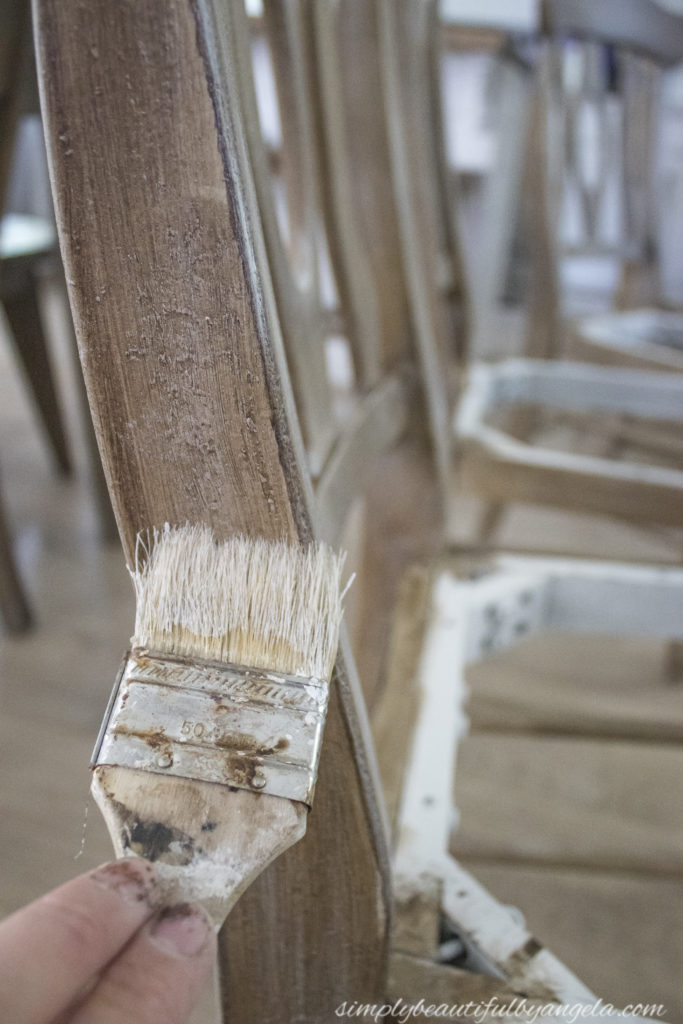
Once they were painted white I had a decision to make–distress to make them chippy or do the faux wood effect. I ultimately decided to go with the faux wood route! I’ve shared this method many times before and it’s still one of my absolute favorite little tricks. I simply apply some Valpar Dark Sealing Wax with a Wax Bristle Brush and then dry brush white paint on top. It’s so easy and the results are very realistic!
I applied one coat which gave me a nice light wood effect, but I decided that I wanted it to be richer so I went back and added a second coat. Here is a comparison picture of one coat versus two coats.
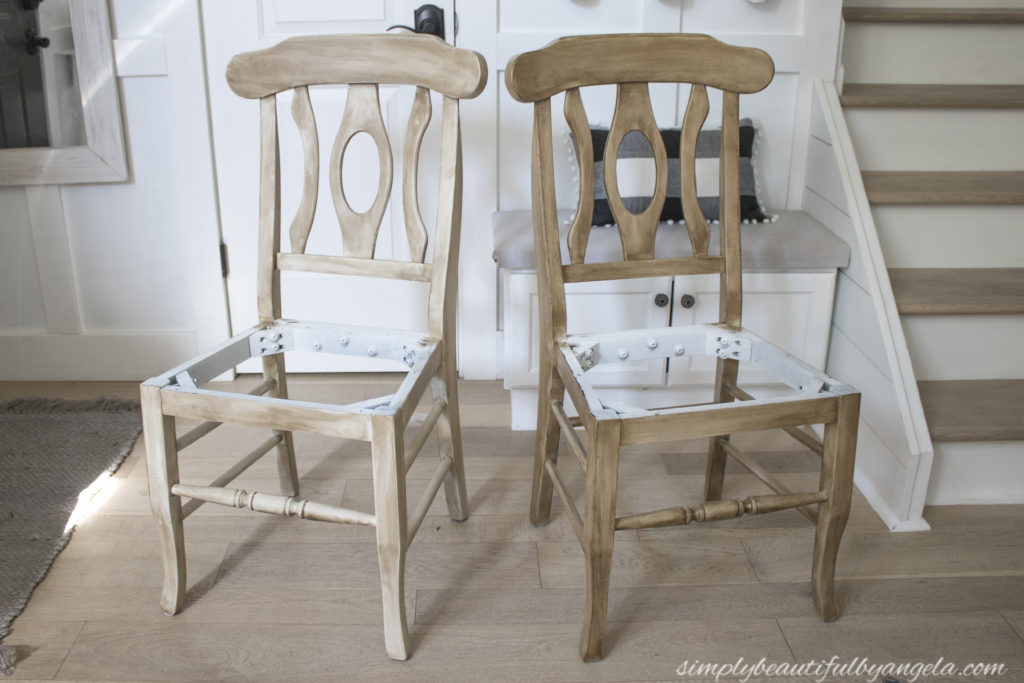
I let the wax dry overnight and then went back the next day to dry brush the white paint on.
Okay now let’s chat about the seats. I originally planned to reupholster them with canvas drop cloth. I failed at getting a picture, but when I removed the staples from the fabric I found that someone had actually added foam and fabric themselves and the seats were actually a nice solid wood. The foam wasn’t in the best shape so I decided to do away with the upholstered idea.
I used my Ryobi Corner Cat Sander to sand the varnish down because I had planned to use some cream colored chalk paint on them, however once I saw how pretty the natural wood was I changed my mind. I hate painting over pretty wood!
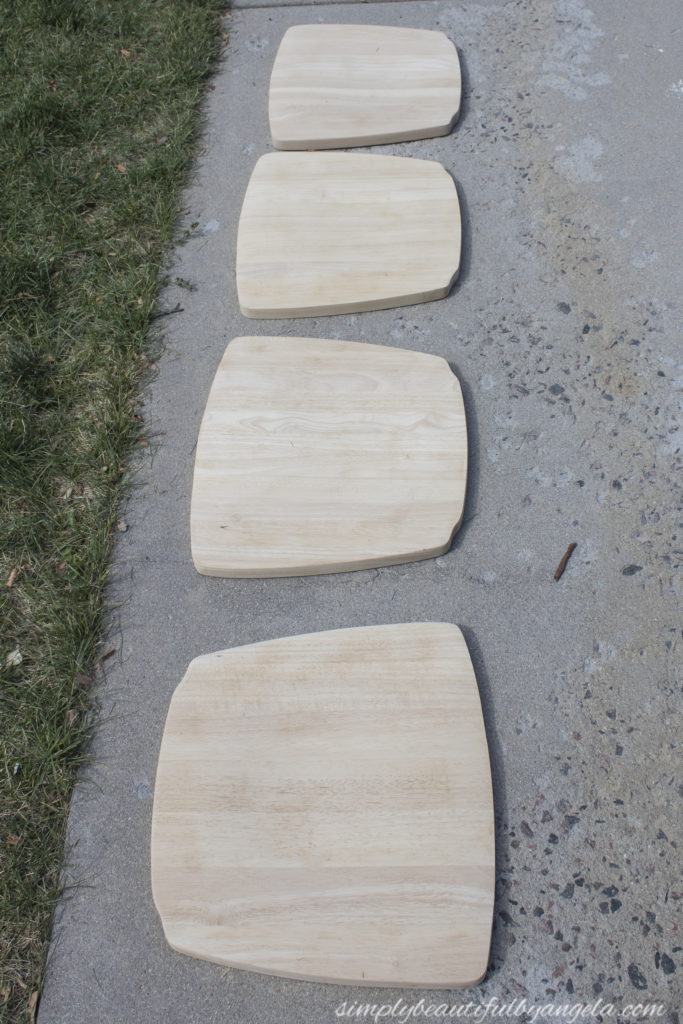
I added a coat of clear wax to one of them to seal it, but I quickly noticed that it turned it into a yellowish pine and I was not a fan. So I sanded it back down and left them unsealed. Since these chairs won’t be getting a ton of use I don’t see it being a problem, but if it is I can always revert back to Plan A and paint them. For now I am loving the two toned wood look!


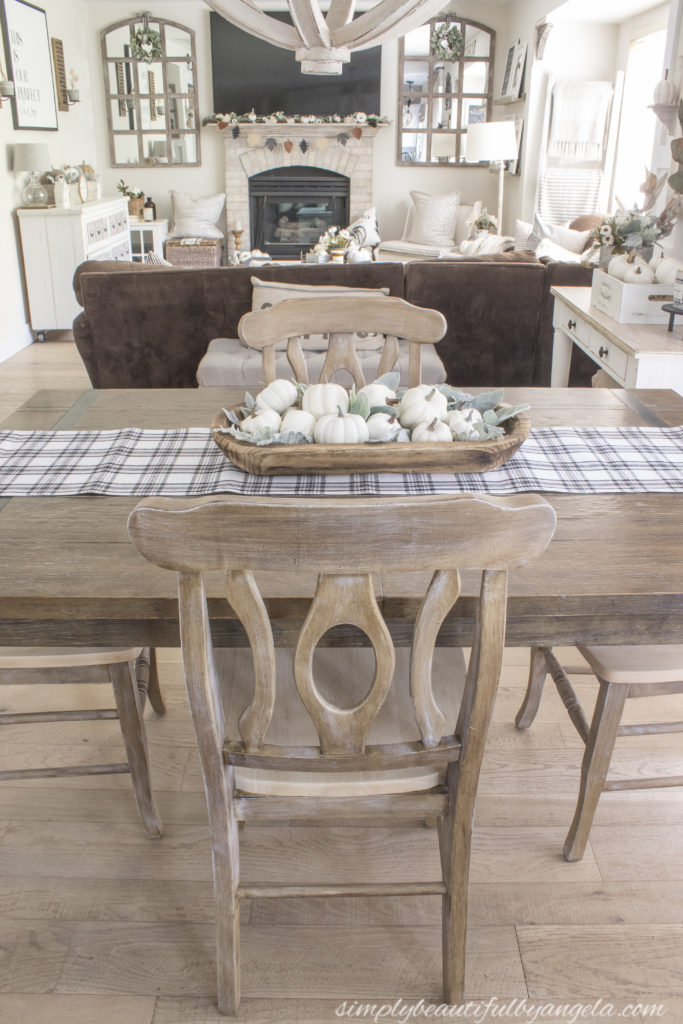
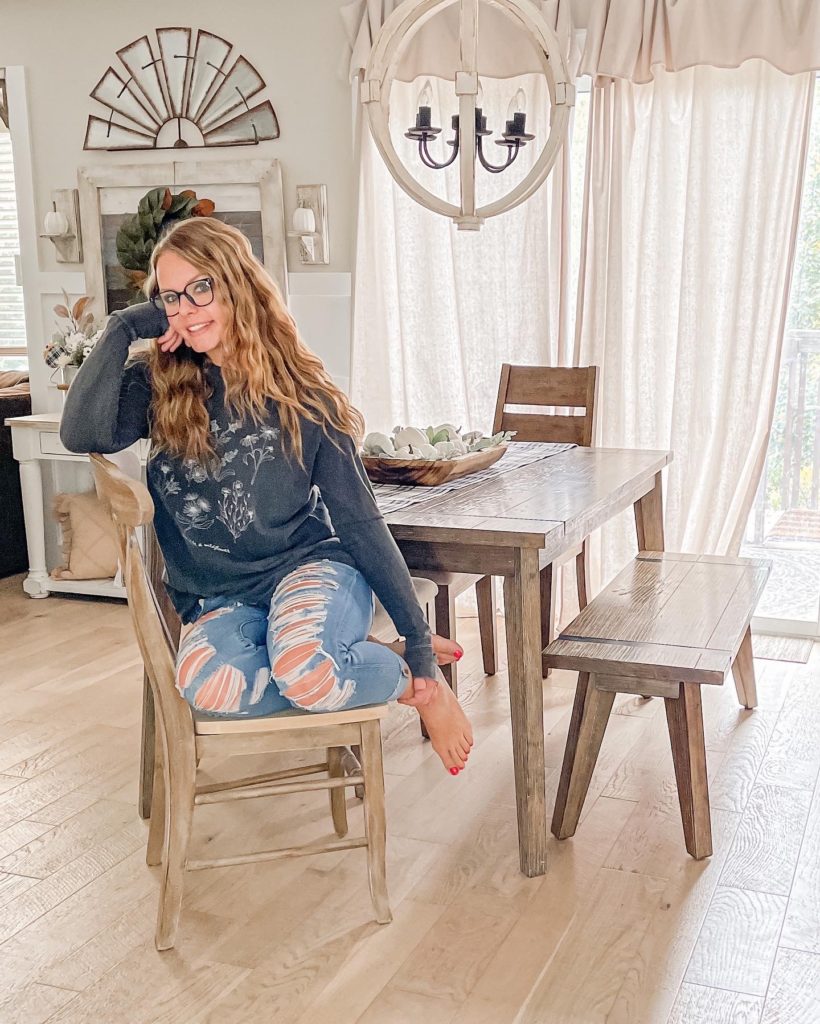
I set them up at our dining room table to take these pictures and I noticed how well they match it. When we bring them up for extra seating during the holidays they will blend in perfectly with our existing chairs.


I’m so happy that I went with the wood look, they look so high end. Paint and dark wax for the win!


Since I only had to purchase a new can of wax these four chairs cost me a mere $24 total. Not bad, right?!
And now for more thrifty goodness!
PIN FOR LATER!
Linking up to these awesome parties
What a great curb side find and the makeover you gave them is awesome. I love the wood grain look you’ve given them.