Hey everyone, happy Friday to you all! I hope you all had a nice week and are planning a fun or relaxing weekend. I felt a little under productive this week, but snow and super cold temps usually do that to me, so I’m not surprised. Next week is looking a little better so hopefully I will be able to get some more accomplished!
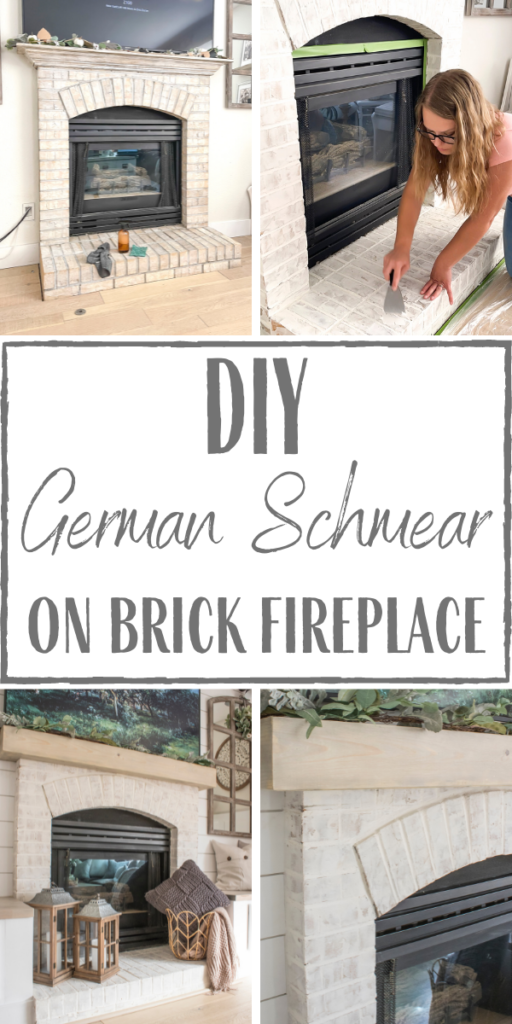
Today I am finally sharing the tutorial for the German Schmear technique that I applied to our fireplace last fall during the living room makeover. It was actually the first and easiest project that I did in that space and one that I wish I would have done much sooner. As a reminder this is what our fireplace looked like when we first moved in.
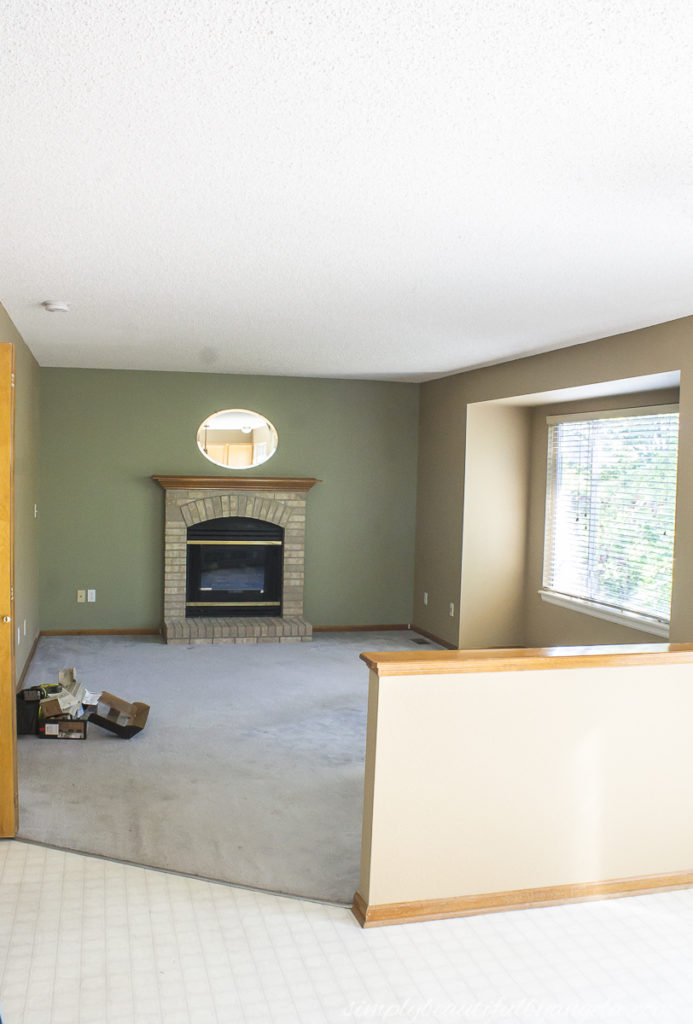
It was nothing fancy, builder grade and very outdated. I have seen tutorials where people have covered up old brick fireplaces with paneling to make them more modern and while I think those look fantastic, I really enjoy the old charm of a brick fireplace. I guess I can chalk it up to my love for vintage!
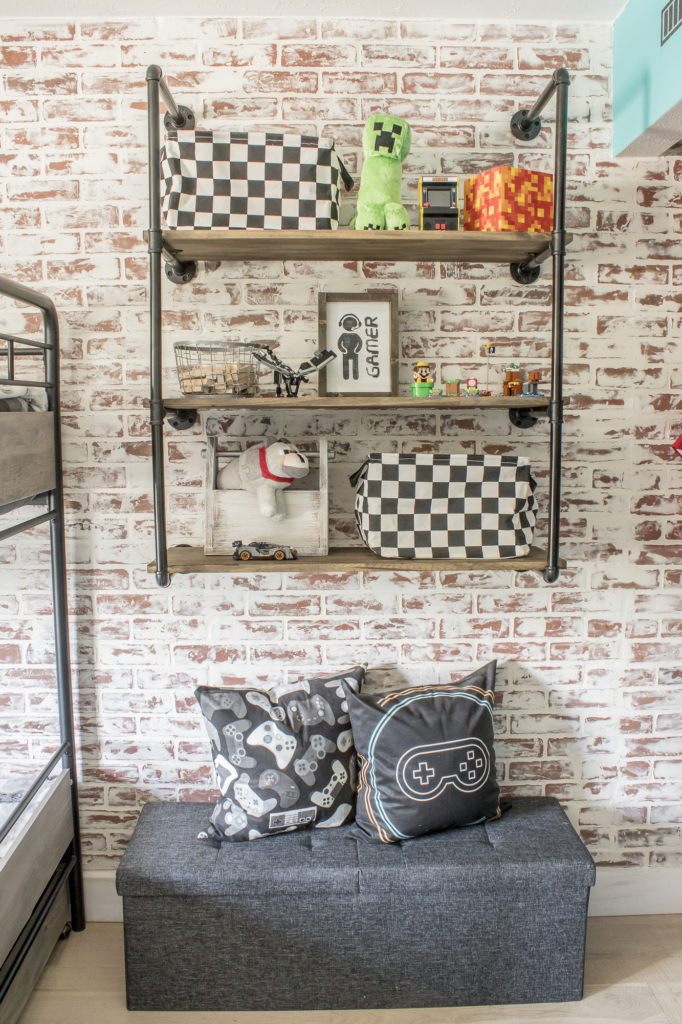
So, I obviously wanted to keep the brick, but I also wanted to give it more character which meant that German Schmear was the perfect solution. I have been picturing it on this fireplace since the day we first saw this house, but I had always been intimated by the process. But last spring I did German Schmear on the DIY Faux Brick Accent Wall that I installed in Tristan’s room, so I was finally feeling confident that I could nail this!
Supplies Used:(Affiliate links may be provided for convenience. For more info, see my full disclosure here.)
1. Clean
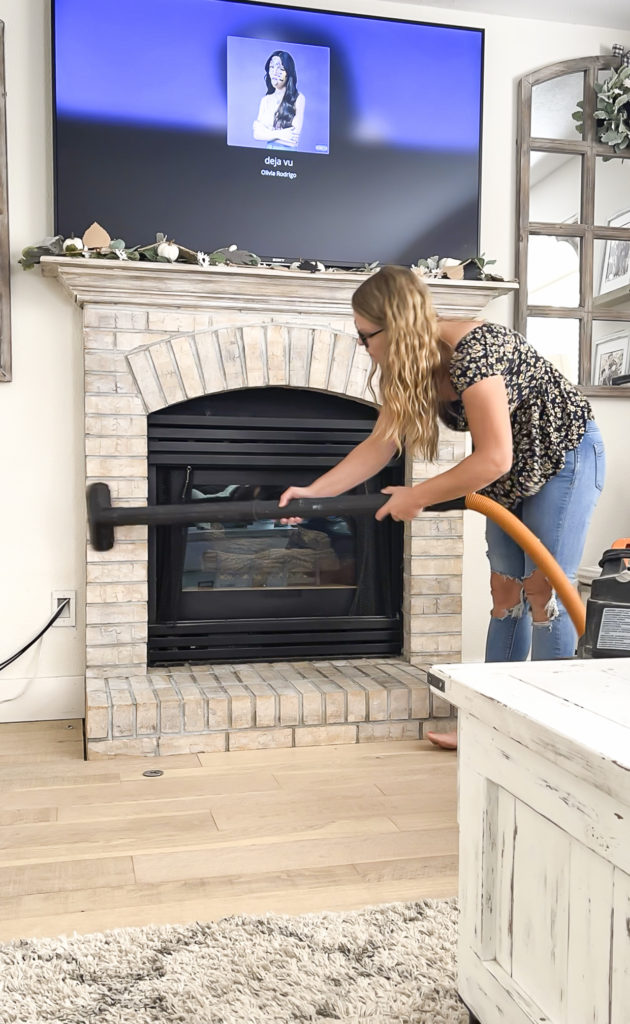
The first step is cleaning the bricks to make sure that they are free from dirt and debris. I used some Simple Green, a green scrubber and a microfiber rag.
Once it was nice and clean, I went over it with the shop vacuum to grab anything I may have missed.
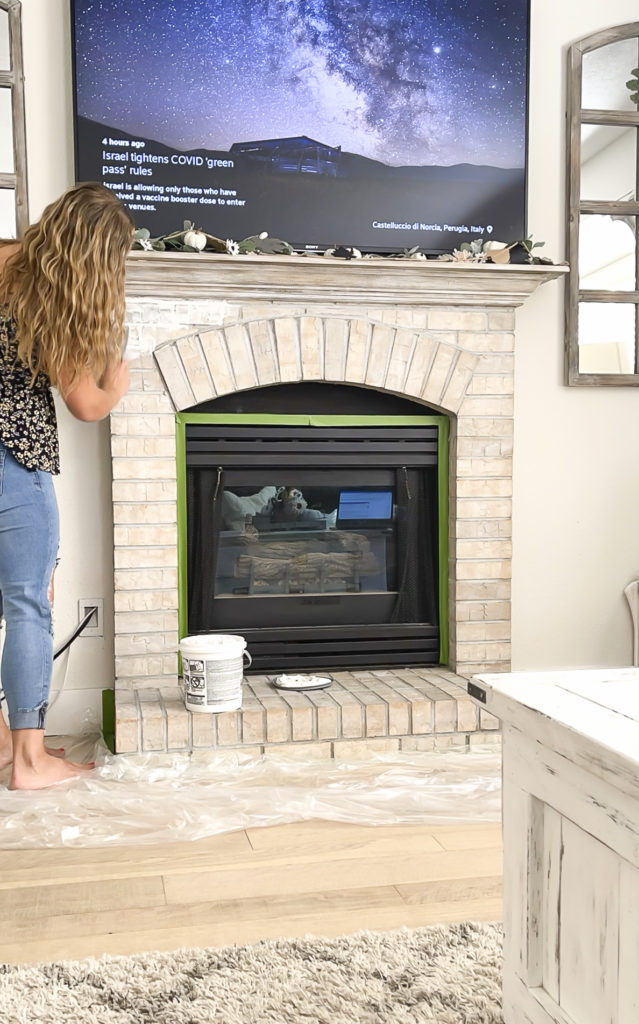
2. Prep
I knew that this could get messy to I taped off the floor and the firebox with Frog tape. I also attached a plastic drop cloth to the floor.
If the walls were finished, I would have taped those off as well, however I had planned to cover them with shiplap later on, so I left them. I also didn’t tape off the mantle since I was going to be replacing that.

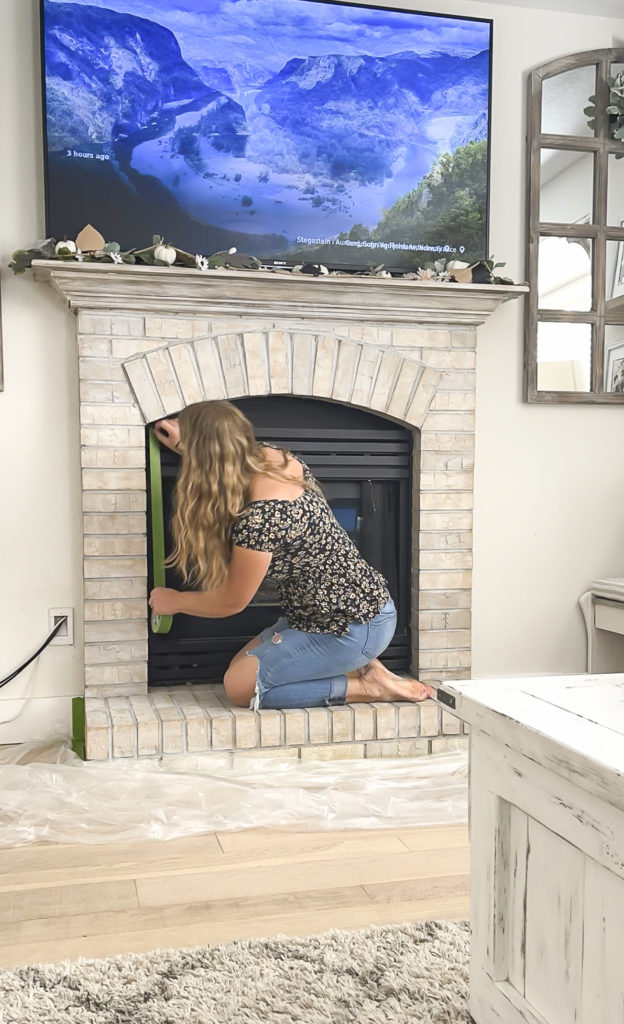
3. Start Schmearing!
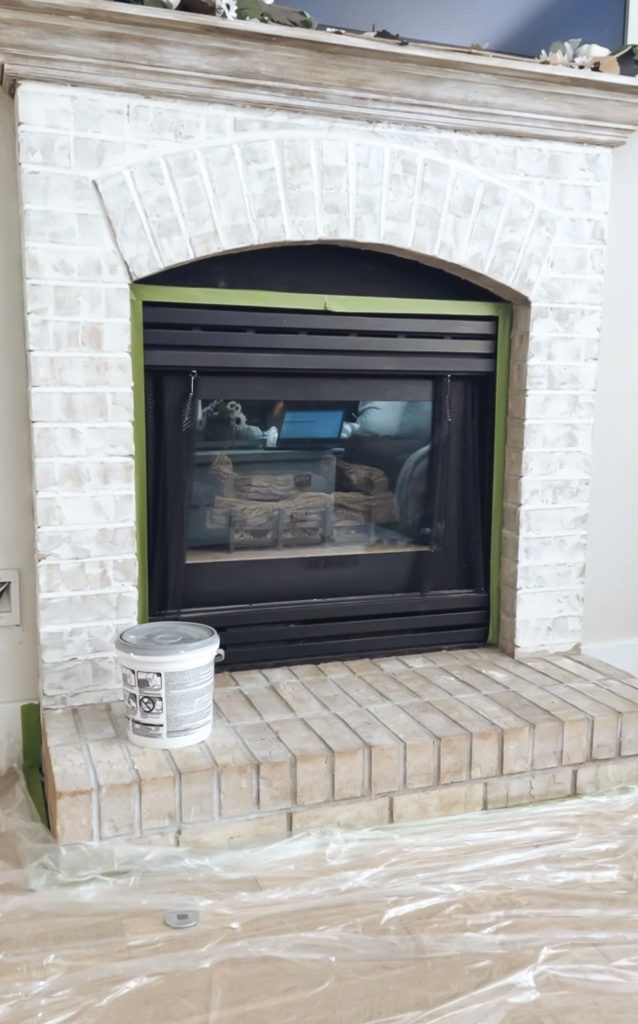
Now for the fun part! Unlike the drywall mud that I used for the faux brick wall, I chose to use tile adhesive (aka thinset, mastic, motar).
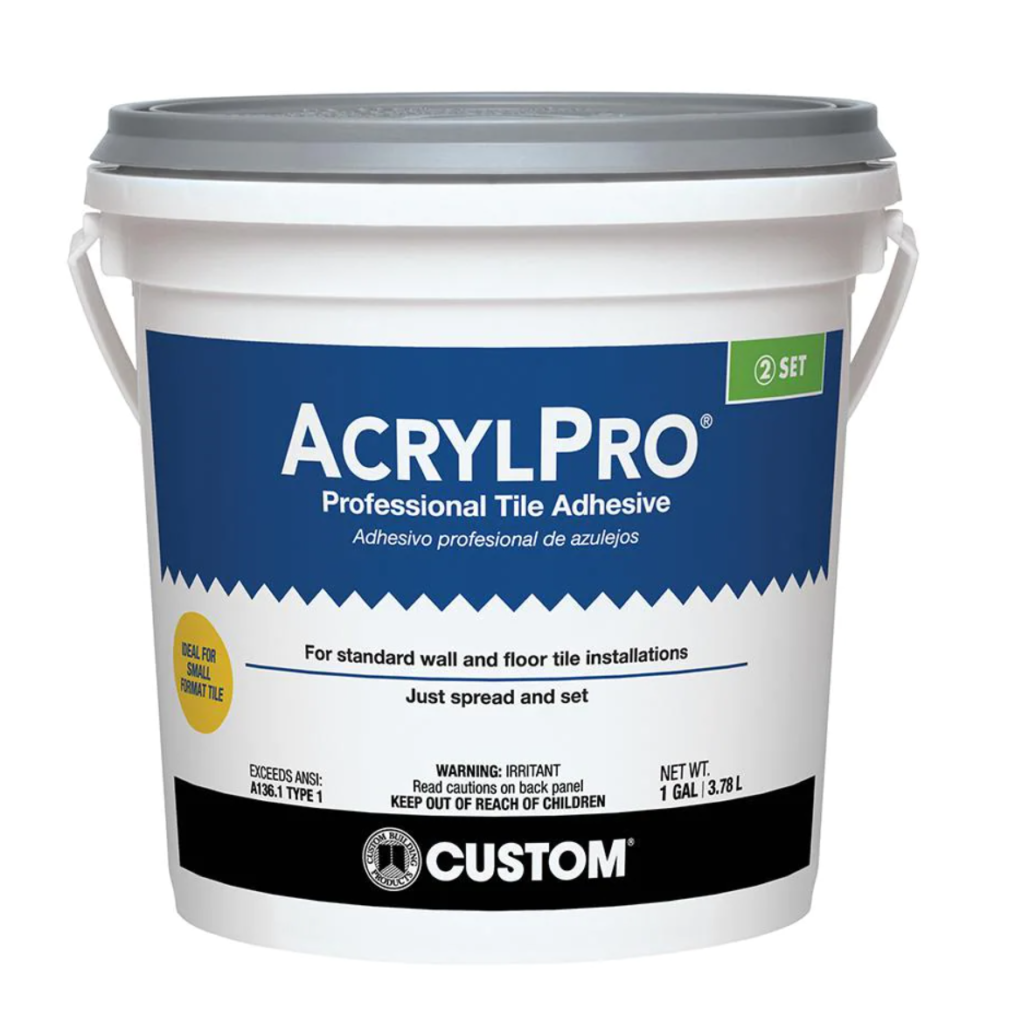
I have seen different materials used for creating the German Schmear effect, but the most popular one seems to be tile adhesive. It has a nice creamy white color, and it holds up to heat which is important since we use our fireplace regularly.
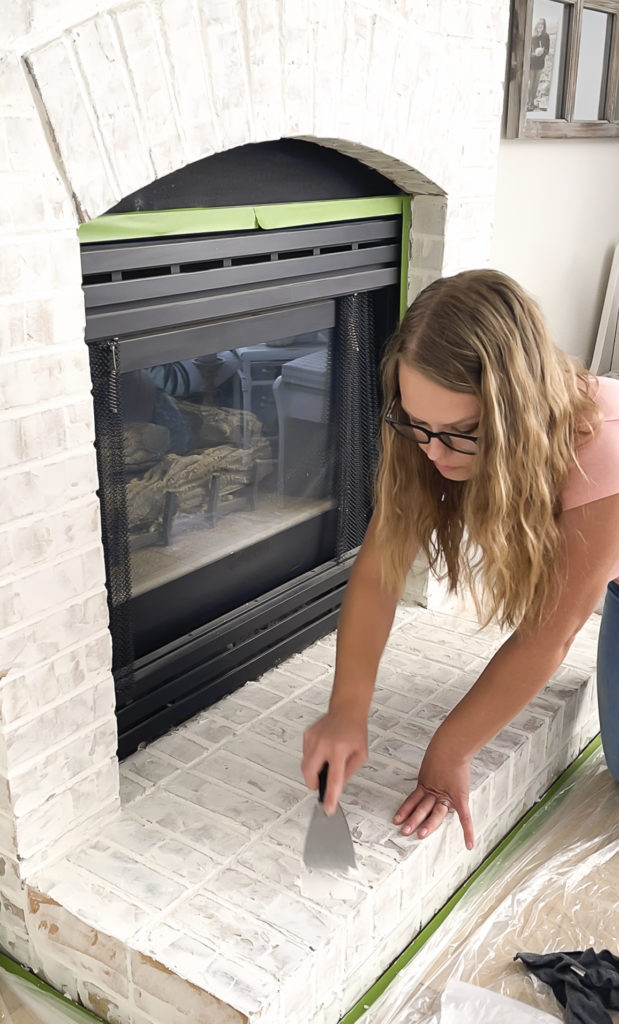
I grabbed my putty knife and got a good amount of tile adhesive on there.
I pressed it into the grout line and then spread it out over the bricks.
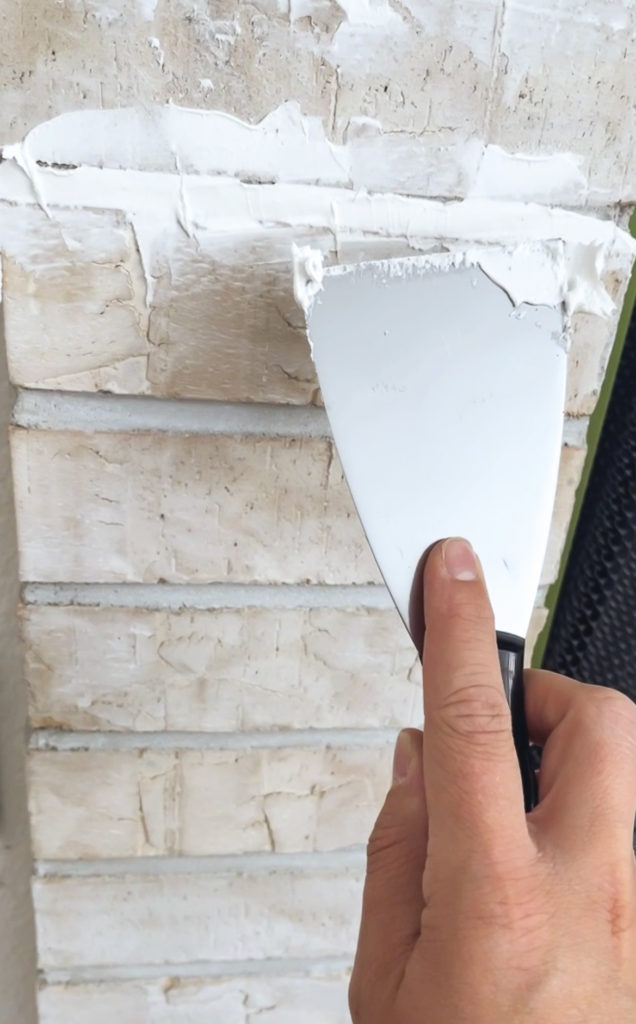
It is quite simple and even fun to do! You can choose to use as much or as little as you would like.
I loved seeing the bricks transform from blah to old world beauty right before my eyes. Since I wasn’t sure if I was going to want a second coat or not, I worked on the upper portion and then let it dry overnight.
The next day I was happy with how the one coat looked (if you are covering red brick, you may want more) so I started on the hearth.
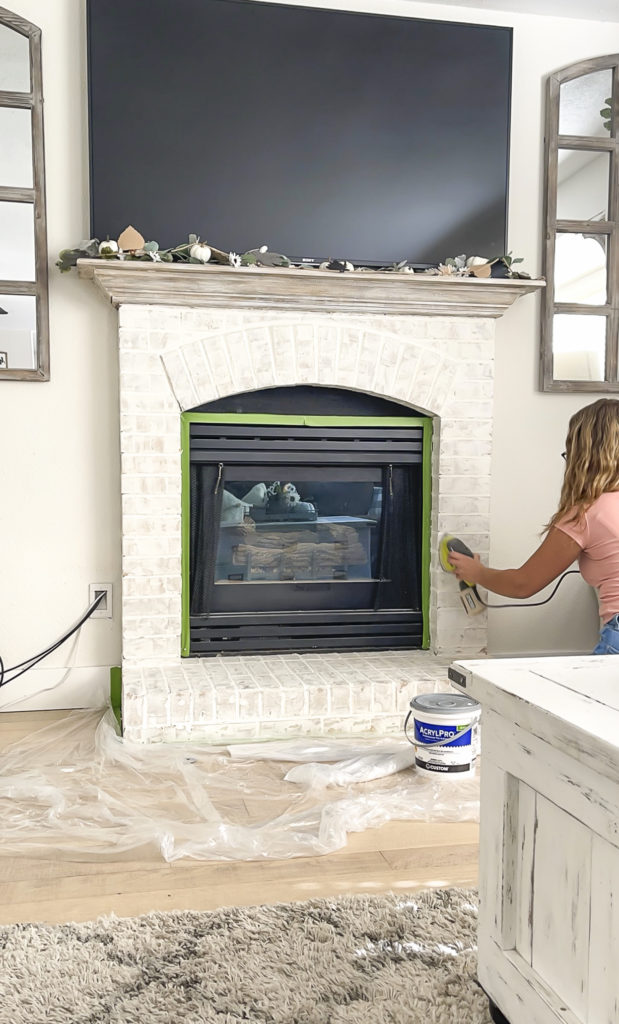
4. Sand If Necessary
When I was all done, I decided that I actually wanted just a little bit more of the brick peeking through. So I grabbed my sander, put on a mask and eyewear and started going over a few areas.
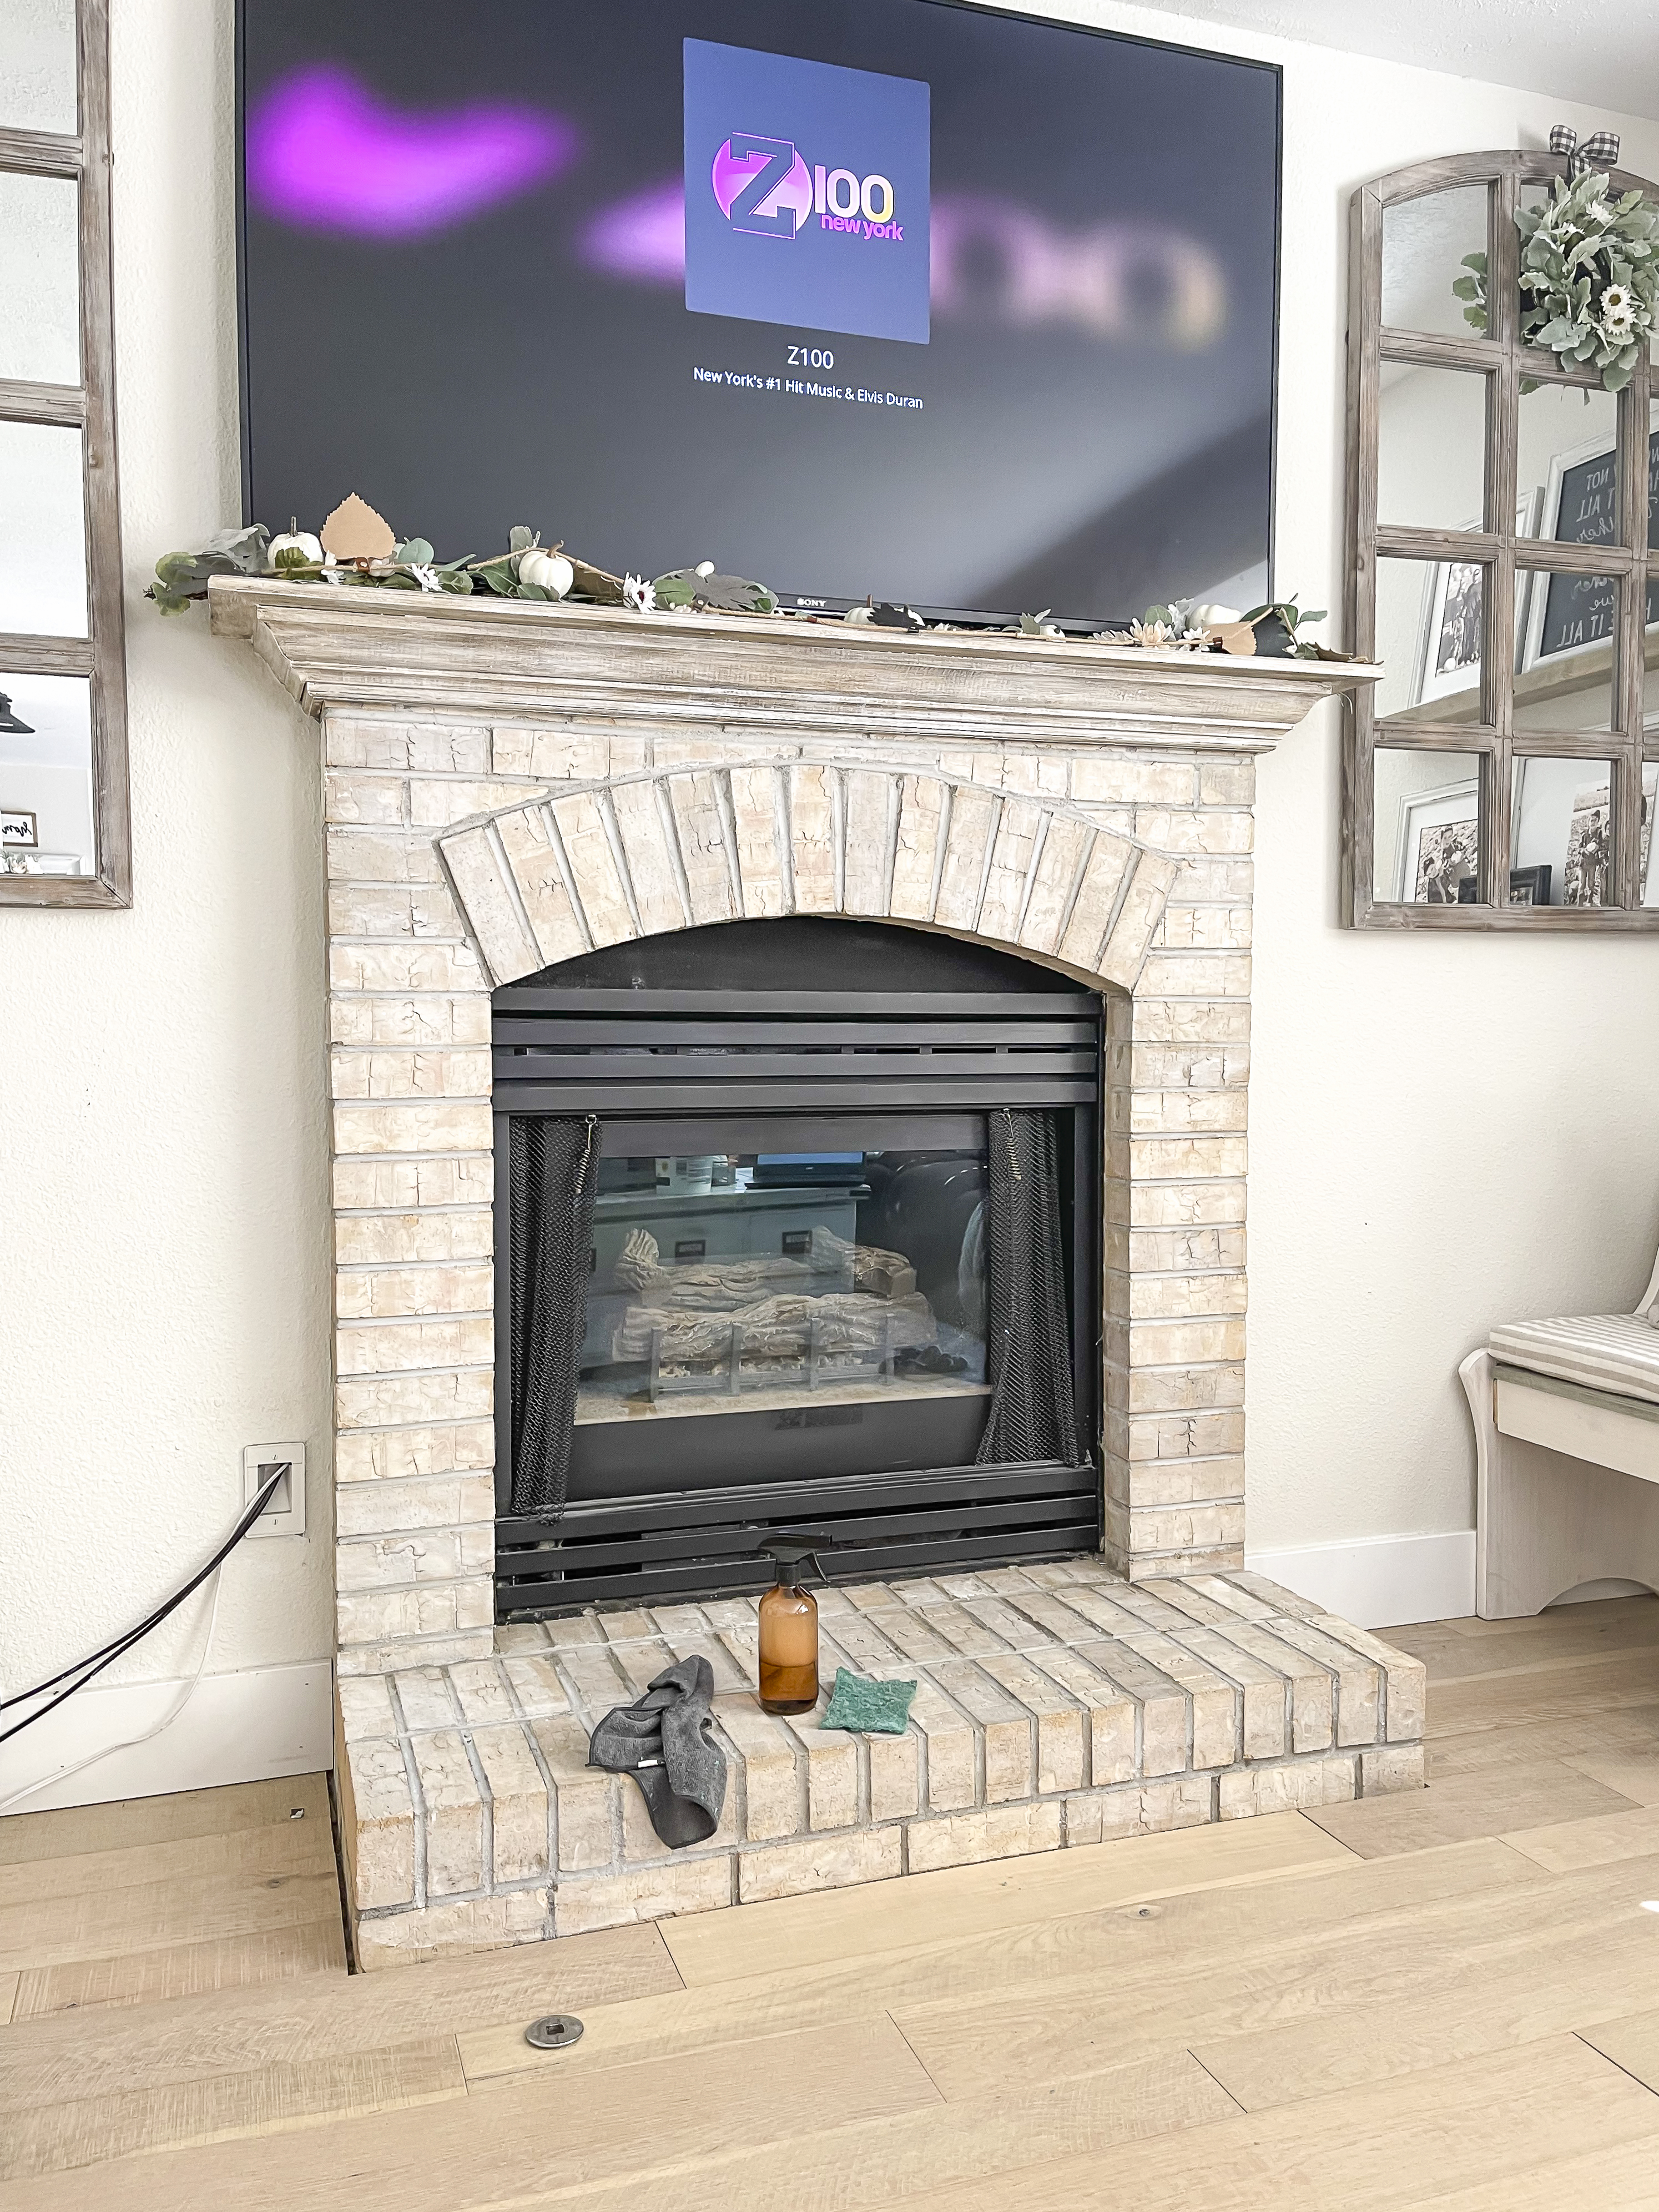
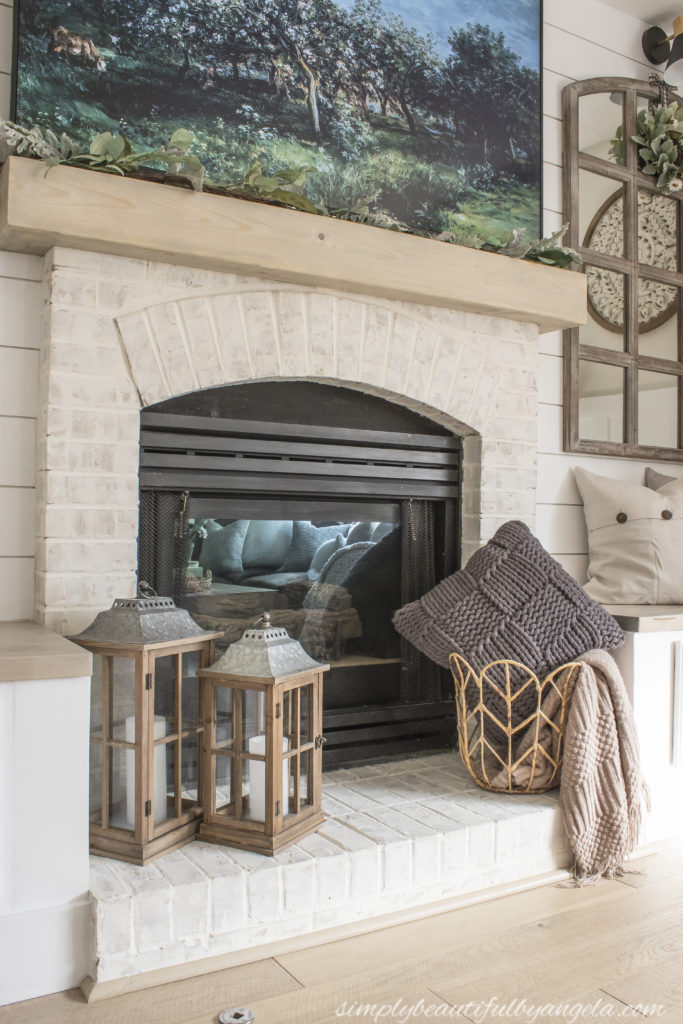
And this is the new look!
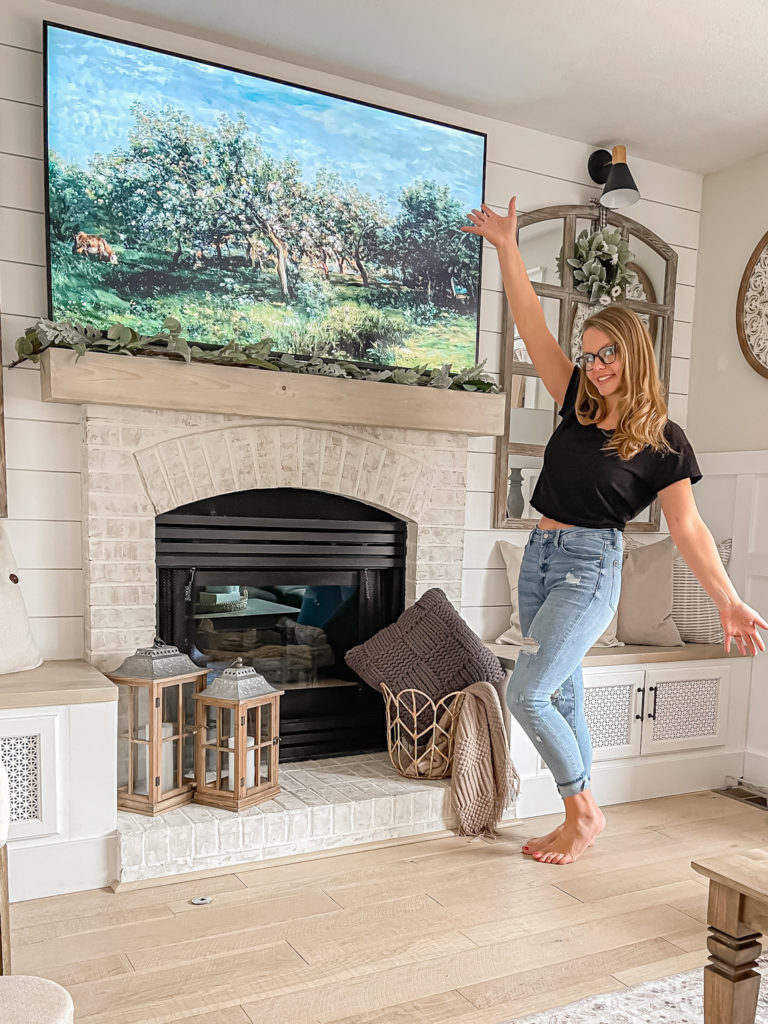
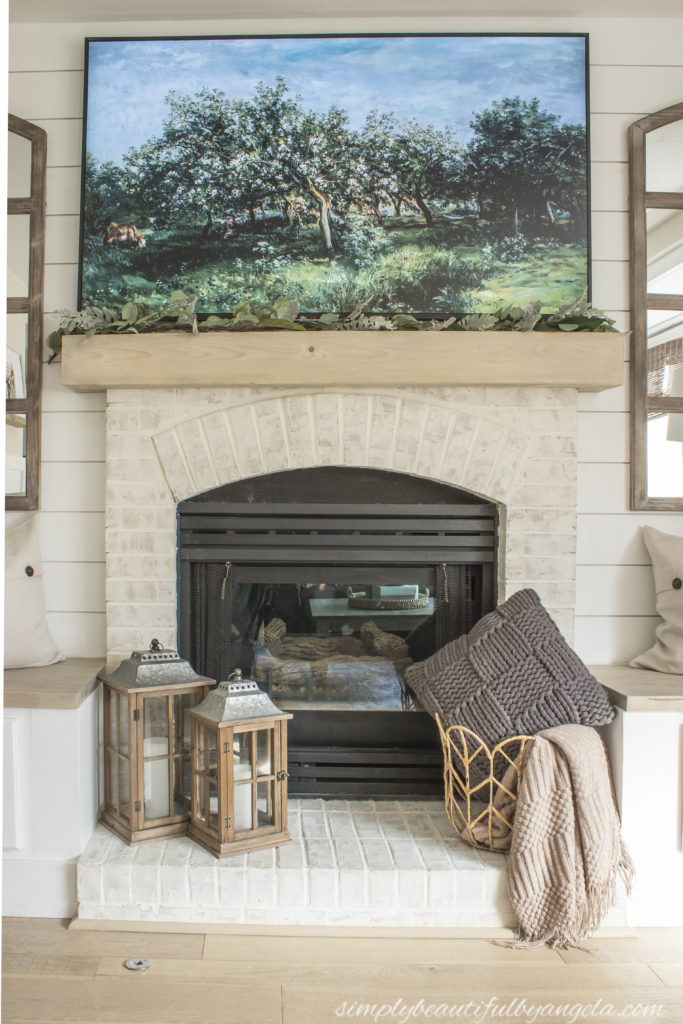
Obviously, there is also a new mantle on top and I promise I will get to that next week!

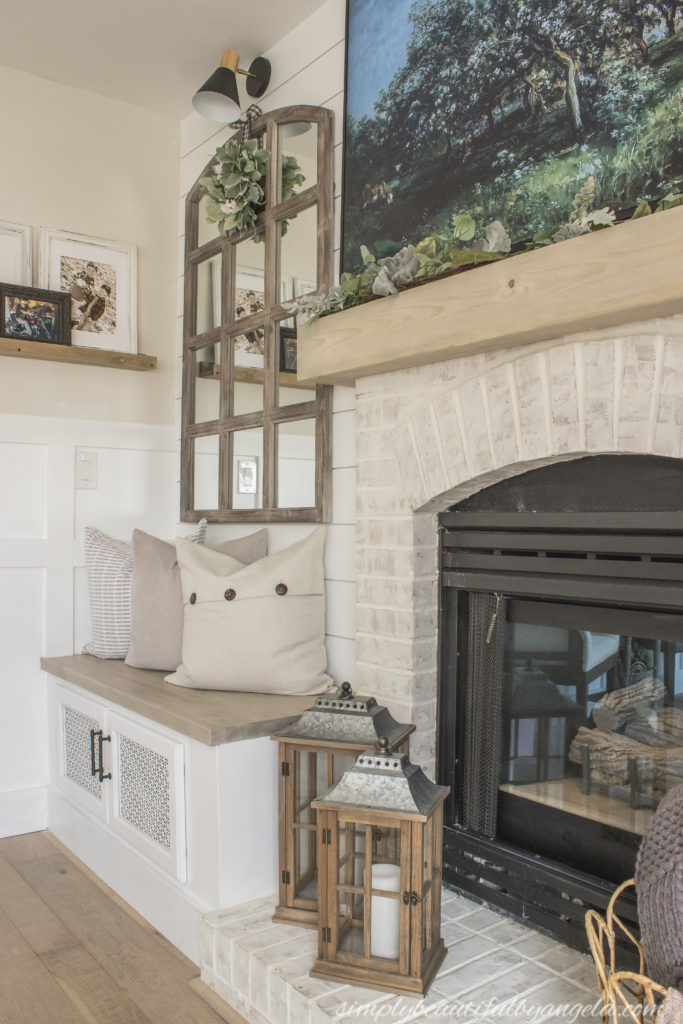
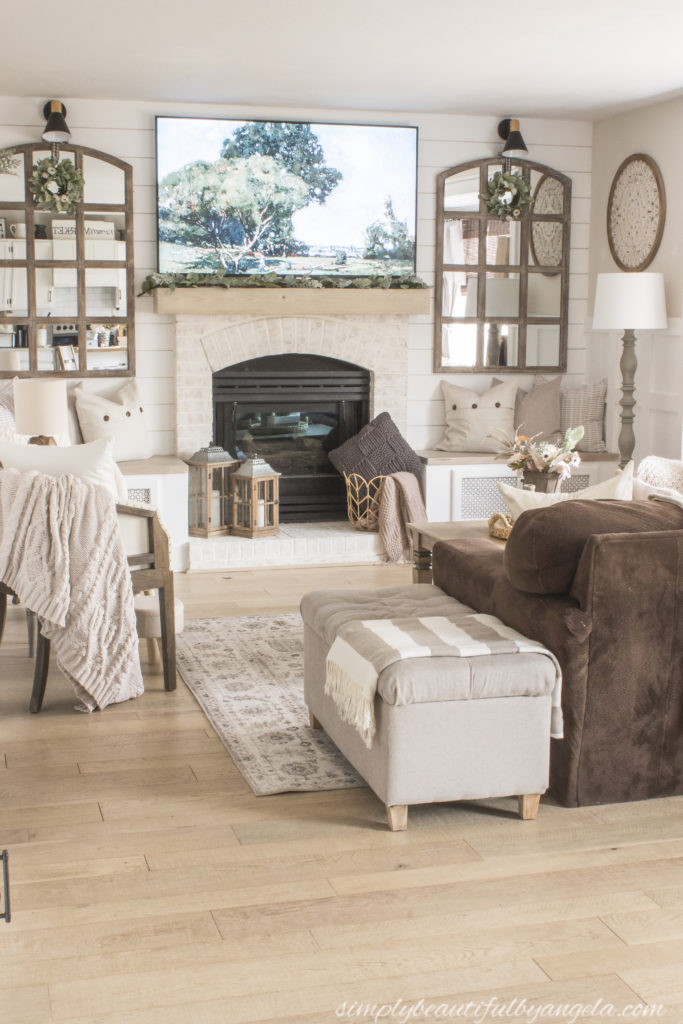
Not only does it bring such character to this room, but it also brightens is up quite a bit!
Thanks for swinging by today, I hope you all have a great weekend and I’ll see you back here next week!
PIN FOR LATER!
Linking up to these awesome parties
(Affiliate links may be provided for convenience. For more info, see my full disclosure here.)
What a transformation! Love that idea and the brick wall in the bedroom.
Your fireplace looks gorgeous! I love it. Blessings to you.
Great job!!! I am so tempted to do this on our brick wall because it is so dark. But it really is very cool old brick that my husband is resistant to alter. I wish it were like your brick, then there’d be no hesitation. the makeover makes such a difference for you fireplace and your whole room!
I love this project! You did an amazing job transforming your fireplace and you made it look so easy too! Pinned 😊 Feel free to join our Tuesday Turn About link party over on my blog! It’s live today. My readers would love this post!
A BRILLIANT project–and I love that you did it yourself! Thank you for sharing your process; it’s so inspiring!
Thanks so much for joining the Grace at Home party at Imparting Grace. I’m featuring you this week!