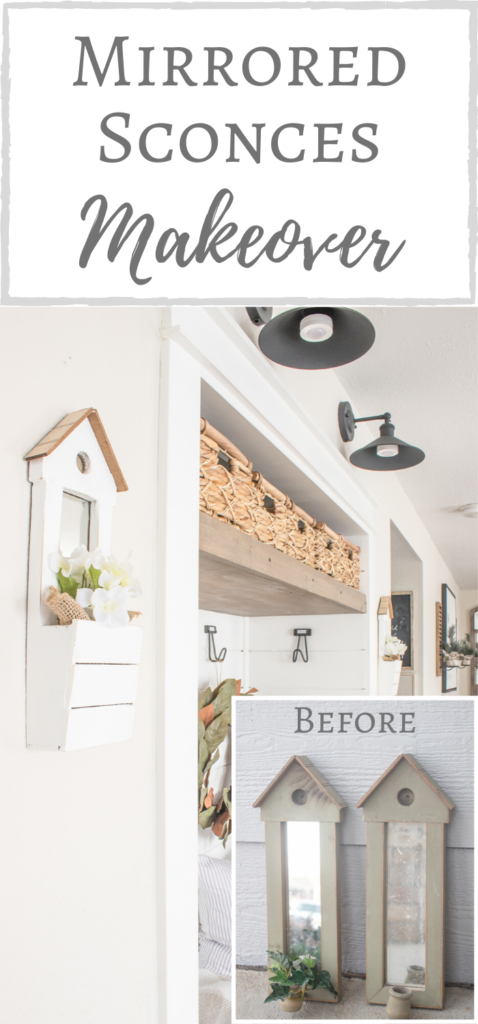
So the spring fever that I mentioned last week hasn’t faded. Nope, not one bit! I’m getting really excited to start bringing the spring decor out of storage and plan to start that this weekend. Even though I know that real spring here is still a few weeks away, it will hopefully help pull me out of this winter blues funk that I’ve been in lately!
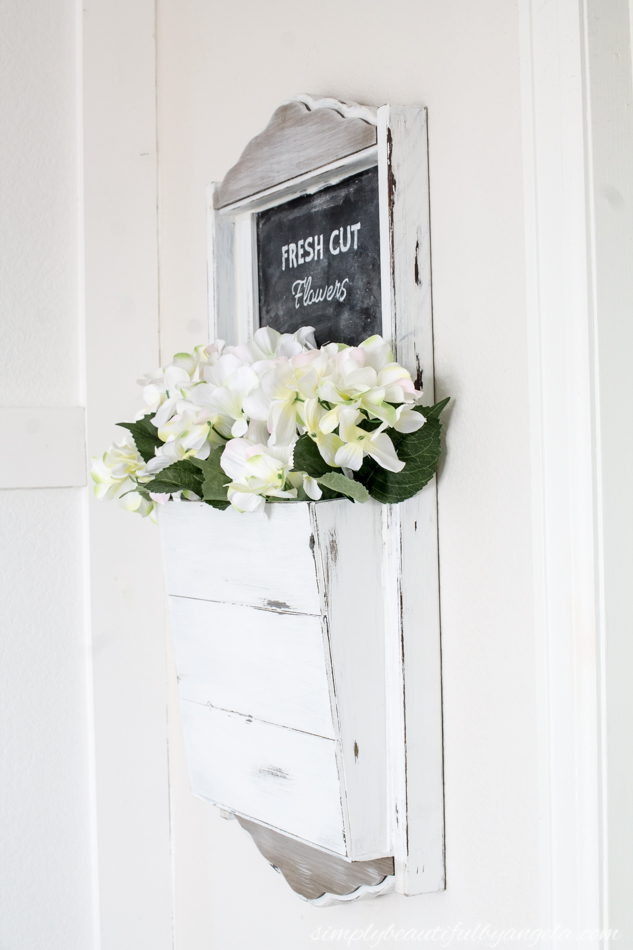
I actually got a little head start this past weekend with some “new” sconces. I found these birdhouse style mirrored sconces at the Goodwill a couple of weeks ago and I knew that they would be perfect for spring as soon as I spotted them.
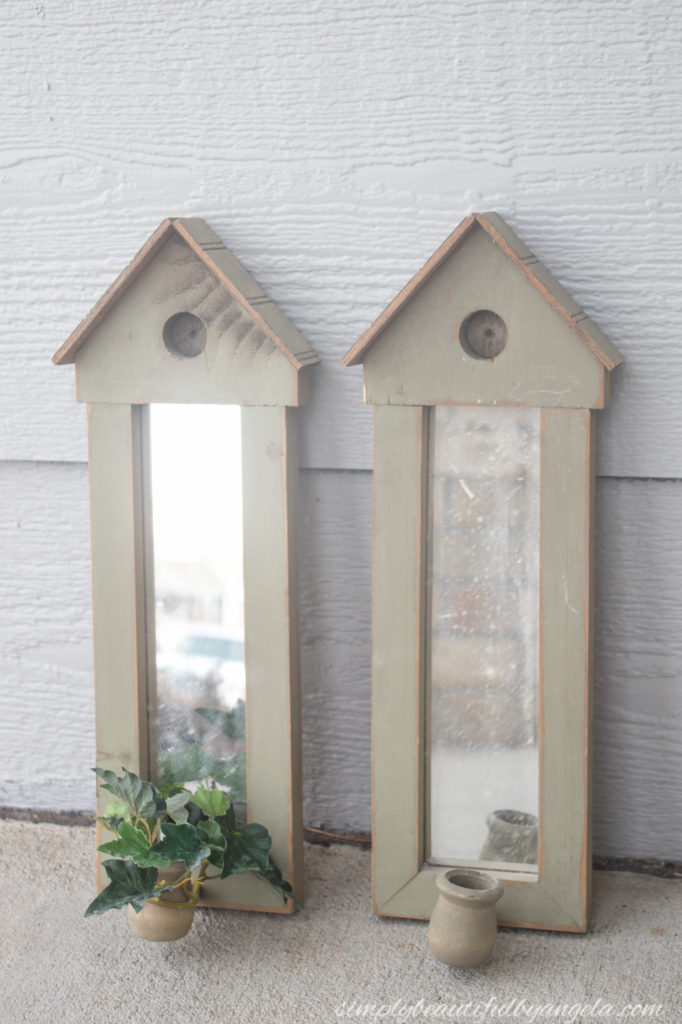
They were already pretty cute as is, but I decided to give them a little makeover for this month’s Thrift Store Challenge and now they’re even cuter!
The Rules:
- Upcycle an item(s) from a thrift store, resale store, or garage sale into a new piece of decor.
- There’s no monthly theme.
- There’s no budget to stick to.
Meet the Hosts
Angela | Simply Beautiful By Angela – Gail | Purple Hues and Me – Jenny | Cookies Coffee and Crafts – Michelle | Our Crafty Mom – Meredith | Thriftwood Home
Supplies Used:(Affiliate links may be provided for convenience. For more info, see my full disclosure here.)
- Krud Kutter
- Miter Saw
- Pine Lattice
- Wood Glue
- Latex Paint
- Sandpaper
- Frogtape
I decided to pop the candle holders off and build pockets instead so that I could fill them up with some pretty faux florals. I was hoping to make something similar to this thrift store flip that I completed 2 years ago (tutorial here).
1. Measure & Cut Sides
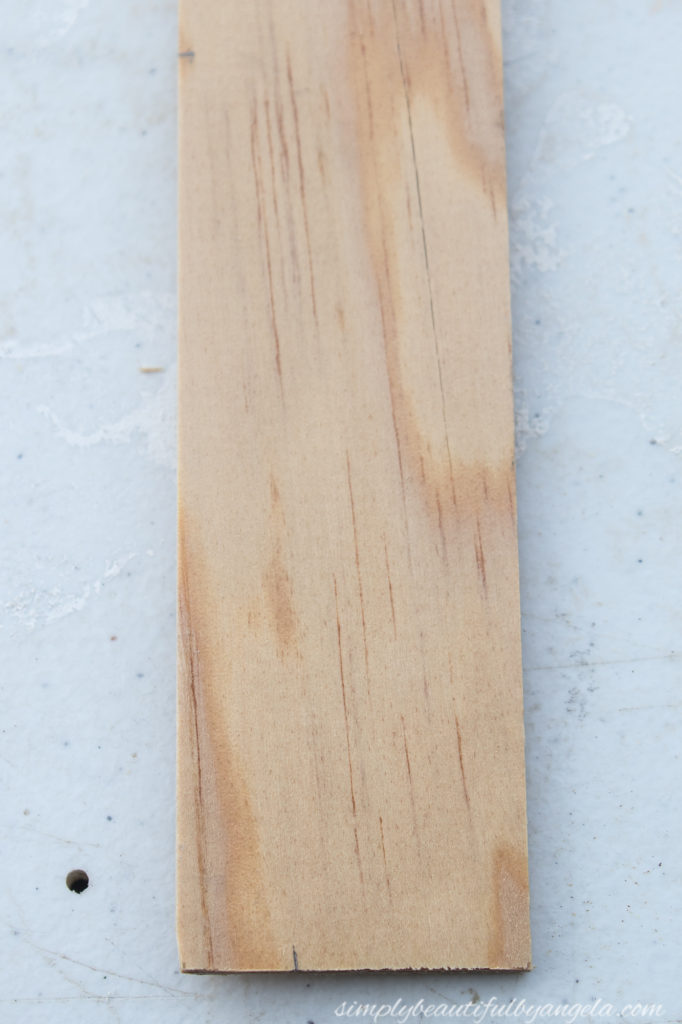
I first wiped them down well with Krud Kutter to remove the gunk that they had accumulated, and then I began building the sides for the pocket. After digging through my scrap wood pile I decided that a piece of pine lattice would work perfectly. I held the lattice up against the bottom of the sconce and measured how much I would need to bring the front pocket out to make it flush with the width of the lattice. I marked that on the bottom of the lattice and I also marked how tall I wanted it to be.
Next, I used a straight edge to connect the marks to draw out the shape of my side.
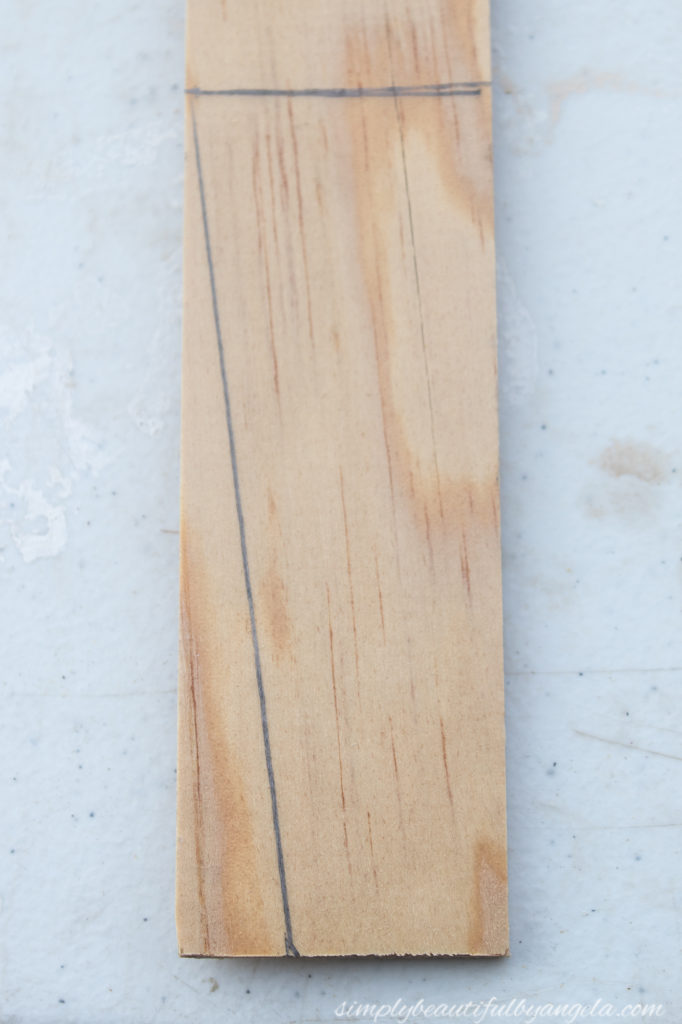
After I cut them out on the miter saw, I held them up to the lattice to make sure that they fit well. I was slightly off but decided that would just make it a bit more rustic!
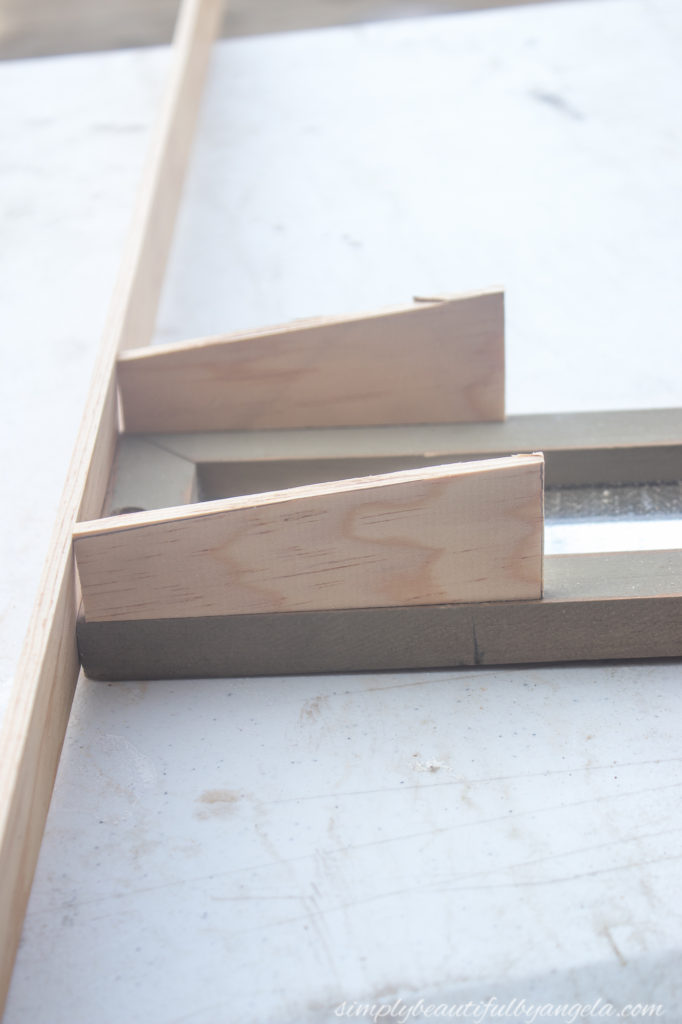
2. Glue Sides
I applied some wood glue to each piece of lattice before putting it in place and wiped away the excess from the outer side.
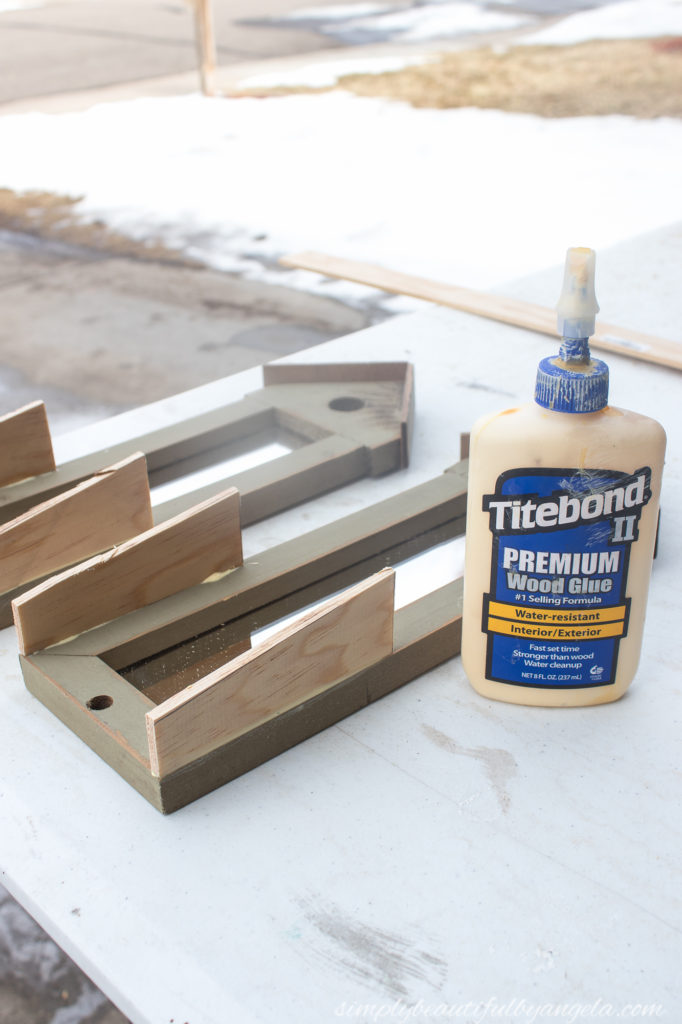
3. Measure, Cut & Attach Bottom
I was too eager to wait for the sides to dry so I very carefully attached the bottom with some more wood glue.
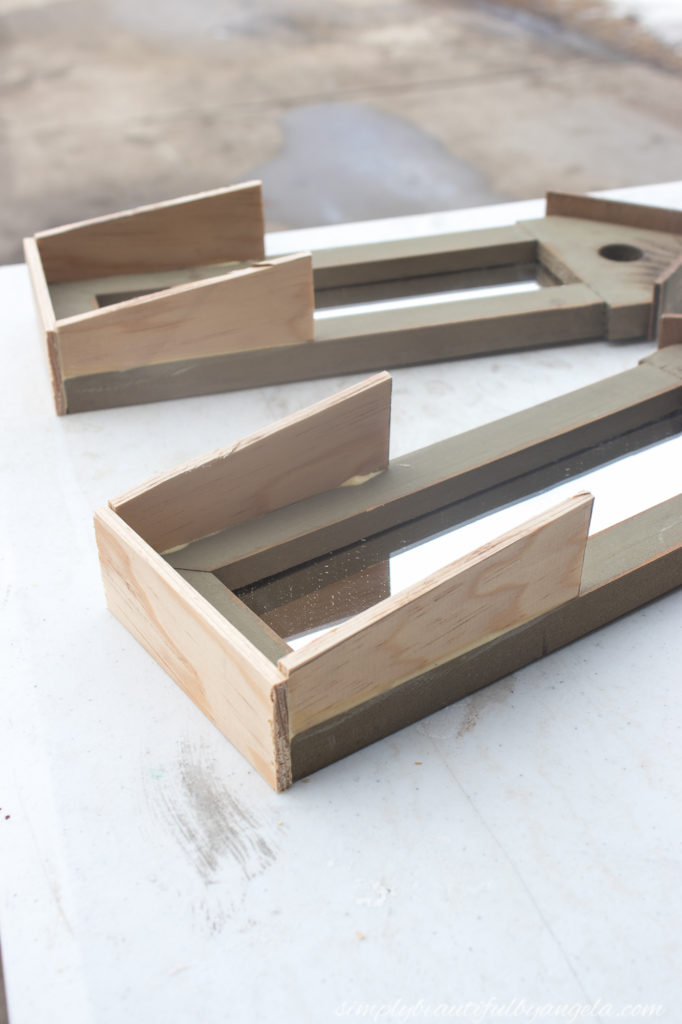
4. Measure, Cut & Attach Front Slats
Finally it was time for the front! I debated between a solid piece or slats and ultimately the slats won out. The top slat ended up being slightly wide and I almost trimmed it down, but I decided that I kind of liked the little bit of overhang so I left it.
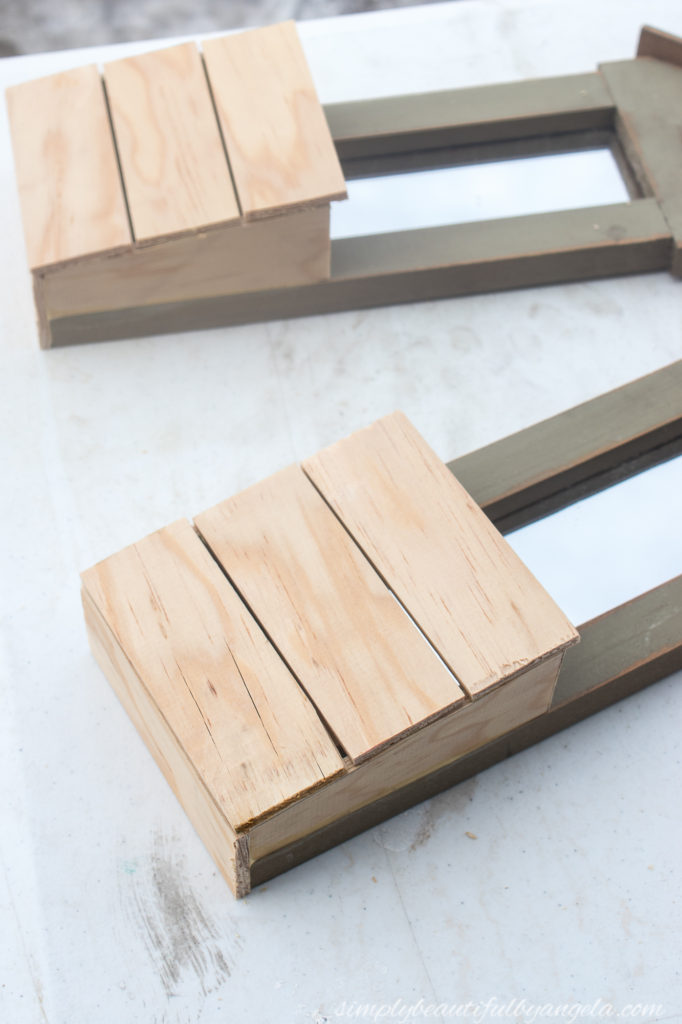
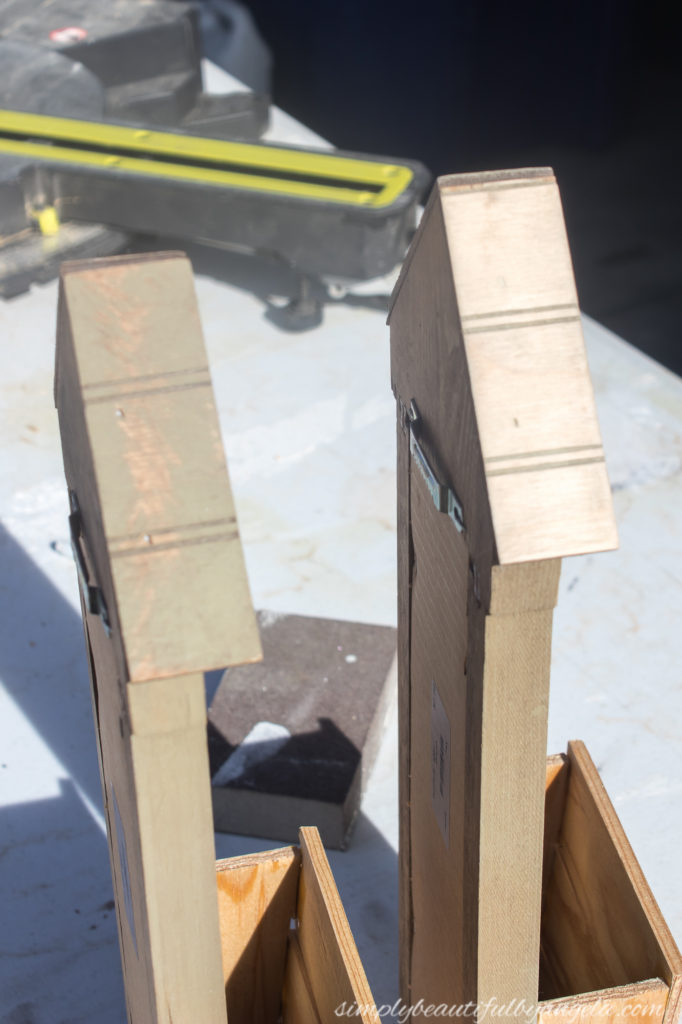
5. Sand Roof
I chose to not paint the roofs, so I used some medium grit sandpaper to remove the green paint. I really liked the color of the natural wood so I skipped staining it.
6. Tape off & Paint
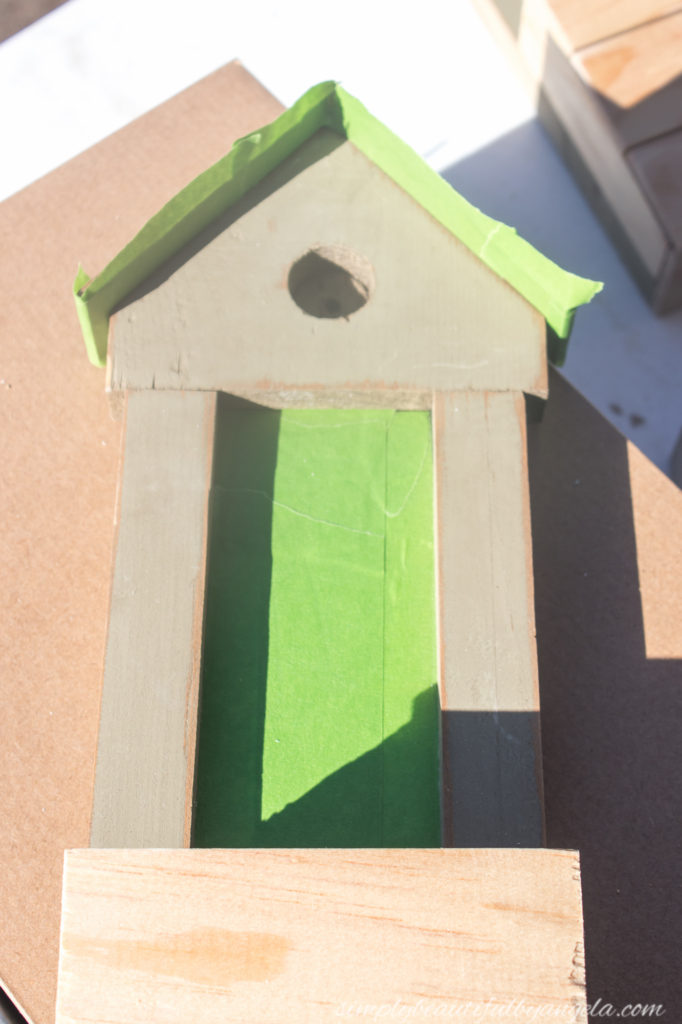
I taped off both the roof and the mirror and then applied two coats of white paint.
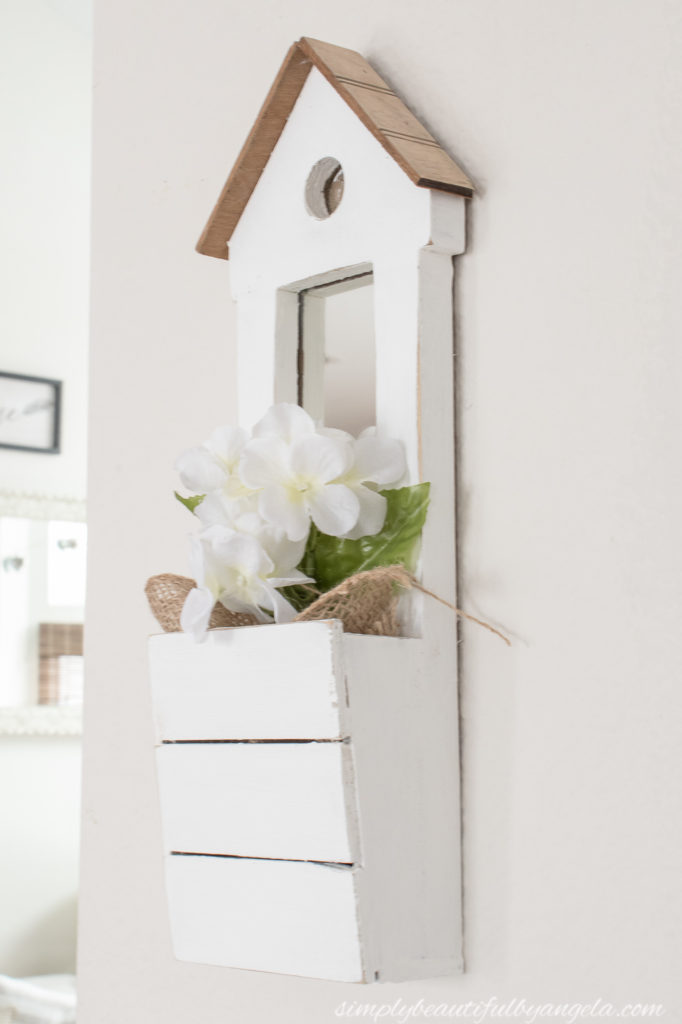
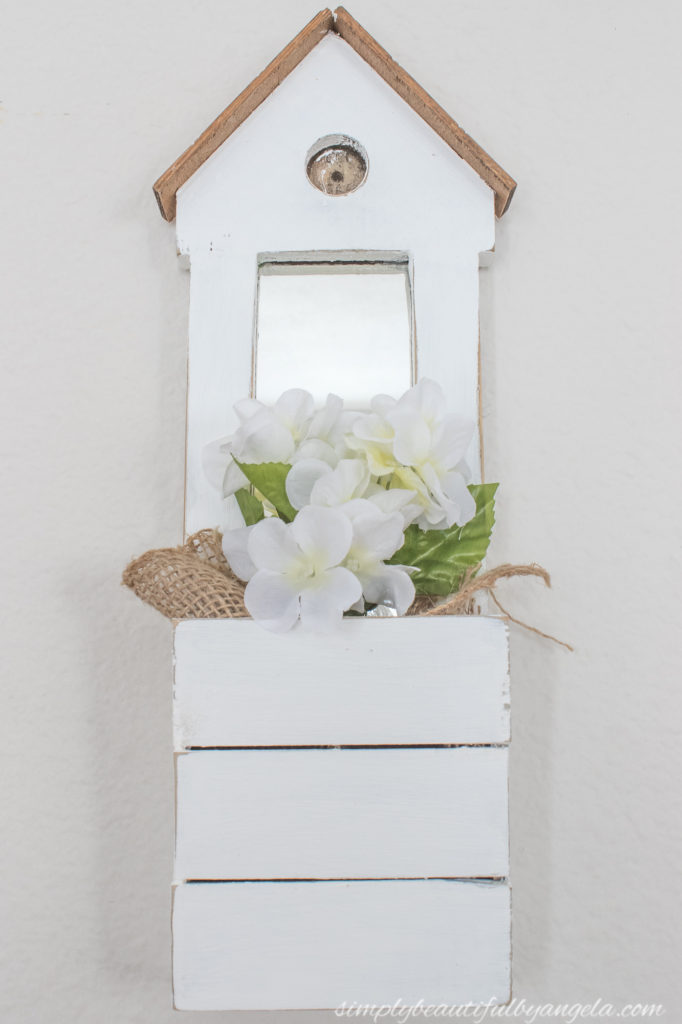
Once they were dry I distressed each one around the sides and corners and then filled them with burlap and faux flowers before hanging them on the wall.
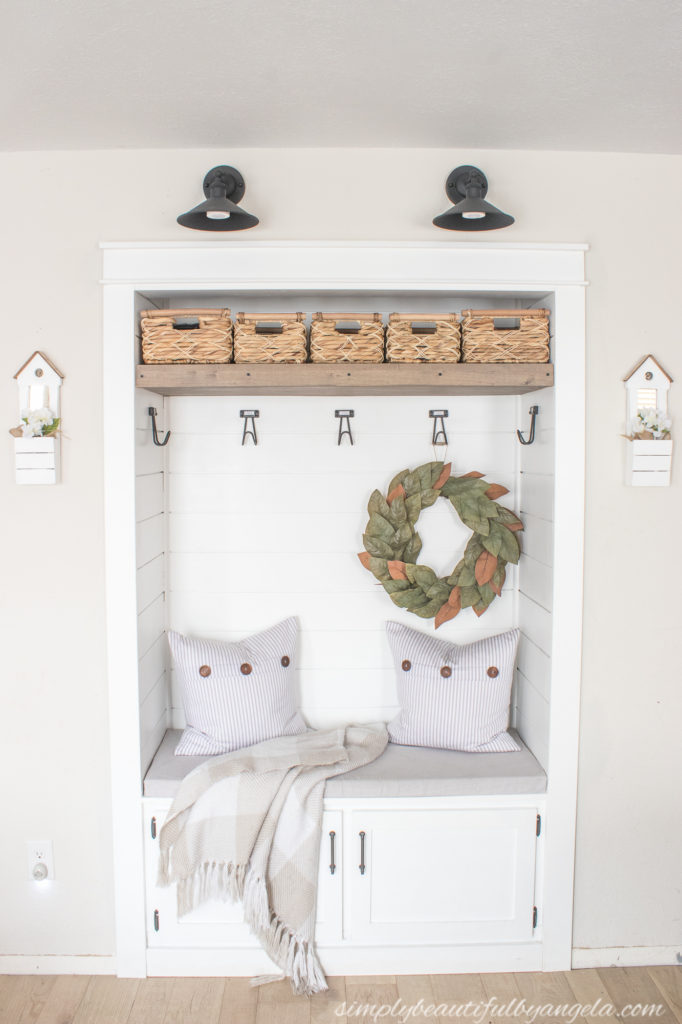
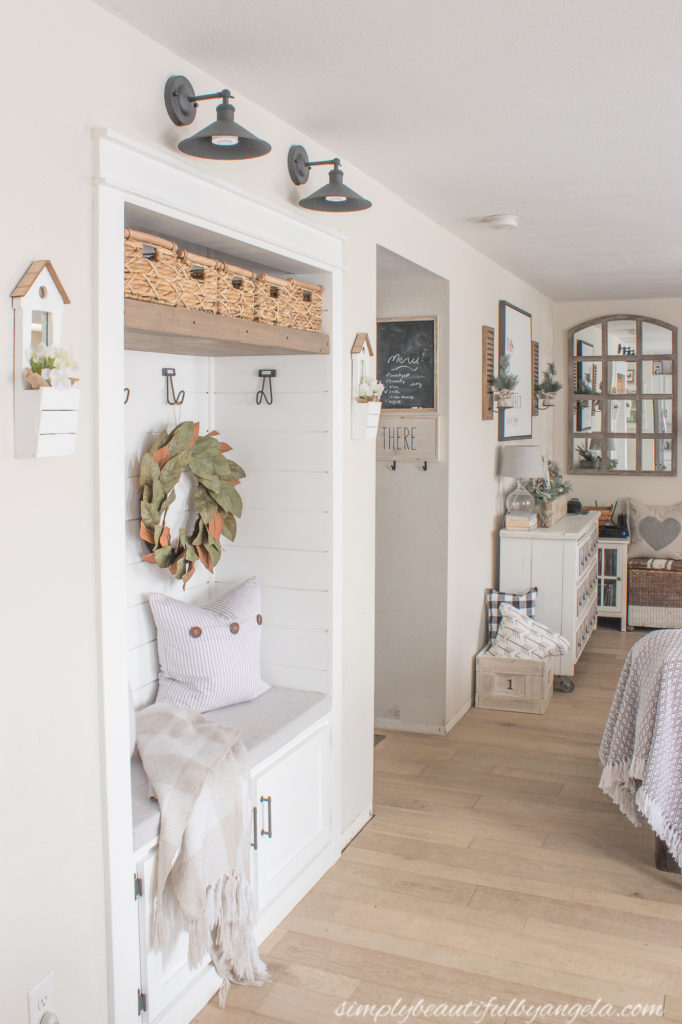
I put one on each side our our pantry turned mudroom nook.
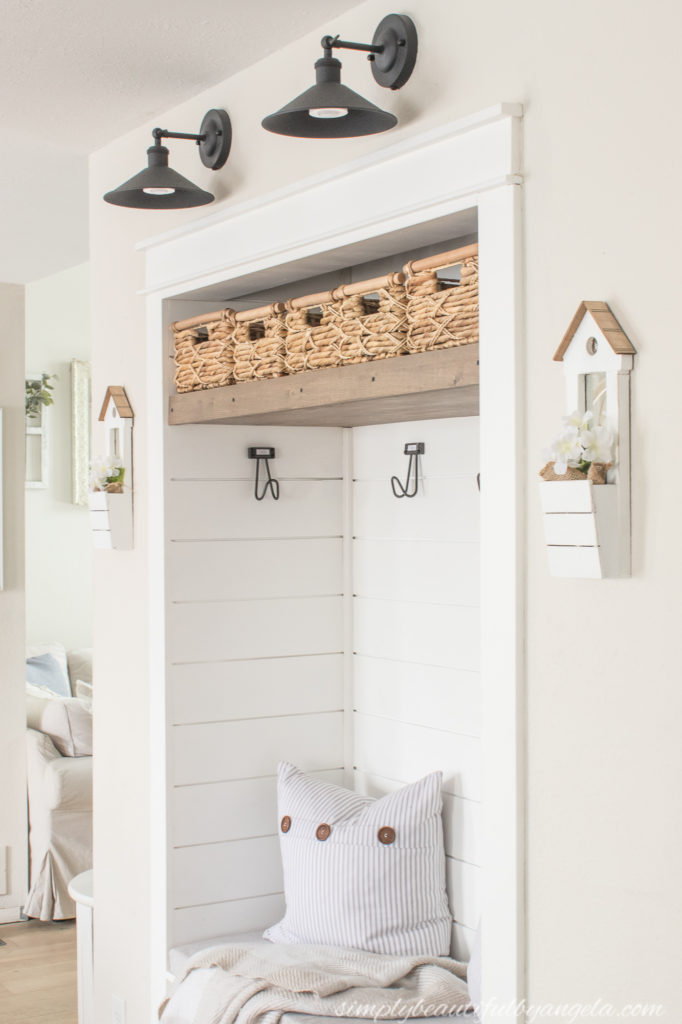
I originally had planned on painting the holes black so I wasn’t careful with the paintbrush as I went over them. I ended up liking the look so I decided to leave them as is.
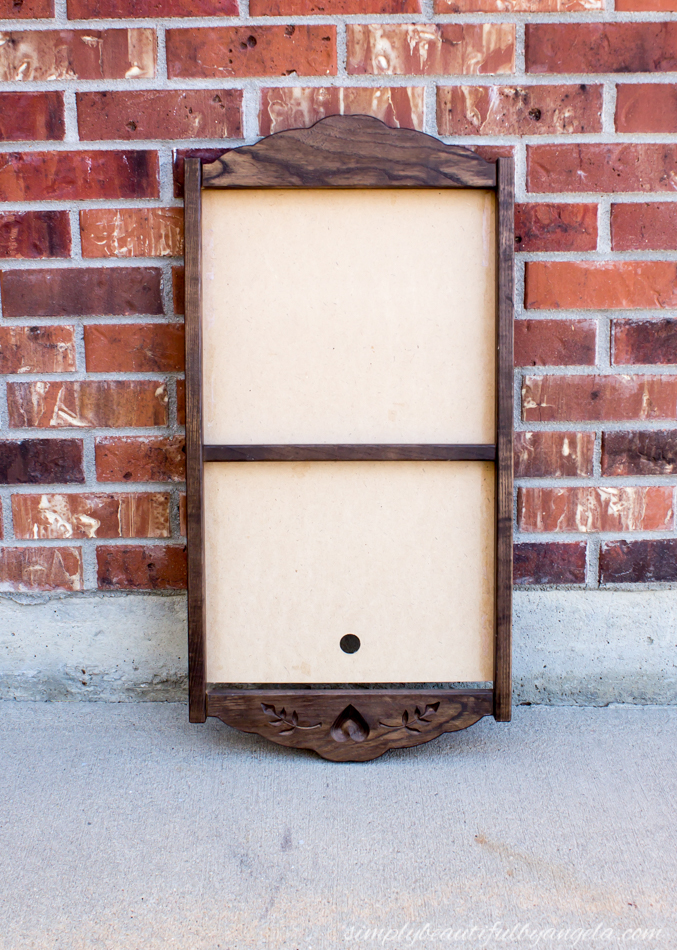
You may recall last summer when I hung up the thrifted frames & jars upcyle here.
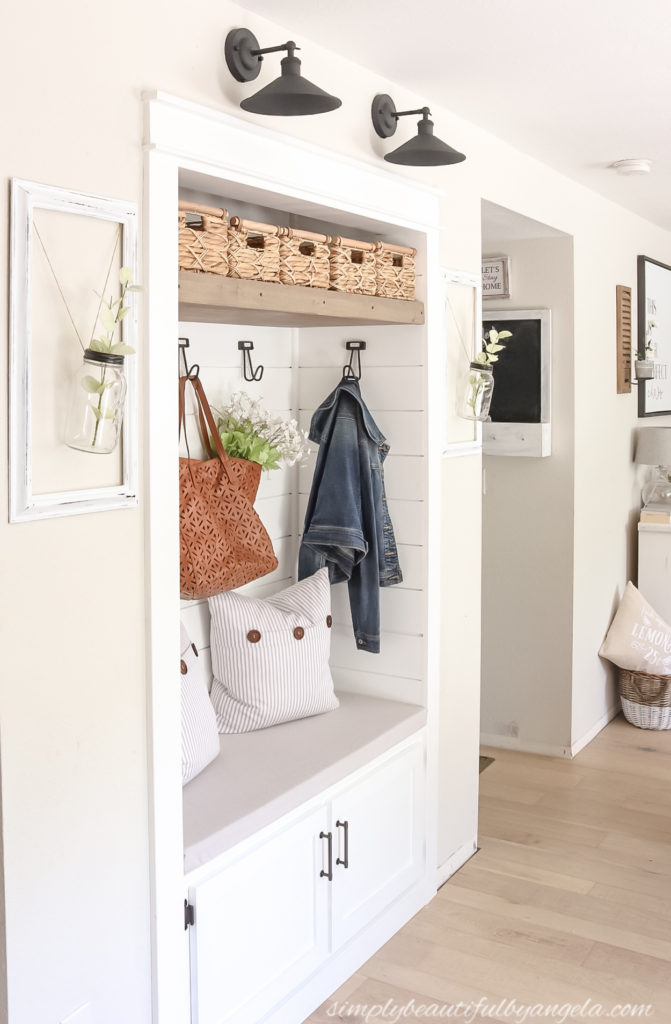
They were very pretty, but were also a tight fit and I realized that I wouldn’t be able to install the craftsman style trim around the hallway entrance that I had planned on doing. With these I have just the right amount of space to do so now!
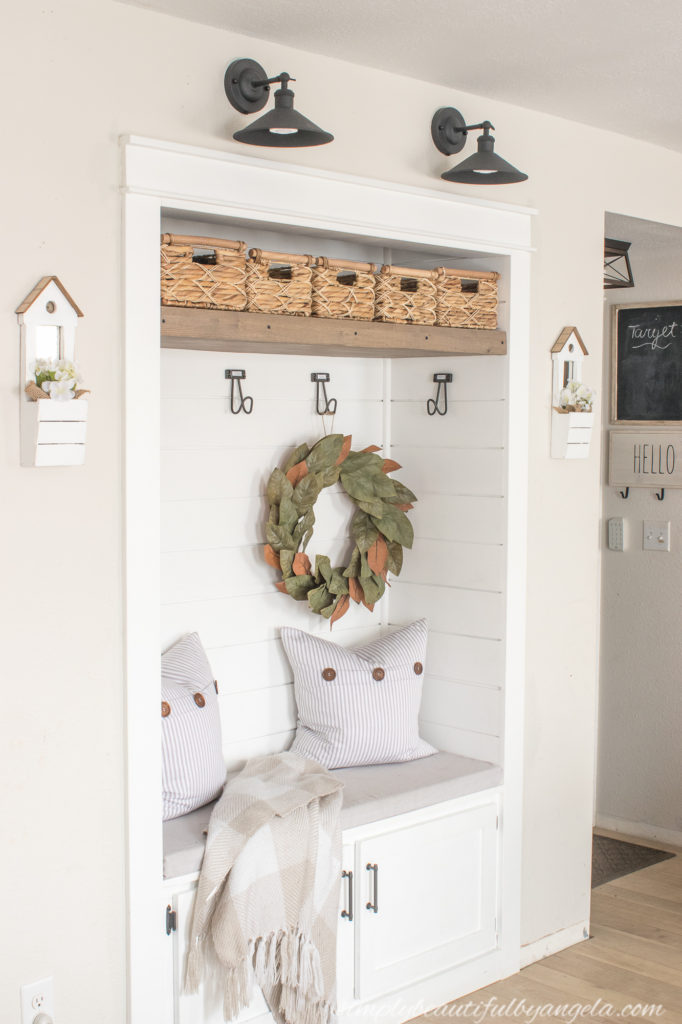
I’m happy that I left the roofs unpainted because I think that the contrast against the white is super eye-catching.
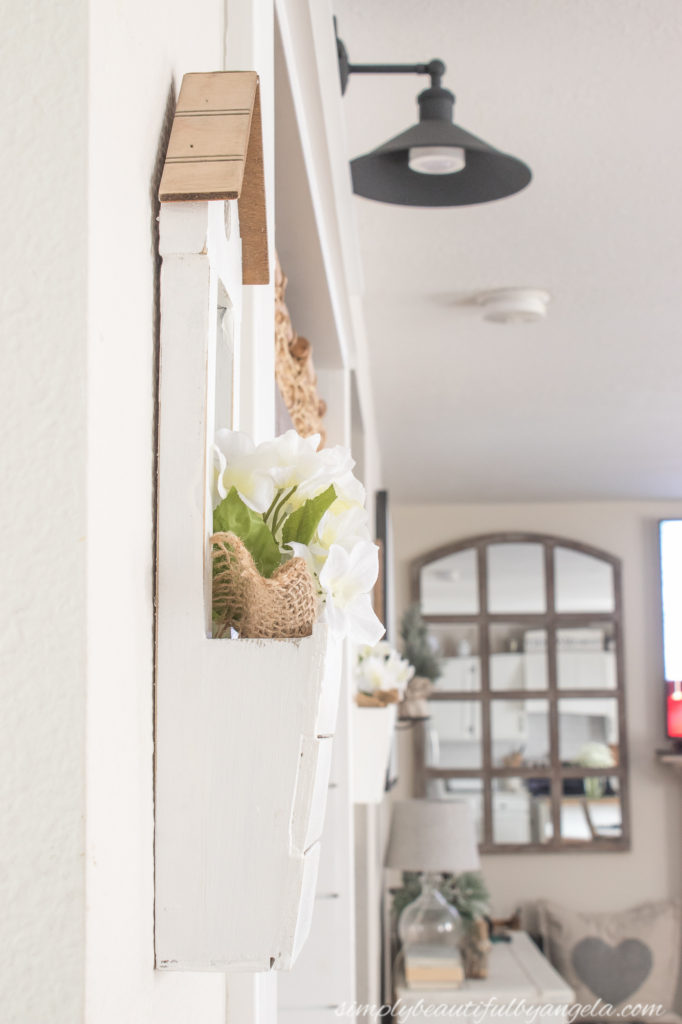
Since I haven’t taken my spring florals out of storage yet I just used some hydrangeas that were handy, but I keep picturing some mini tulips inside of these.
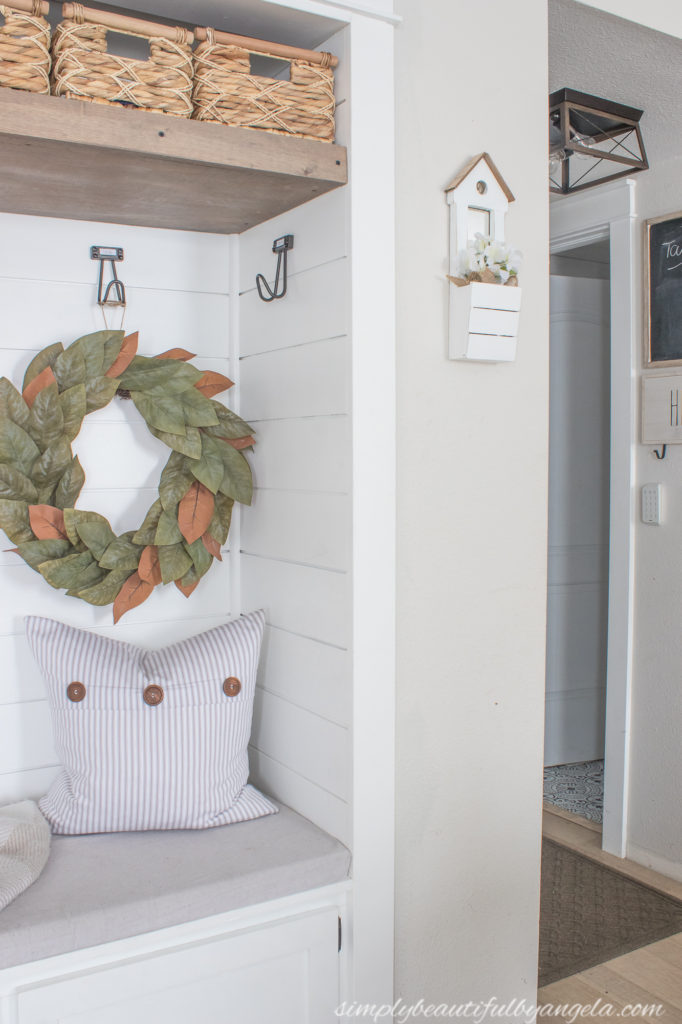
I mentioned in my Amazon Spring Decor post last week that may even get daring this year and get some pink or yellow flowers! Wouldn’t that add a fun pop of color to this space?
Thanks for stopping by today, I’ll catch up with you guys next week!
And now for more thrifty goodness!
Linking up to these awesome parties!
- Krud Kutter
- Miter Saw
- Pine Lattice
- Wood Glue
- Latex Paint
- Sandpaper
- Frogtape
I decided to pop the candle holders off and build pockets instead so that I could fill them up with some pretty faux florals. I was hoping to make something similar to this thrift store flip that I completed 2 years ago (tutorial here).
1. Measure & Cut Sides
I first wiped them down well with Krud Kutter to remove the gunk that they had accumulated, and then I began building the sides for the pocket. After digging through my scrap wood pile I decided that a piece of pine lattice would work perfectly. I held the lattice up against the bottom of the sconce and measured how much I would need to bring the front pocket out to make it flush with the width of the lattice. I marked that on the bottom of the lattice and I also marked how tall I wanted it to be.
Next, I used a straight edge to connect the marks to draw out the shape of my side.

After I cut them out on the miter saw, I held them up to the lattice to make sure that they fit well. I was slightly off but decided that would just make it a bit more rustic!

2. Glue Sides
I applied some wood glue to each piece of lattice before putting it in place and wiped away the excess from the outer side.

3. Measure, Cut & Attach Bottom
I was too eager to wait for the sides to dry so I very carefully attached the bottom with some more wood glue.

4. Measure, Cut & Attach Front Slats
Finally it was time for the front! I debated between a solid piece or slats and ultimately the slats won out. The top slat ended up being slightly wide and I almost trimmed it down, but I decided that I kind of liked the little bit of overhang so I left it.

5. Sand Roof
I chose to not paint the roofs, so I used some medium grit sandpaper to remove the green paint. I really liked the color of the natural wood so I skipped staining it.

6. Tape off & Paint
I taped off both the roof and the mirror and then applied two coats of white paint.

Once they were dry I distressed each one around the sides and corners and then filled them with burlap and faux flowers before hanging them on the wall.

I put one on each side our our pantry turned mudroom nook.


I originally had planned on painting the holes black so I wasn’t careful with the paintbrush as I went over them. I ended up liking the look so I decided to leave them as is.

You may recall last summer when I hung up the thrifted frames & jars upcyle here.

They were very pretty, but were also a tight fit and I realized that I wouldn’t be able to install the craftsman style trim around the hallway entrance that I had planned on doing. With these I have just the right amount of space to do so now!

I’m happy that I left the roofs unpainted because I think that the contrast against the white is super eye-catching.

Since I haven’t taken my spring florals out of storage yet I just used some hydrangeas that were handy, but I keep picturing some mini tulips inside of these.

I mentioned in my Amazon Spring Decor post last week that may even get daring this year and get some pink or yellow flowers! Wouldn’t that add a fun pop of color to this space?

Thanks for stopping by today, I’ll catch up with you guys next week!
And now for more thrifty goodness!
Linking up to these awesome parties!
I remember my mom having very similar mirrored scones when I was little just like these. I’m wondering now if she still has them some where. What a great makeover and they look brand new. The roof just pops with the white. What color are your walls?
Thank you so much Jenny! My walls are Basalt Powder by SW 🙂
Wow, Angela! I love how you transformed your thrift store candle holders! So unique! You have a very creative imagination! What a great idea to add pockets!
Thanks Gail!! 🙂
Those turned out great! Such a cute makeover. Pinned.
Thank you so much Joanne! 🙂
These little mirrored sconces are beautiful! I love how you hung them by the nook, which is adorable, by the way.
Aw thank you so much Michelle!
A wonderful makeover! I like the extra touch with the burlap. Pinning. Visiting from Wow Me Wednesday.
Thank you so much Allyson!
This is a fabulous makeover! It looks so nice for spring. And I’m so jealous of your bench area – it’s beautiful!
Aww thank you Ali!!
These turned out adorable! What a vision you had, I never would have thought of it.