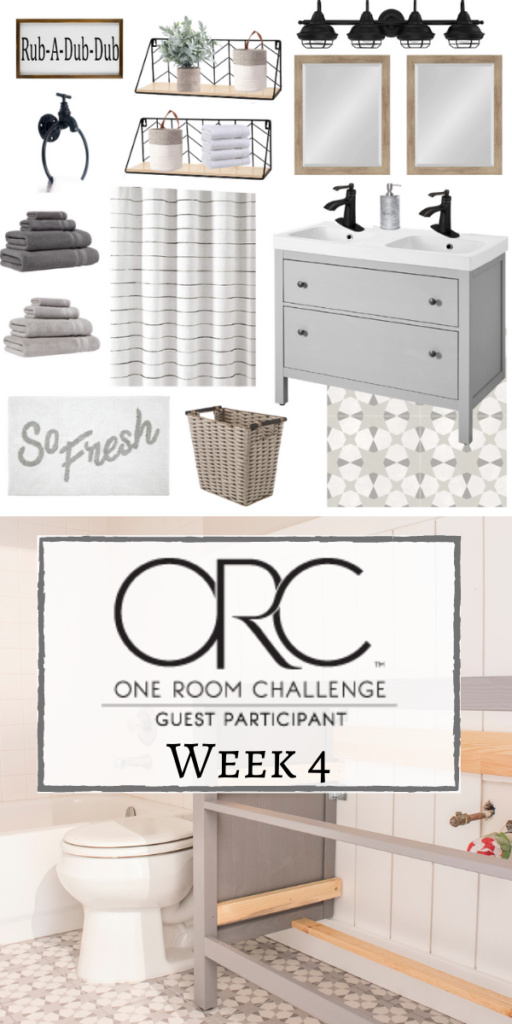
It’s already week 4 of the One Room Challenge–eeek! I can’t believe how fast time is flying. Luckily I don’t have as many DIYs as I normally do in a room makeover so I’m still feeling pretty good about getting this space done by reveal day.
You can catch all of the previous weekly update posts here:
- One Room Challenge (Week 1): Neutral Kids Bathroom Plans
- One Room Challenge (Week 2): New Tile
- One Room Challenge (Week 3): Vertical Shiplap
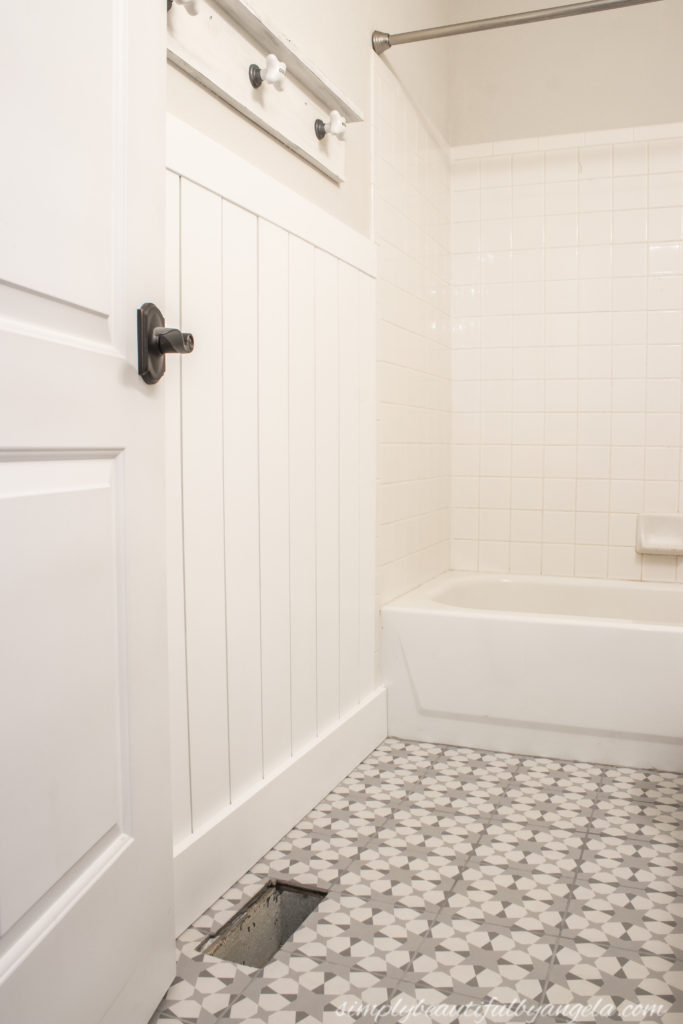
Last week I talked about how I began installing the vertical shiplap on the first wall. Over the weekend I was able to knock out the rest and then I spackled, sanded, caulked and painted it.

It looks soooo good and I’m thrilled with how it turned out! It makes the room feel so much more polished and I’m really glad that I decided to go the vertical route because I feel like it adds visual height to the room.
I also painted the upper portion of the walls with the same color that we’ve used throughout the rest of the house which is Basalt Powder by Sherwin Williams. The old color was a somewhat dingy cream color and you can get a peek at it in this picture that I took before cutting in.
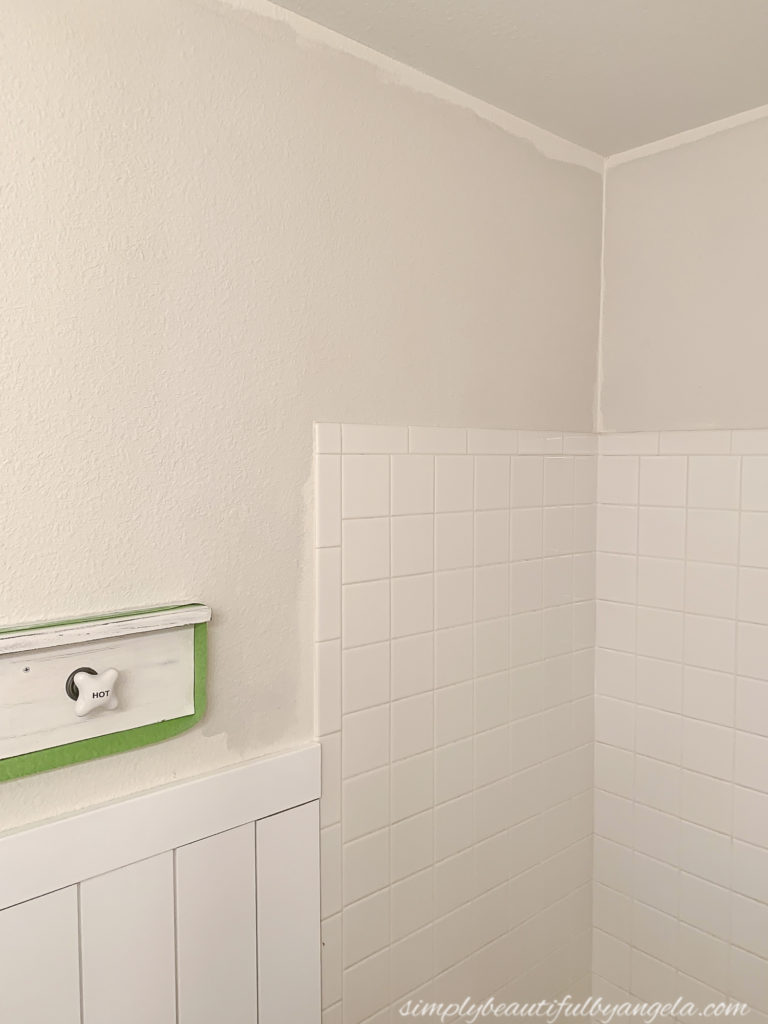
I was originally worried whether or not it would be too warm with the new tile, but I think it works perfectly and am so glad to see the old color go.
Speaking of the new tile, I realized that the grout I provided to the installer didn’t have sealer in it–a major fail on my part! So I purchased a bottle of sealer and applied two coats and now it’s officially ready to stand up to these wild kids haha!
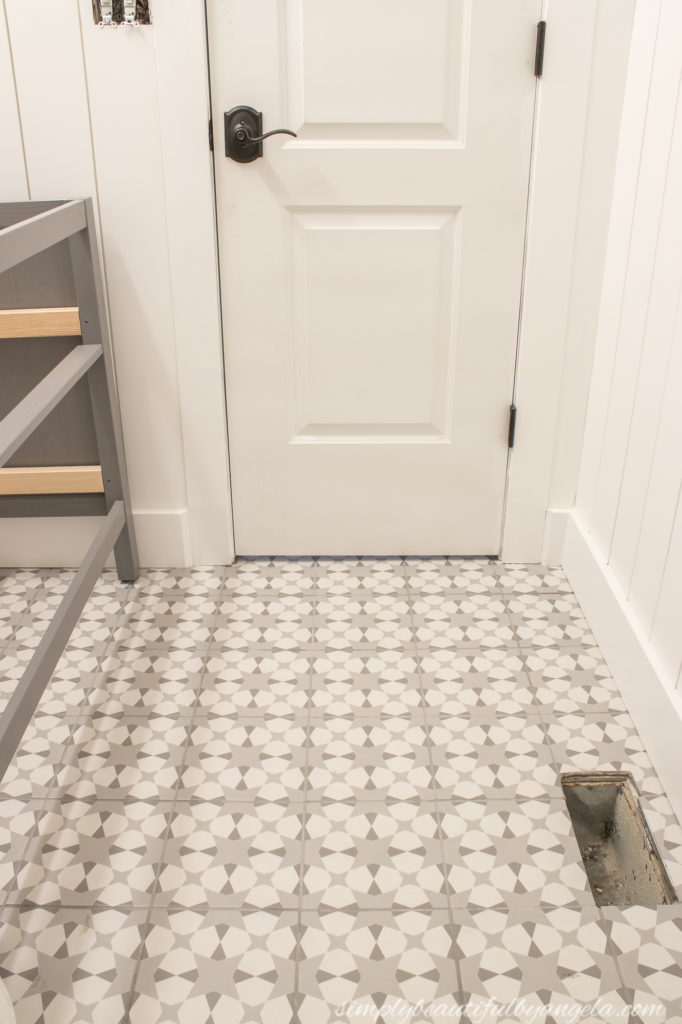
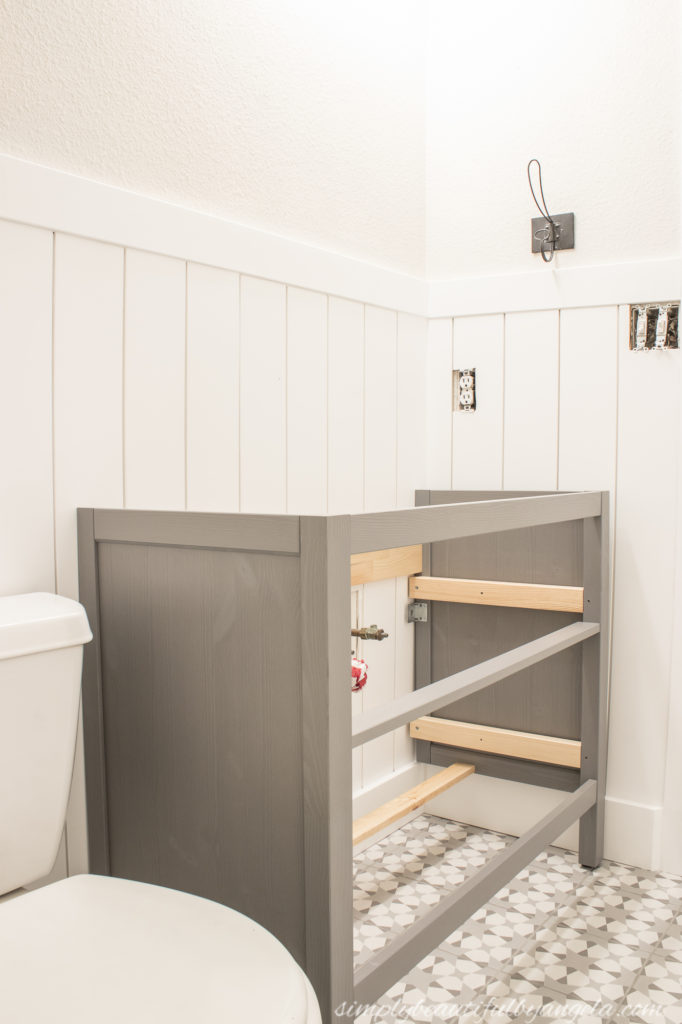
With the shiplap done, we are finally able to start getting the vanity in. On Monday I laid out all of the pieces and began to build it.

I know that a lot of people dislike IKEA builds (my husband included haha) but I actually enjoy it! It’s like putting together a LEGO set and I love the challenge.
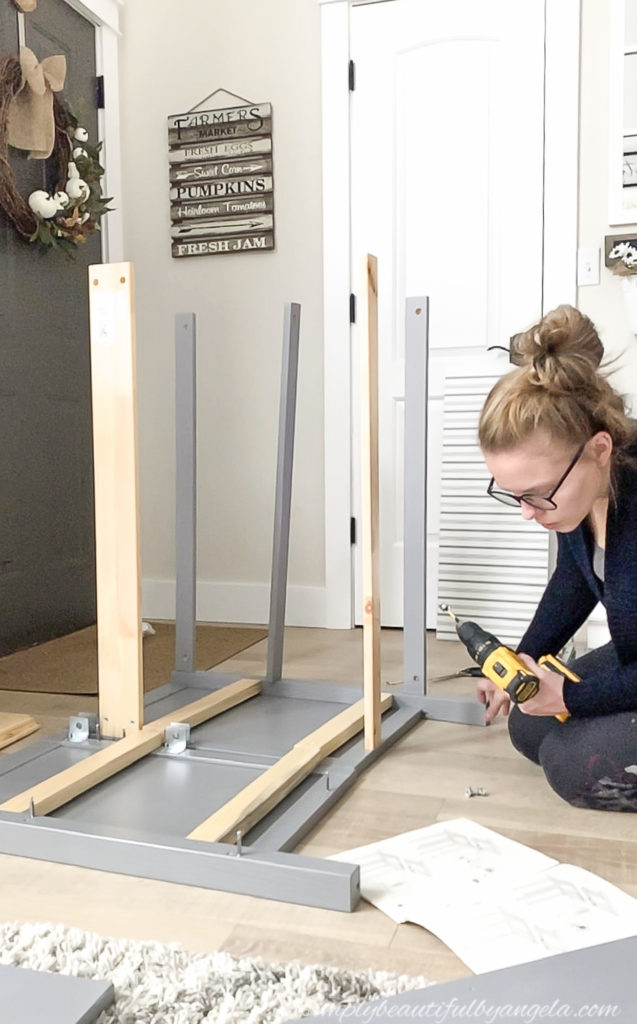
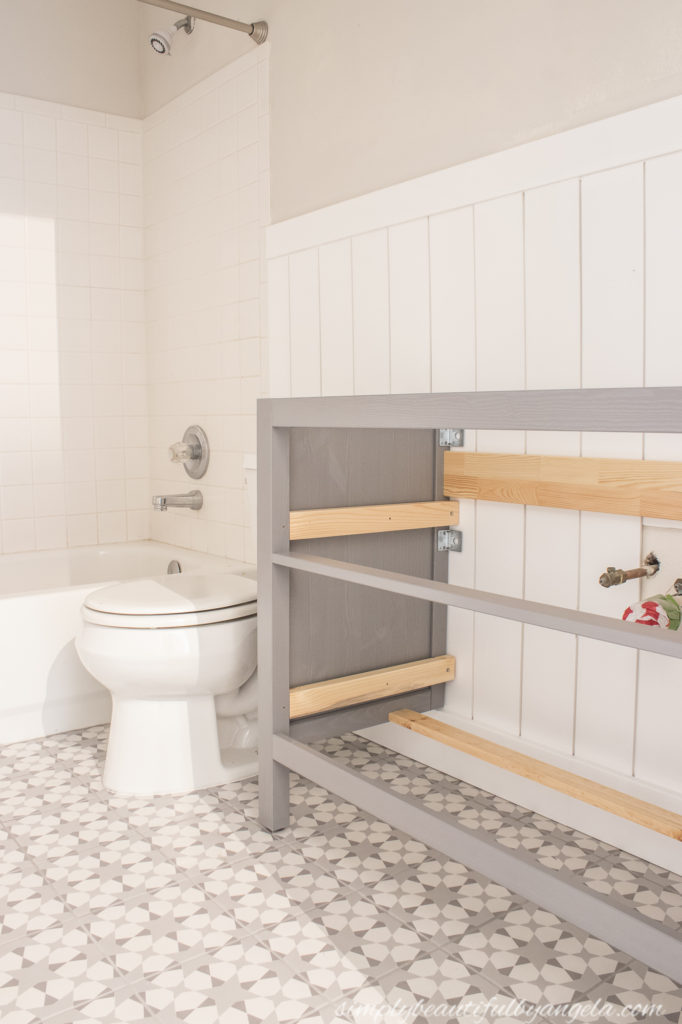
I got it assembled and it’s currently sitting up against the wall because we need to get some special screws to anchor it to the wall since it doesn’t line up with studs.
Just seeing it start to come together is super exciting! Even the drawers are built and waiting patiently in the hallway.
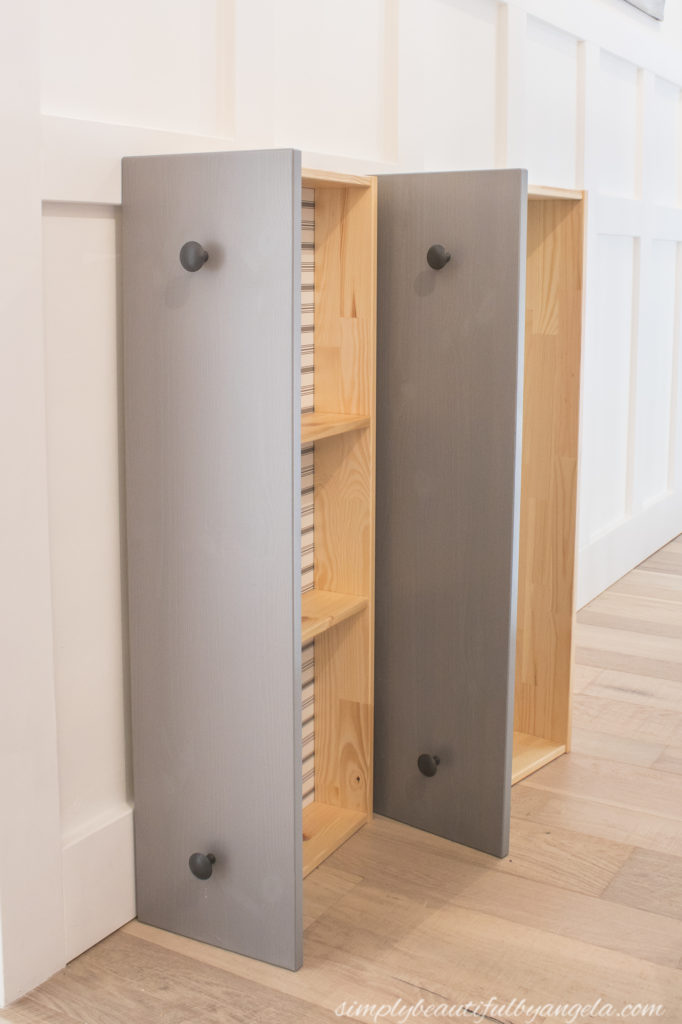
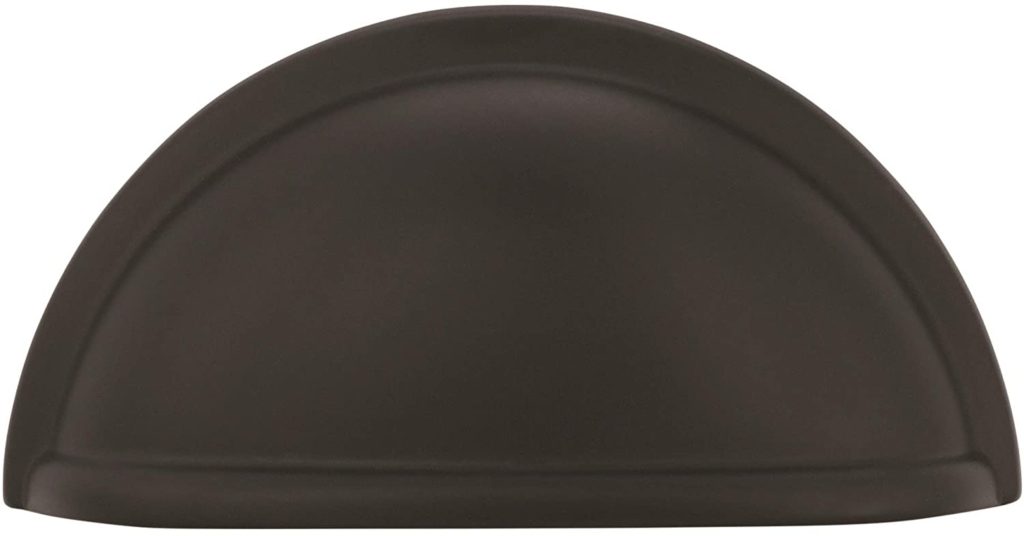
I put the knobs that came in the package on to see if I liked them, but I’ve since decided to get some matte black cup pulls instead so I’m waiting for those to arrive.
With the vanity being in place I was able to have the great toilet paper debate with the boys–meaning would they rather have it on the side of the vanity like it was before, or have it on a stand in front of the toilet.
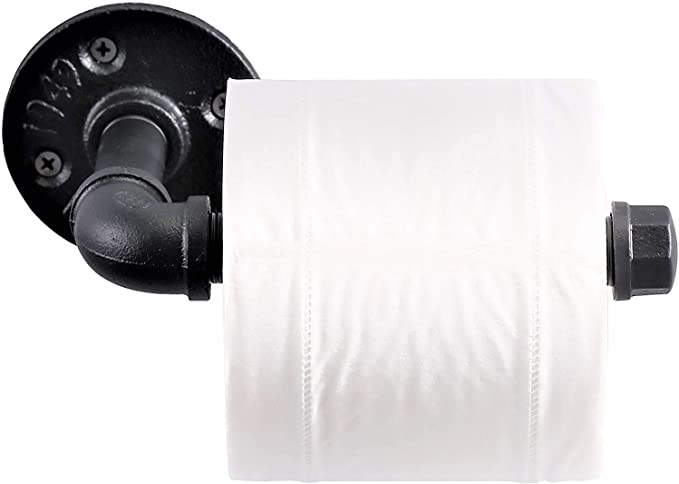
It was pretty hilarious to watch their re-enactments of which option would be better while they’re doing their business! In the end they decided to have it on the vanity, so I ordered this cool pipe toilet paper holder.
This weekend we will put the sink top on and start to tackle the plumbing which I’m just slightly nervous about. Wish us luck!
Linking up to these awesome parties!
(Affiliate links may be provided for convenience. For more info, see my full disclosure here.)
BEAUTIFUL!! This is coming together beautifully!