
And just like that, it’s the final week in the One Room Challenge! These challenges always seem to fly by crazy fast, and this one was no exception!
In case you missed any previous posts in this season of the One Room Challenge you can catch up here:
- One Room Challenge (Week 1): Superhero Room Plans
- One Room Challenge (Week 2): Starting the Faux Brick Wall
- One Room Challenge (Week 3): Paint, Trim and a New Bed
- One Room Challenge (Week 4) : Small Updates
- One Room Challenge (Week 5): Work Paused for a Week in Disney
- One Room Challenge (Week 6): Adding in the Details
For this final week I am putting on all of the finishing touches and wrapping up items that were left on the to do list. One of those items was the dresser makeover. I typically would have done any furniture flips much earlier in the challenge, but this time I had trouble finding the time! Between our Disney trip, fall activities and the weather, it just kept getting pushed off.
Finally, Saturday morning the hubby helped me haul it out to the driveway so that I could get started. I began by sanding down the top which proved to be more labor intensive than I thought it would be. It turns out that the polyacrylic that I used to seal it all of those years ago really did its job!
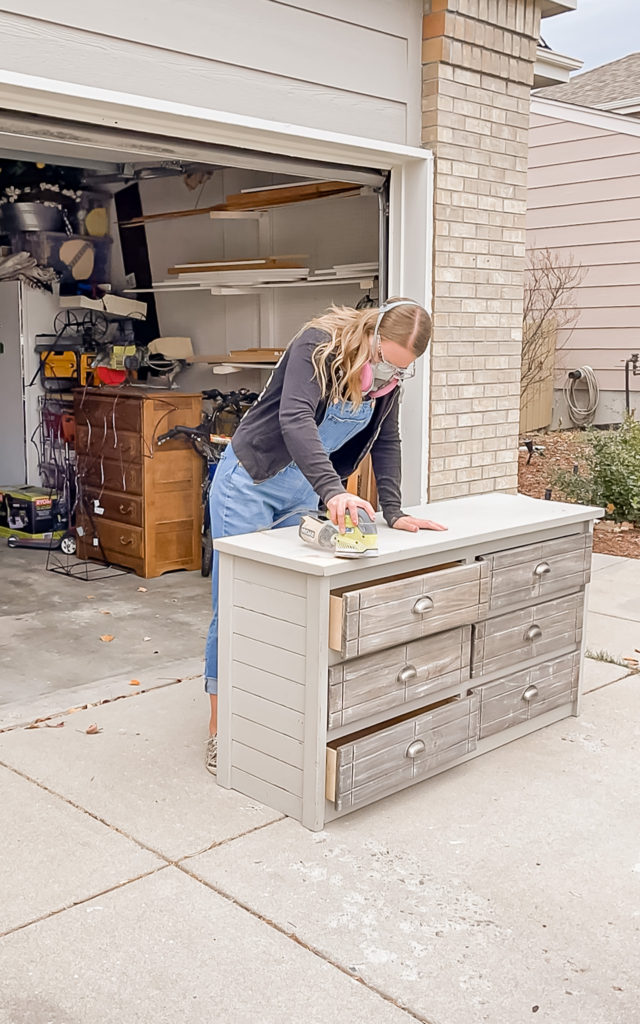
Anthony jumped in and helped out about halfway through which I was very much appreciative of!
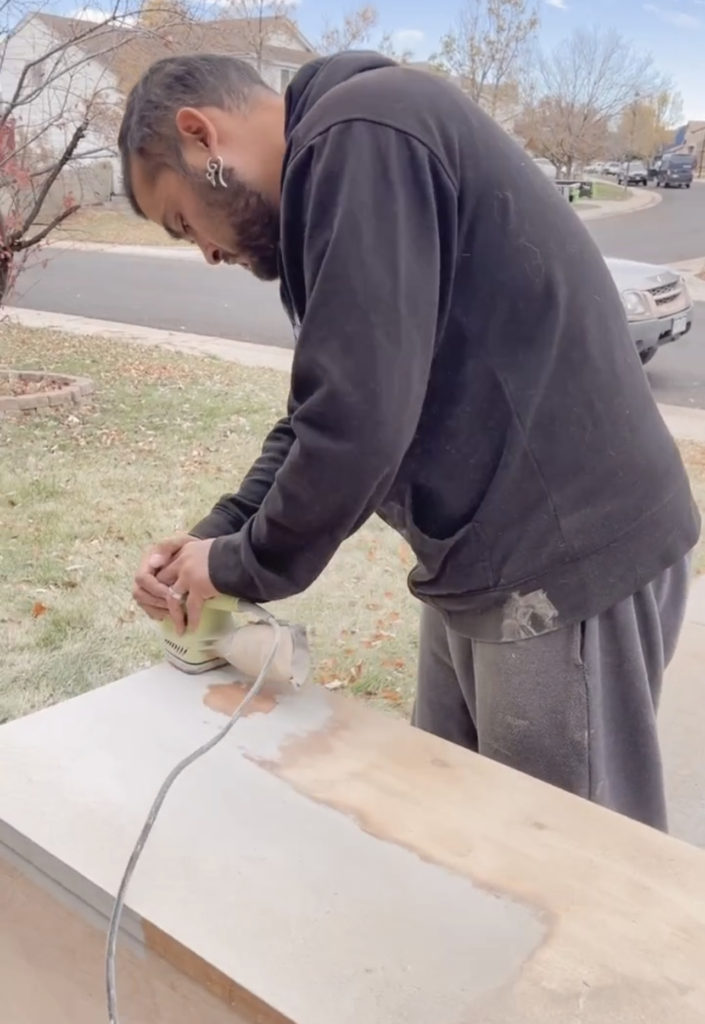
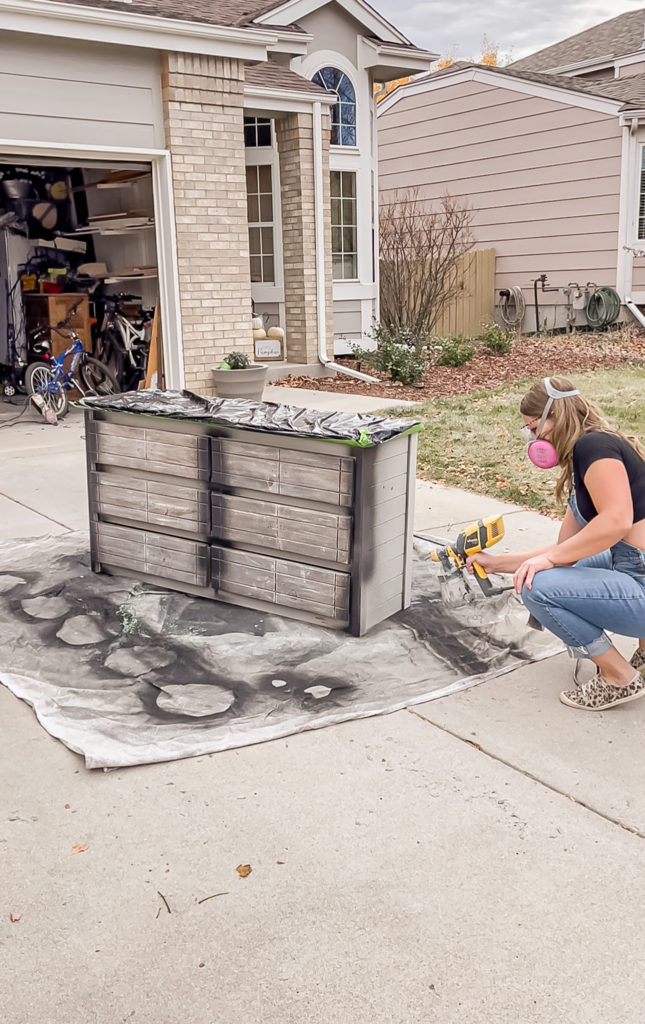
Once the top was down to the raw wood, I taped it off and sprayed a few coats of SW Tricorn black on the base.
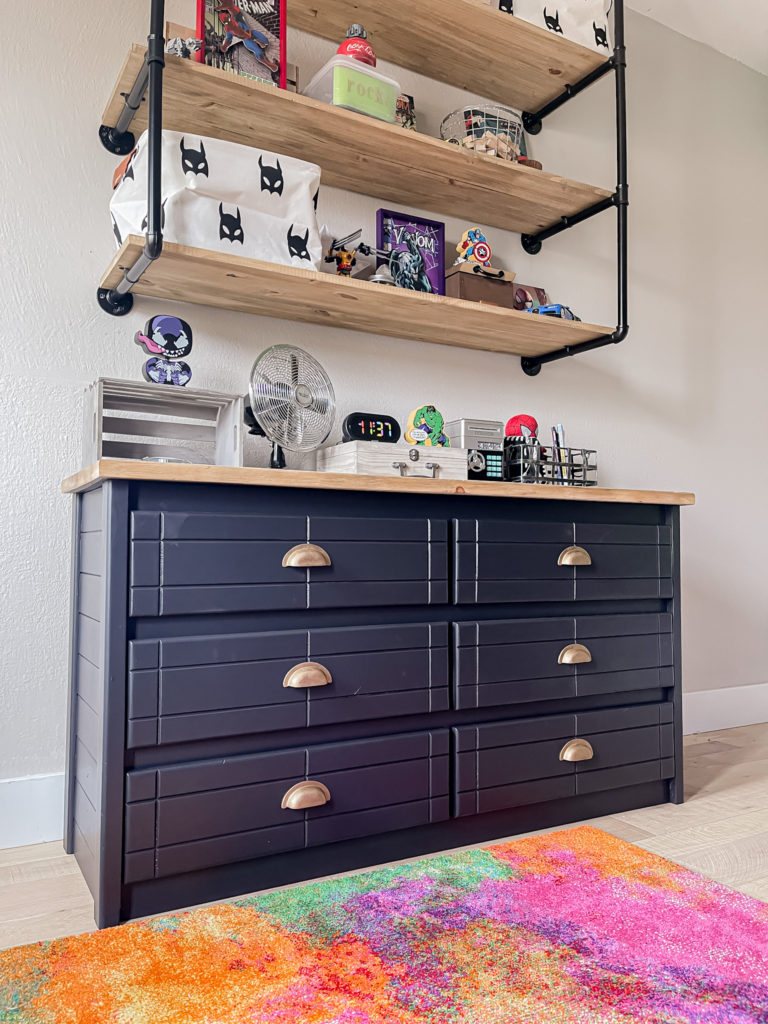
I stained the top with dark wax and finished it up with some rub n buff on the pulls. I absolutely love how it turned out!
Once that was done, I worked on getting things hung up on the walls, but the wall next to his swing was feeling awfully bare. I decided to add in some large skyscraper decals, but was shocked when I realized how pricey the big ones were! For the size that I was looking for it was going to be $150-$200 which I found insane for some decals. So I decided to get creative.
I started by using a level and some painters tape to draw outlines. I mainly freestyled, but I did have my laptop nearby to pull up inspiration photos when I got stuck.
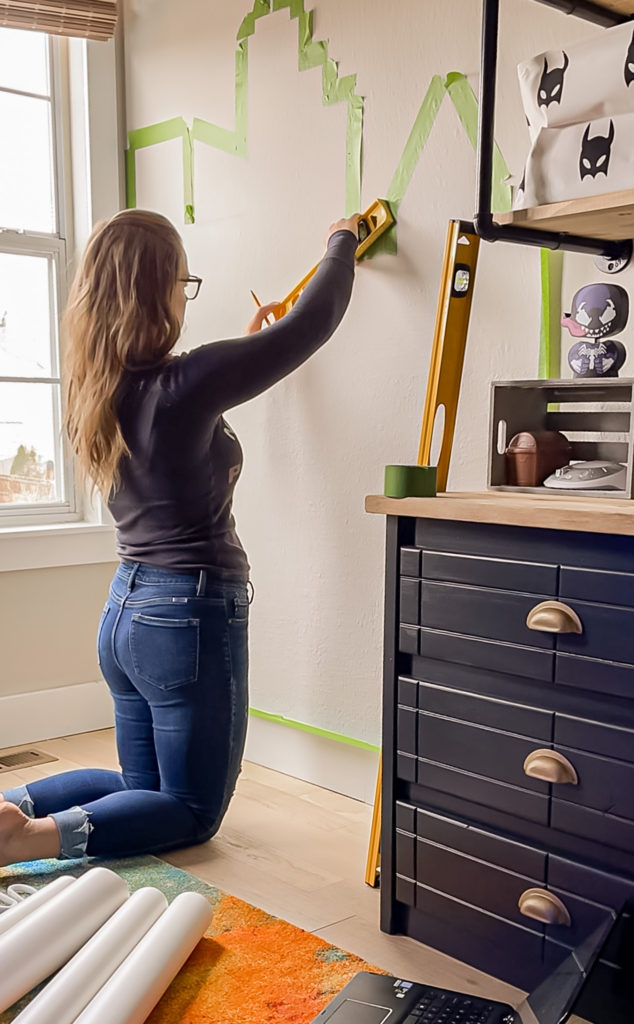
I ended up with some that would appear far in the distance (painted light gray), and then another set that would appear closer (painted dark gray).
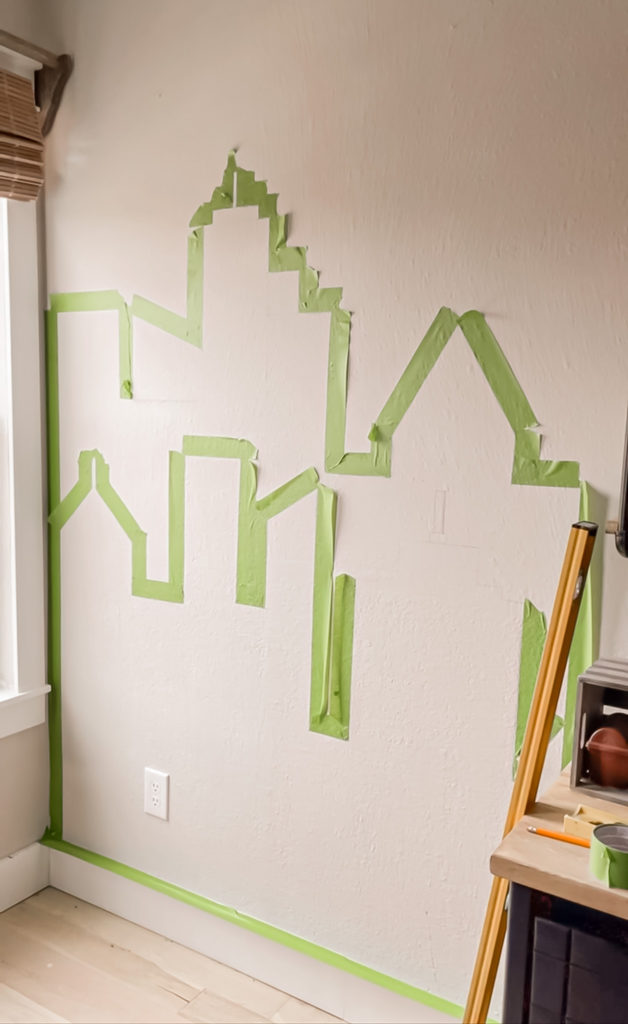
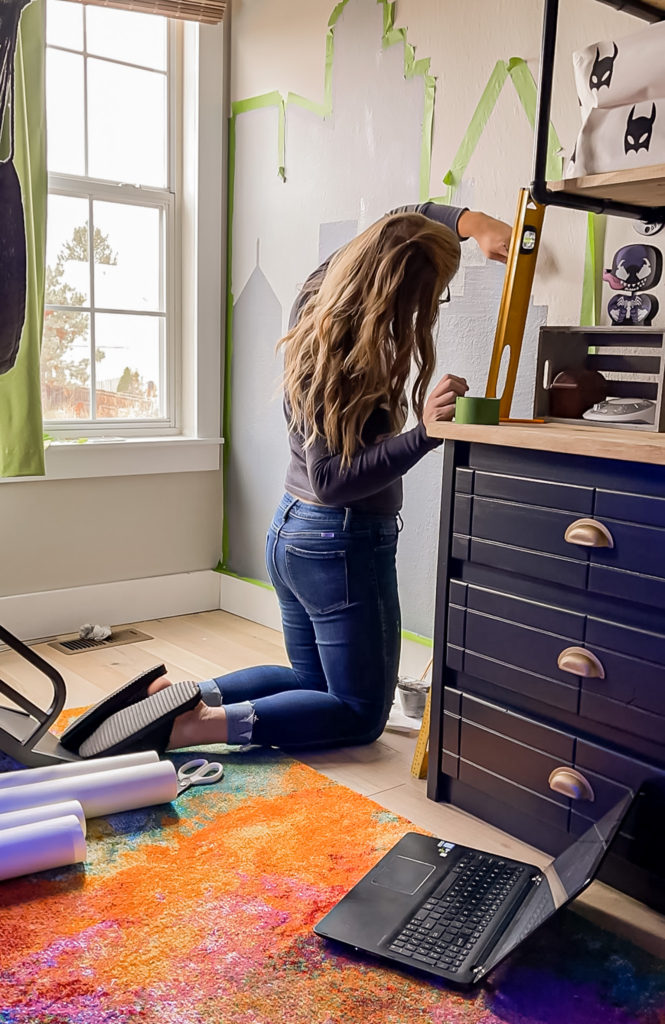
I started painting the front ones dark gray, then removed the tape to do the other set. I had to go in with a detail brush to get the area next to the previous ones.
I was pretty impressed with how well they turned out!
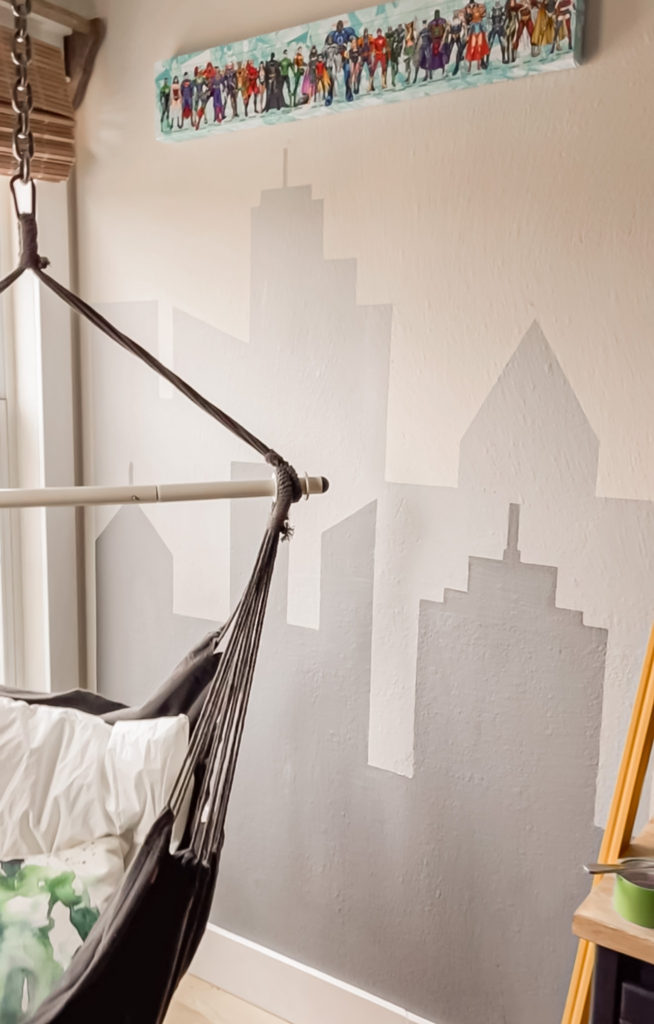
I didn’t stop here though, I found a set of decent sized decals at a fair price so I added them to the front. I am also going to add in a few superheroes on the buildings.
I can’t wait to update you on how it all turns out next week! See you all then 🙂