Happy Monday friends–I hope you all had a nice weekend! Ours was fun but super busy so it went by entirely too quickly.
Today I am sharing the final DIY project from the master bathroom makeover! When I decided to give our bathroom a little refresh while we wait on doing a big renovation, I knew that I wanted everything to be as budget friendly as possible. That meant working with what we already had!
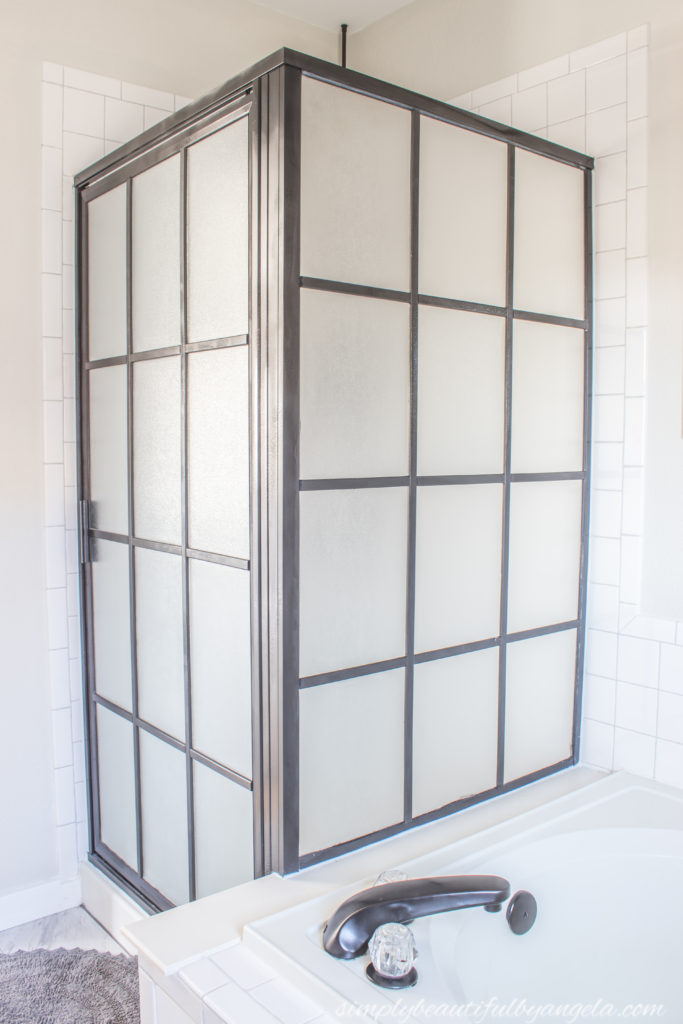
Such as painting the shower stall and adding trim…
Creating a concrete countertop out of the laminate one…
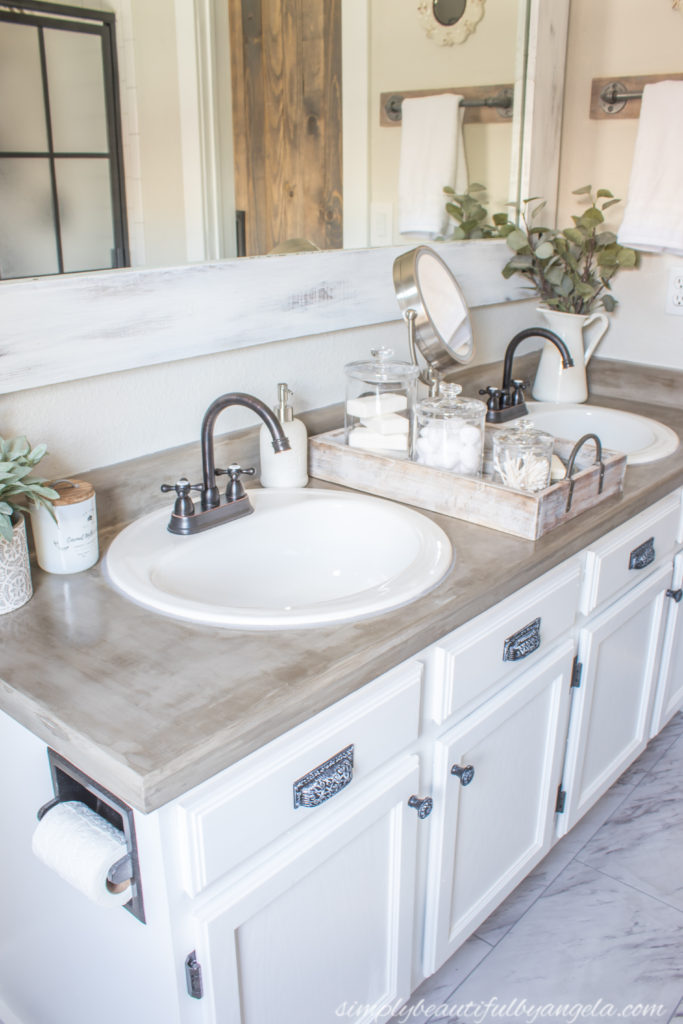
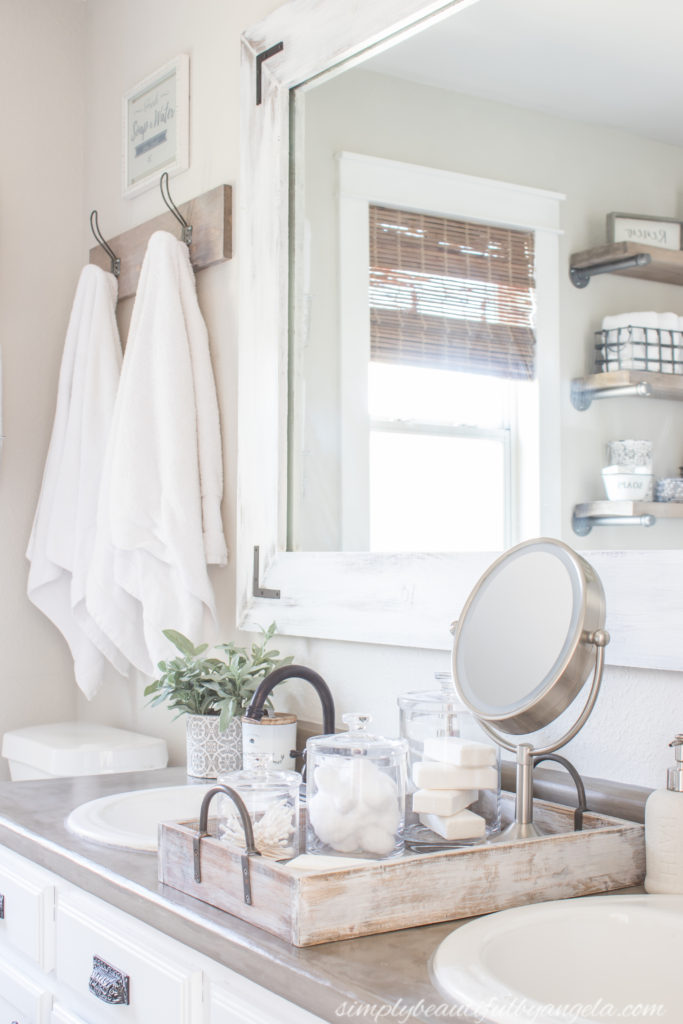
And framing the existing builder grade mirror….
The DIY work didn’t stop there! I also installed grouted vinyl tiles to replace the nasty carpet…
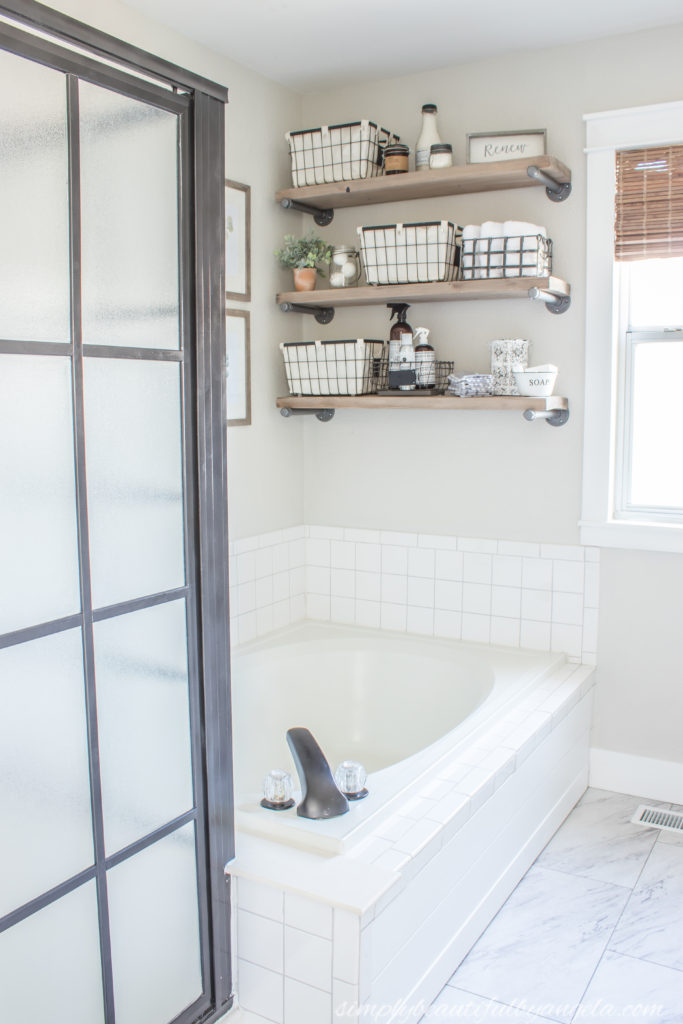
It’s truly amazing what a little bit of time and hard work can actually accomplish! But I still had one more area to tackle–the wall behind the bath tub.
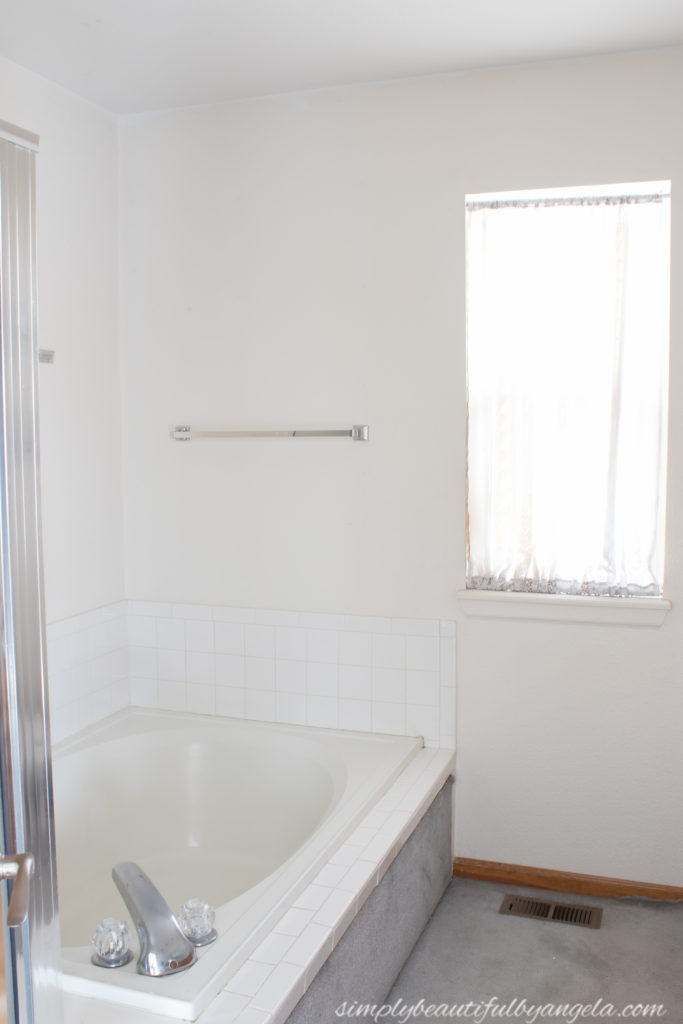
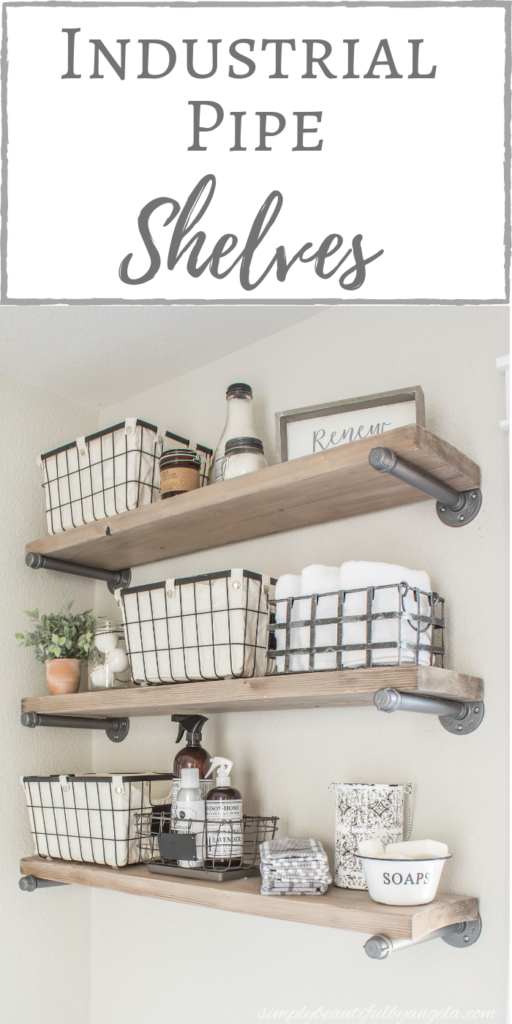
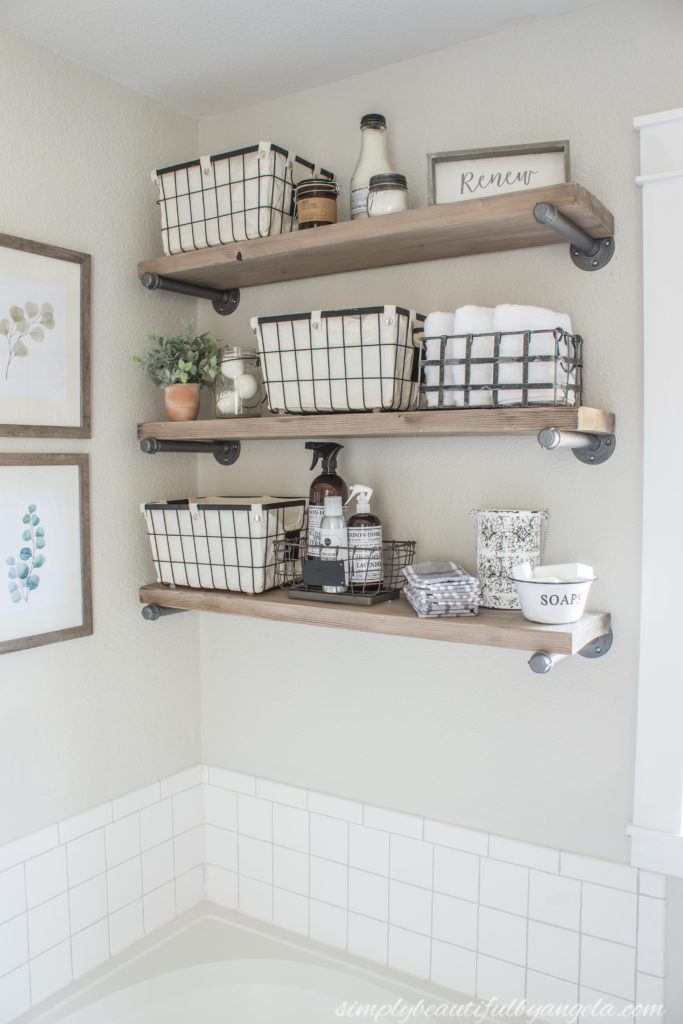
I found that without a linen closet in here we were really lacking storage space. So I knew that some pipe shelving would be be a double win because it would be super functional and look nice!
Supplies Used:(Affiliate links may be provided for convenience. For more info, see my full disclosure here.)
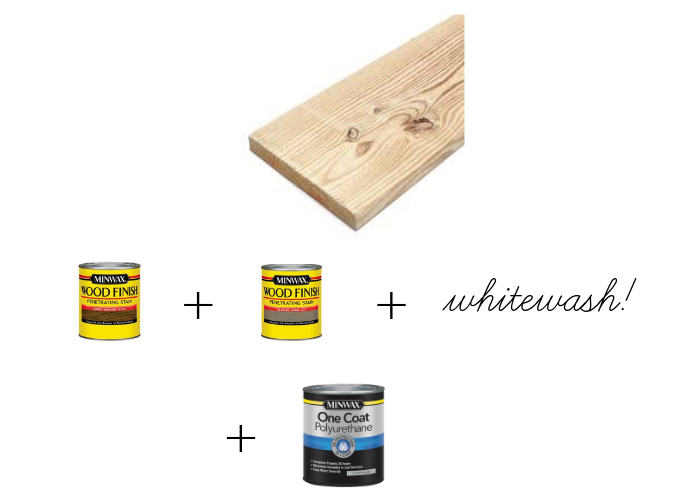
- 2x10s
- Minwax Dark Walnut
- Minwax Classic Gray
- White Paint (for whitewashing)
- 220 Grit Sandpaper
- Minwax One Coat Polyurethane
- 3/4″ Pipe Flanges
- 3/4” Pipe @ 10″ Length
- 3/4″ Pipe Caps
- Self Drilling Drywall Anchors with Screws
- Rust-Oleum Weathered Steel Spray Paint
Okay so first and foremost, these shelves are NOT super budget friendly because pipes and fittings are actually kind of pricey. I spent about $85 for the three shelves. However, since then I’ve found some bundle deals on Amazon (linked in the source list) that are a bit cheaper, so I’ll definitely be going that route if I decide to build these anywhere else in the house.
Step 1. Stain and Seal Boards
I didn’t get a picture of working on the boards since it was nearing the end of the One Room Challenge and I was working at the speed of light, but I simply purchased a 2 x 10 @ 10′ and cut it down into three 40″ boards.
I briefly sanded them to get rid of any rough spots before treating them in this order:
Step 2. Assemble Pipes
I washed all of the pipe pieces in warm soapy water to remove as much of the oil and film as I could. Then, I assembled them like so:
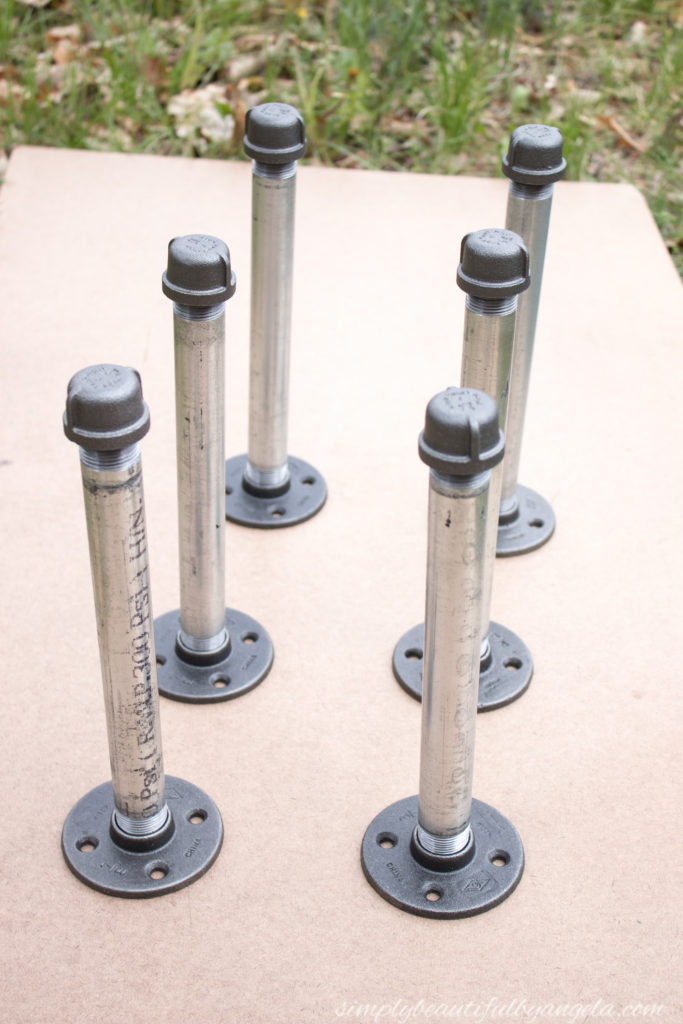
Once they were assembled I sprayed them with Rust-Oleum Weathered Steel Spray Paint.
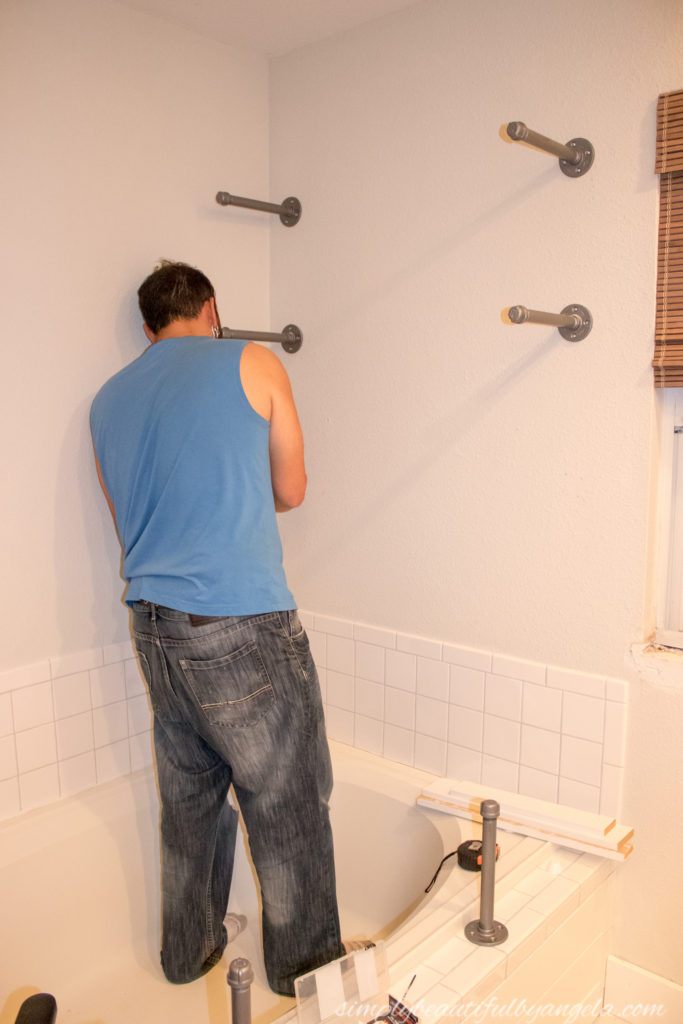
Step 3. Mark and Measure
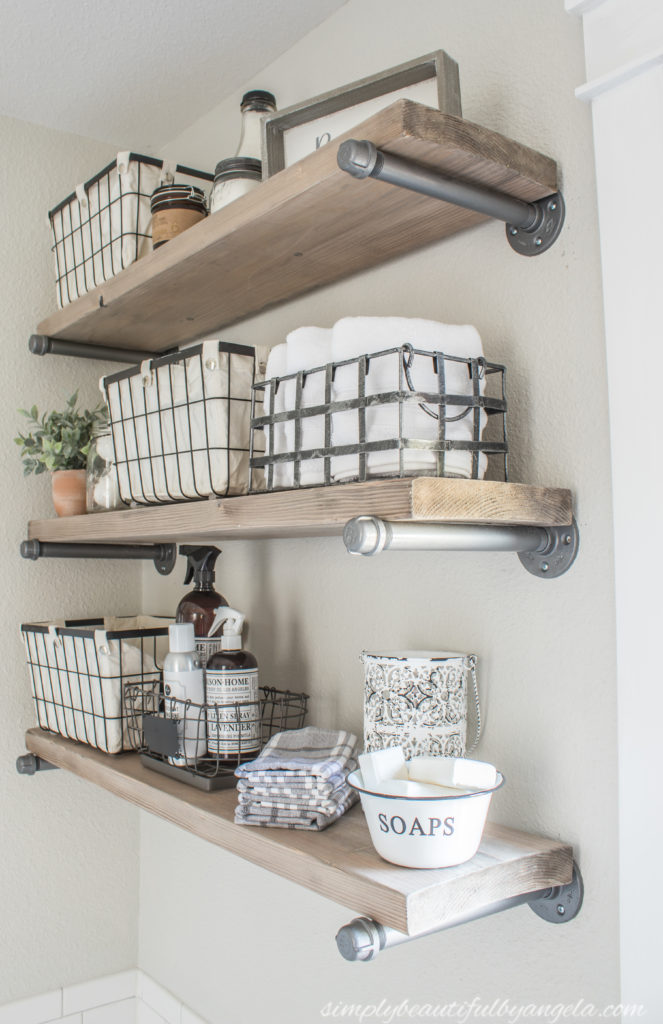
We took turns holding the pieces up on the wall to decide how far apart we wanted them. I had a specific basket that I wanted to use on the shelves, so that really helped us decide! We didn’t hit any studs (of course) so we used wall anchors to secure them.
Then I simply set the boards on top!
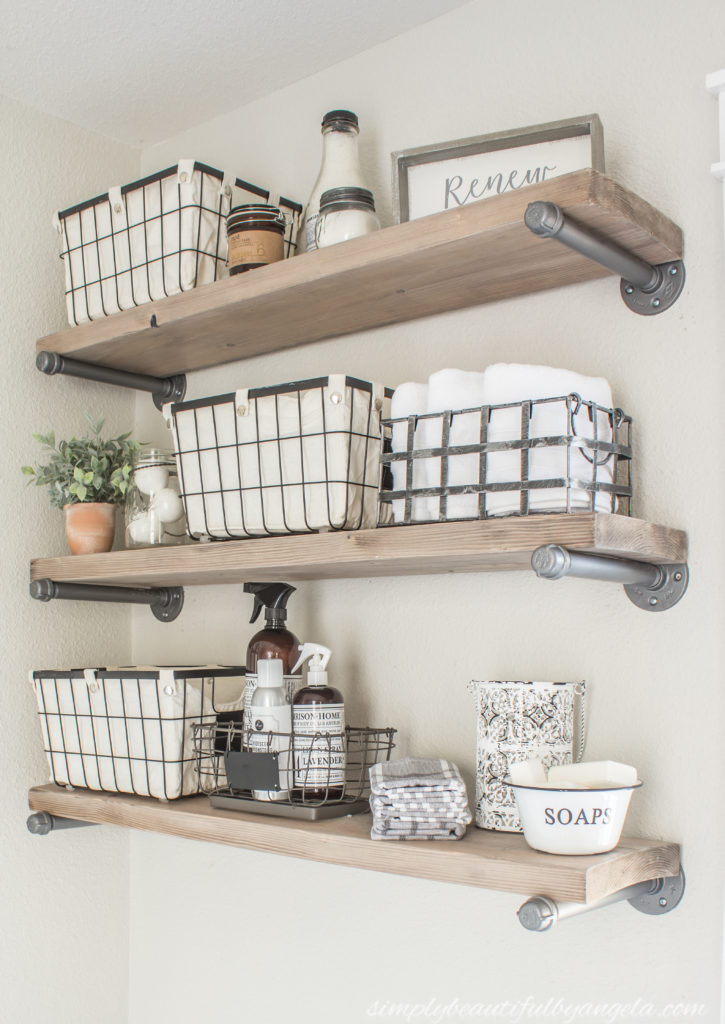
We chose to have our boards line up with the edge of the flange since they are in a spot that they are not likely to be hit. If they’re in a more high traffic area, then I would recommend moving the pipes more towards the center just in case the board slides.
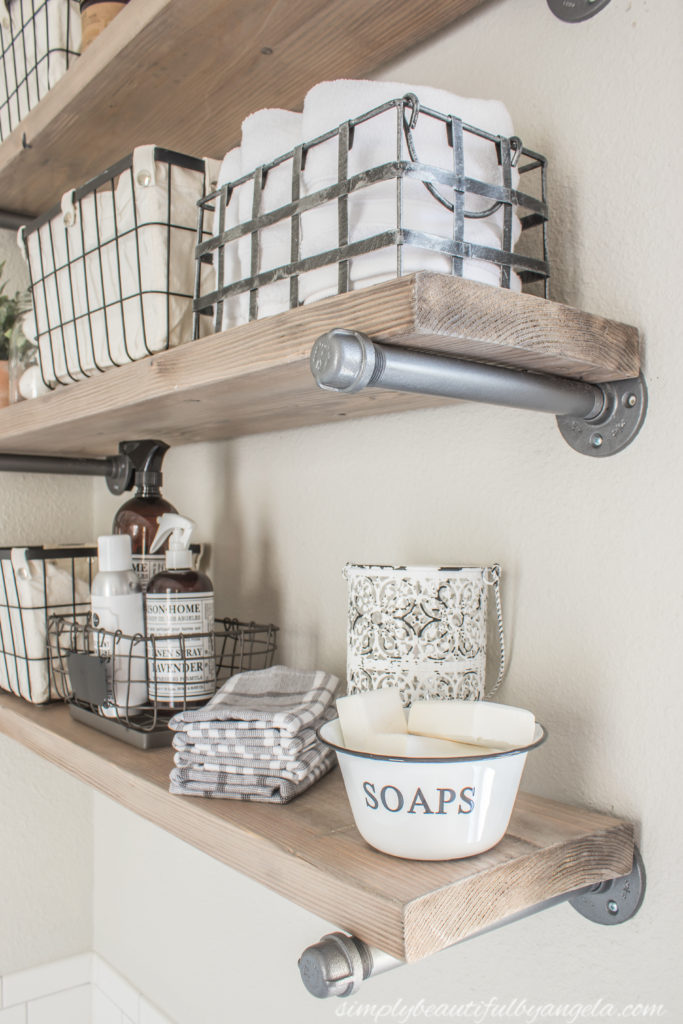
I love the industrial feeling that they give our bathroom.
It’s been so nice to store extra toiletries here rather than in the hall linen closet.
Whew! And that’s a wrap on our master bathroom tutorials–thanks for being patient with me. You guys are troopers!
Starting next week I’ll start sharing what’s next on the agenda for our fixer upper. Stay tuned!
Linking up to these fantastic link parties!
Love this industrial look and you did such a great job. I’m sure you are enjoying it. Thanks for sharing with To Grandma’s House We Go, I’ll be featuring you next week!
Thank you so much Chas!!
Beautiful and functional! My favorite combination!
Thank you Holly!! Mine too 🙂
So simple and stylish! Looks fantastic!
Thank you so much Sarah!