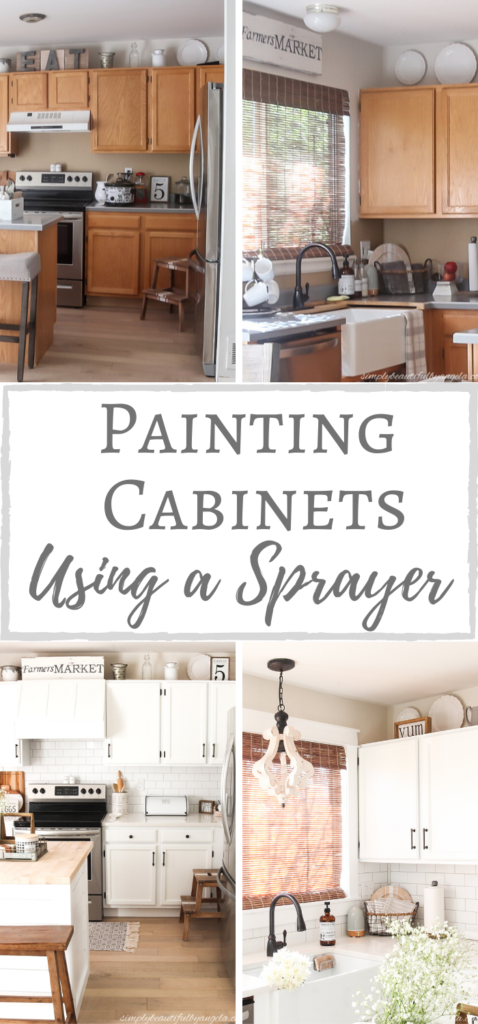
Hi guys! I hope you’re all having a nice week. We’ve been experiencing some super nice weather here the last few days and it’s been absolutely glorious. Even though I believe we’re expecting some snow on Friday, I’ve really been enjoying this little spring teaser!
As I promised last week, today I am finally going to share how I painted the kitchen cabinets in our current house! It’s the second to last tutorial that I wanted to share from our budget kitchen makeover that we completed last fall. In case you missed any of the ones that I’ve shared so far, I’m linking them all here. 🙂
When we first purchased our current house the kitchen was equipped with basic builder-grade oak cabinets.
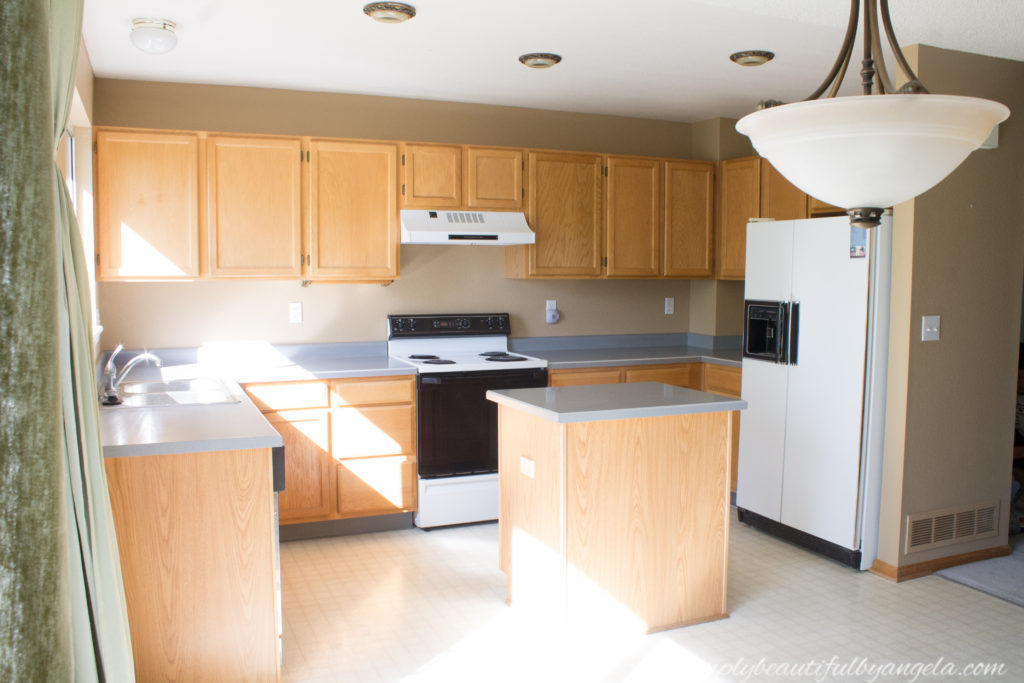
It didn’t scare me since I had already been down the cabinet painting road at our old house. In fact, I actually painted the kitchen and all of the vanities TWICE because I changed my mind on color several months after finishing them. So it was safe to say that I had plenty of cabinet painting experience! However this time around I wanted to try using a paint sprayer.
Supplies Used:(Affiliate links may be provided for convenience. For more info, see my full disclosure here.)
- Liquid Deglosser
- Krud Kutter
- Scouring Pads
- Painters Triangles
- Frogtape
- Dropcloths
- Home Right Finish Max Paint Sprayer
- BM Advance Primer
- BM Advance Satin
- 2″ Angled Brush
1. Degloss
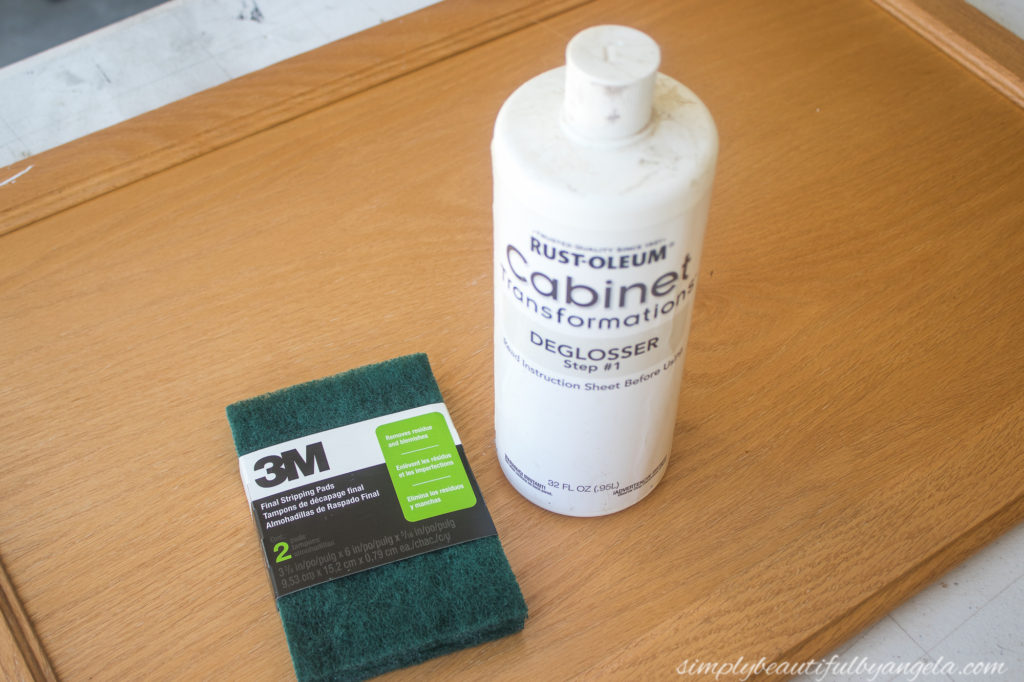
After taking all of the doors down and removing the hardware, I took the them out to the garage and started scrubbing them down with liquid deglosser. A lot of people prefer to sand, but I find this to be just as effective and much less labor intensive. I used some left overs that I had from an old Rust-Oleum cabinet kit, but you can find a ton of options on Amazon like this one.
I find that these green scouring pads work the best. During the process it won’t look like it’s doing much since the wetness makes it appear shiny, however once it dries you will start to notice that the shine is gone.
2. Clean
After I was done deglossing the fronts and backs, I scrubbed them down with Krud Kutter. The deglosser took off most the grease and grime that had accumulated over the years, but I wanted to make sure that it was completely gone since paint definitely won’t stick to that gunk!
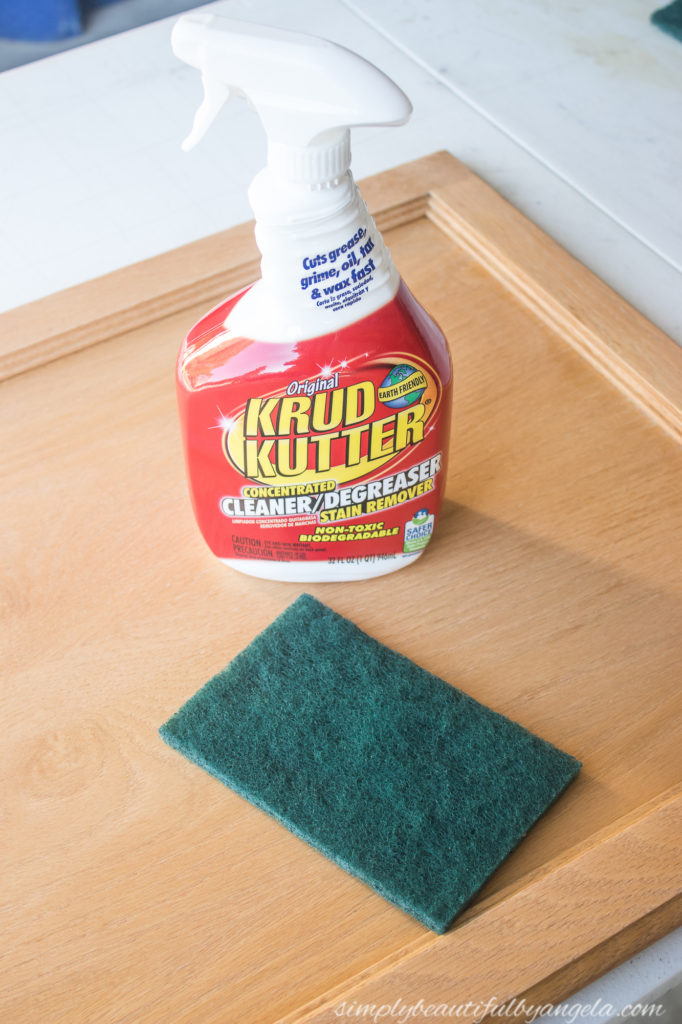
Once I was finished I took them out the the front yard and hosed them down, then propped them up against the house in the sun so that they could dry.
3. Thin Primer
I decided to use Benjamin Moore for both the primer and the paint since I’ve heard such amazing things about the Advance line. It’s self leveling which means that as it dries it smooths itself out and things like brush or roller marks disappear. Even though I was going to be using a sprayer, I knew that there could still be small little spots that I would want to smooth out. Benjamin Moore retailers can sometimes be tricky to locate so just check their website for the one nearest you. If there isn’t one close by I also noticed that you can find the Advance line on Amazon (although the price is a little higher).
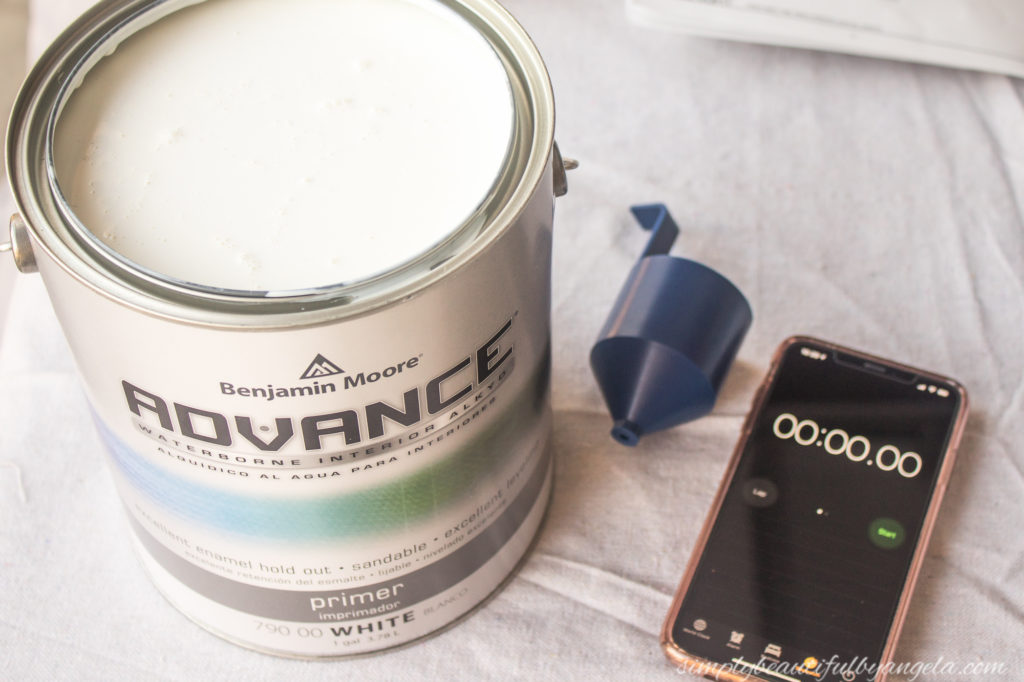
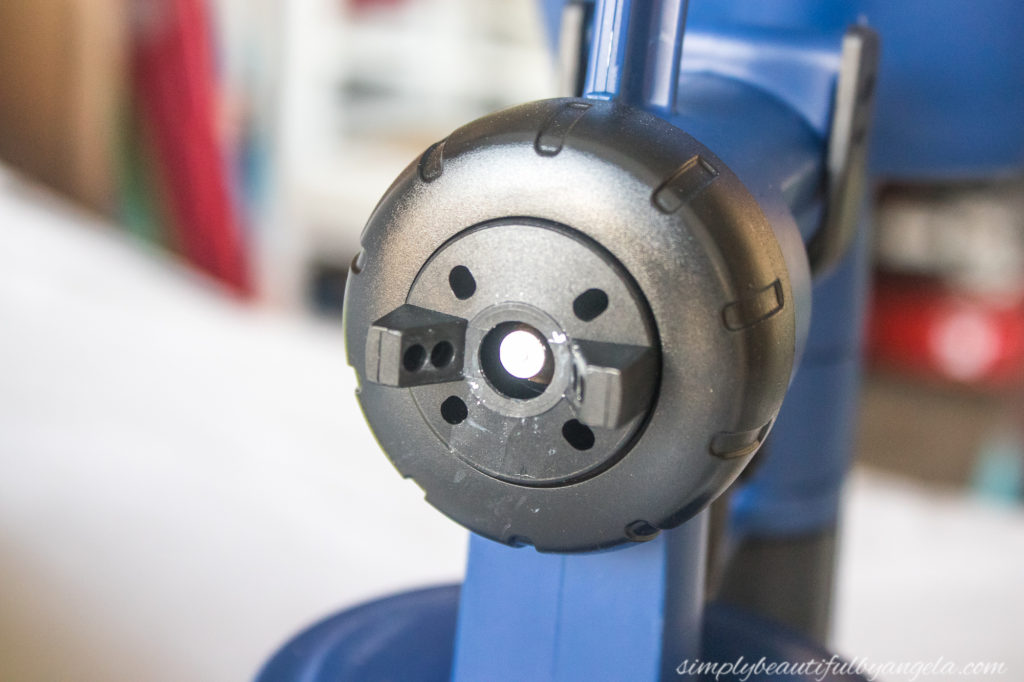
Before loading anything in the paint sprayer it needs to be thinned so that it doesn’t clog the sprayer. This used to make me nervous, however the Home Right Finish Max comes with a nice little viscosity cup to help with this. You just put some of the paint/primer in a separate container and add some water. You then fill up the viscosity cup and press start on a timer. The manual provides a chart that shows what time frame it should empty in depending on the type of product it is (latex primer, latex paint etc.). If it flows through too quickly, add more product and if it’s too slow add more water.
4. Set up Station
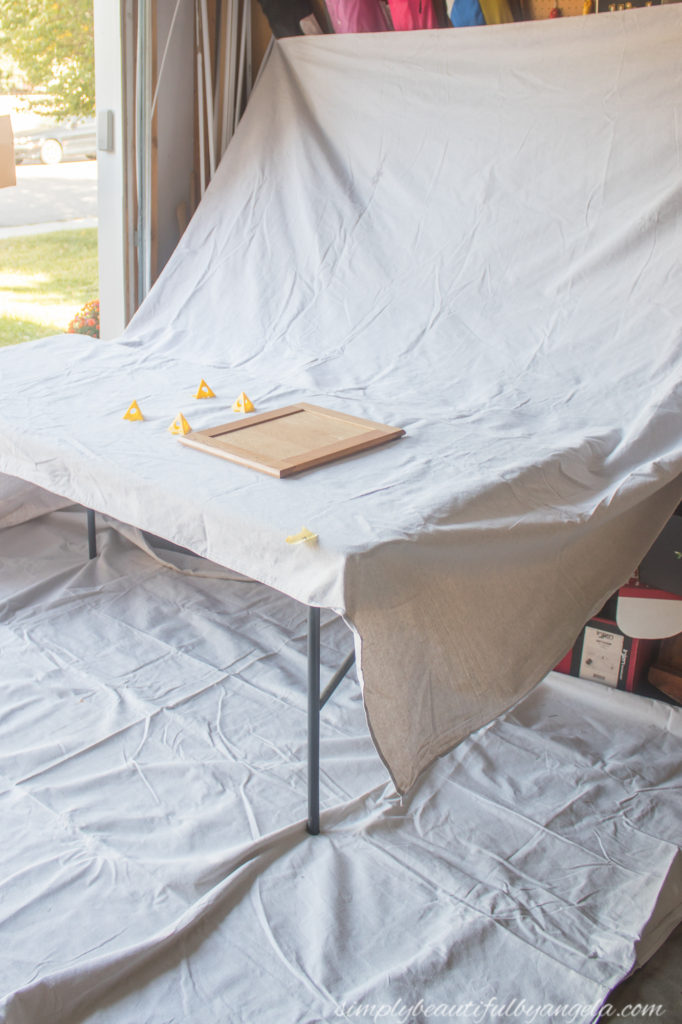
I originally had purchased one of those fancy painting tents, but after battling it for about 30 minutes trying to set it up, I decided to return it and just set up a couple of drop cloths. I attached one to the wall and draped it over my table and then laid another on the floor. I was obviously anticipating a ton of over spray but as you’ll see in a sec, there actually wasn’t very much.
I found these cool painters triangles on Amazon and decided to try them out. They make it so that you can get the sides more easily of whatever you’re painting.
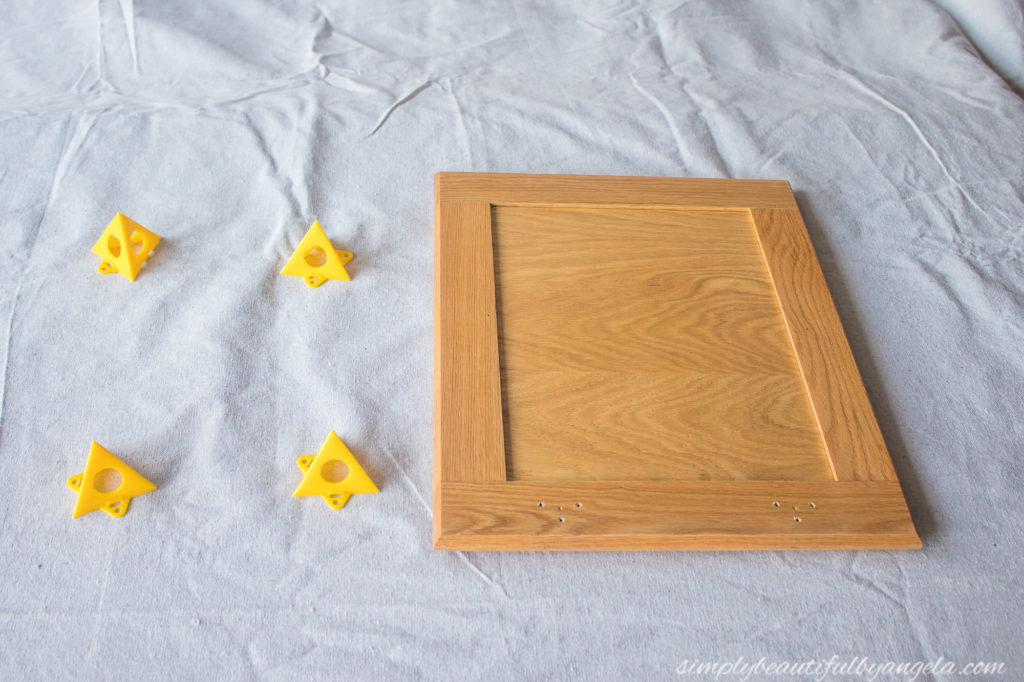
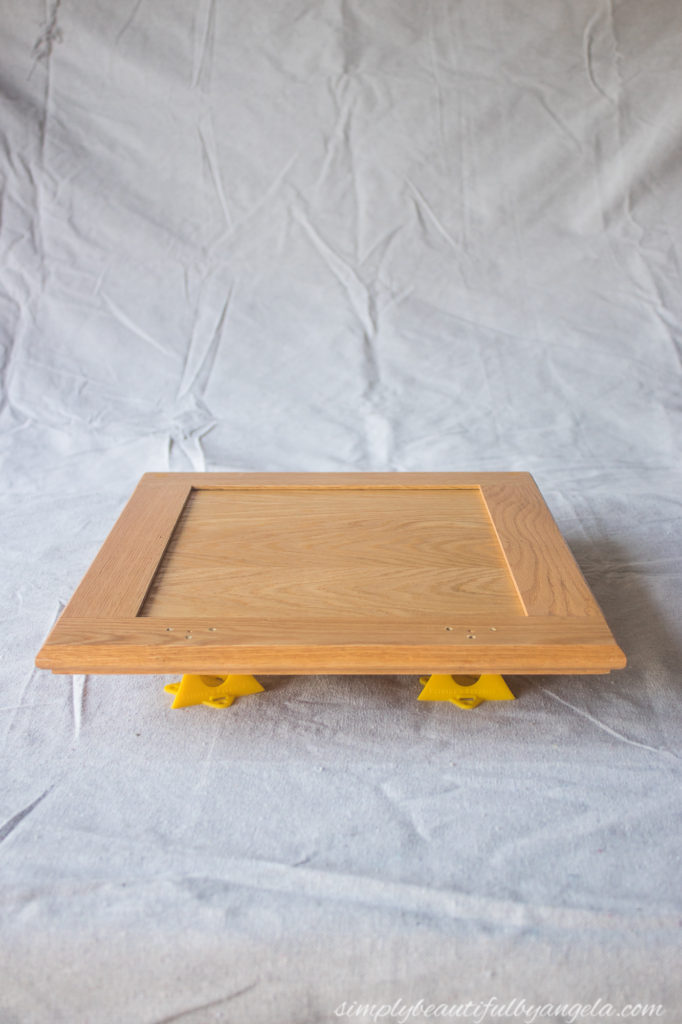
Pretty neat, huh? You can also use them to paint the other side before the first side has fully dried, however I didn’t have enough to rest all of the doors on so I didn’t do this.
5. Prime
If you’ve never used a paint sprayer before I recommend testing it out on a piece of scrap first just to get a good feel for it. I was pleasantly surprised to find that it was very easy to use, I just needed to play around with the nozzle setting to get a good coverage.
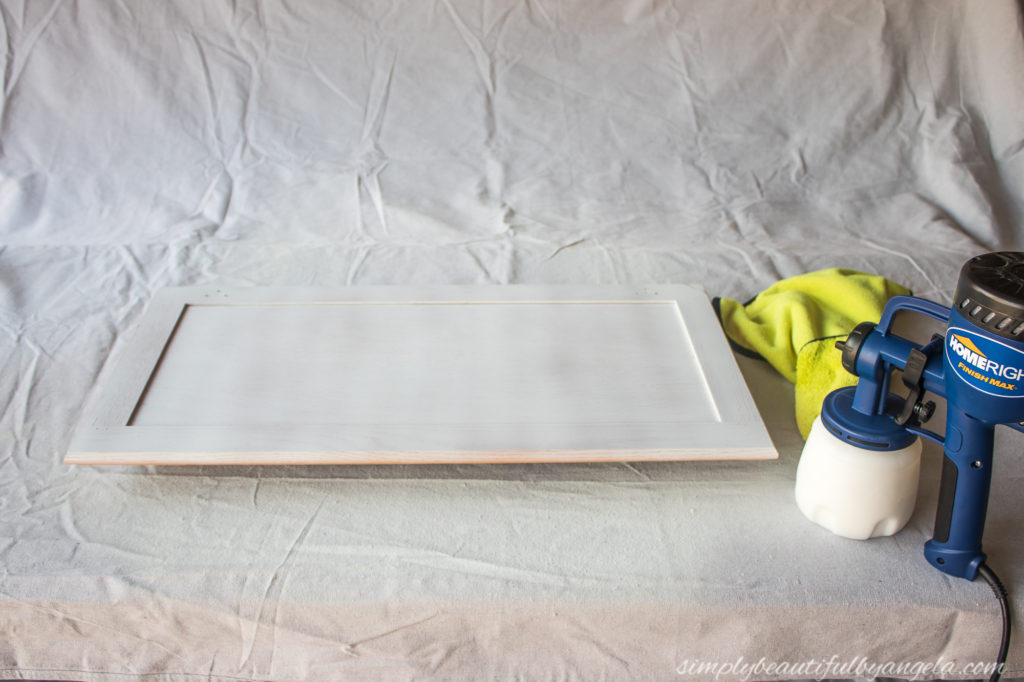
I couldn’t believe how quickly I was able to whip these doors out! What used to take me 5-10 minutes a door, now took 30 seconds. It was oddly satisfying haha.
I kept a rag nearby so that I could periodically wipe the brass piece of the nozzle off with a rag to keep it from getting clogged. I only had to do this every couple of doors or so.
I primed all of the backs and then did the fronts about two hours later. Since I didn’t have enough pyramids, I simply laid out pieces of scrap wood to rest them on once they were done.
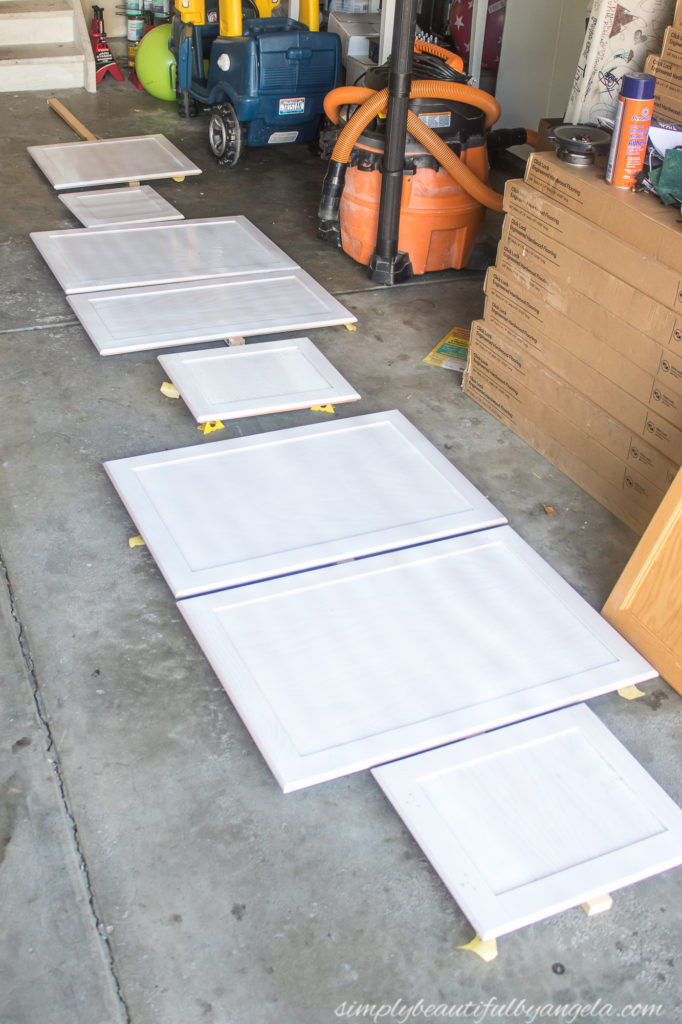
You can see in this picture that I had started off labeling them with Frogtape but it kept falling off so we basically had ourselves a little puzzle when it was time to hang them back up!
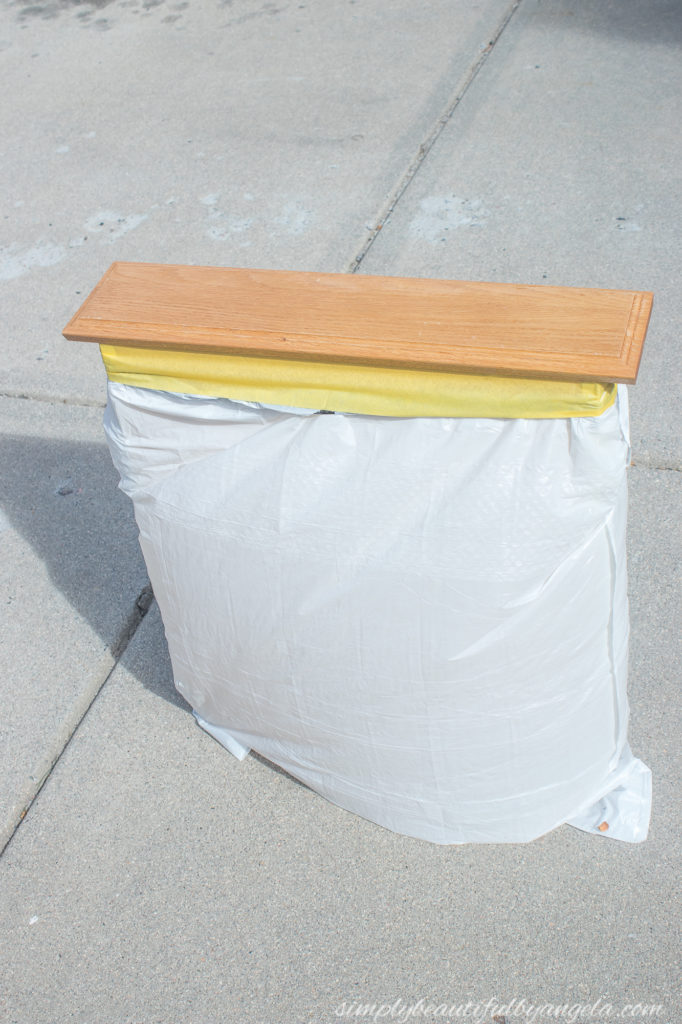
For the drawers, I stuck each one in a trash bag and then used Frog tape along the edge.
6. Paint!
Choosing a color was so hard you guys. So hard!
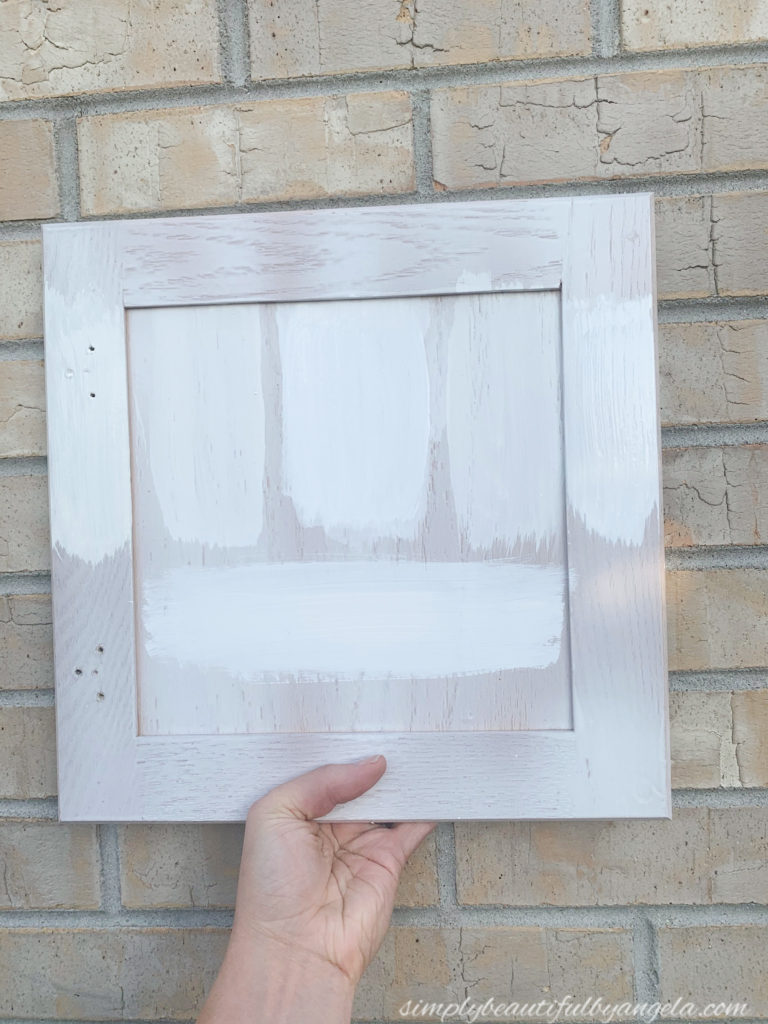
I tested 6 different colors on the back of one of the primed doors and agonized over which one to choose for days. Right off the bat I was drawn to Snowfall white (top middle in the picture above) because it was the brightest. I researched it online and heard a lot of people say that they thought it was too stark, but I knew it my heart that I wanted bright so I went with it and I couldn’t be happier with my choice!
I found that two coats provided enough coverage, however the wood grain is so deep on our cabinets that I decided that a third would help cover that up a bit. I followed the same process as the primer, the backs first followed by the fronts. I also sanded them lightly between coats to get a nice smooth finish.
Frames
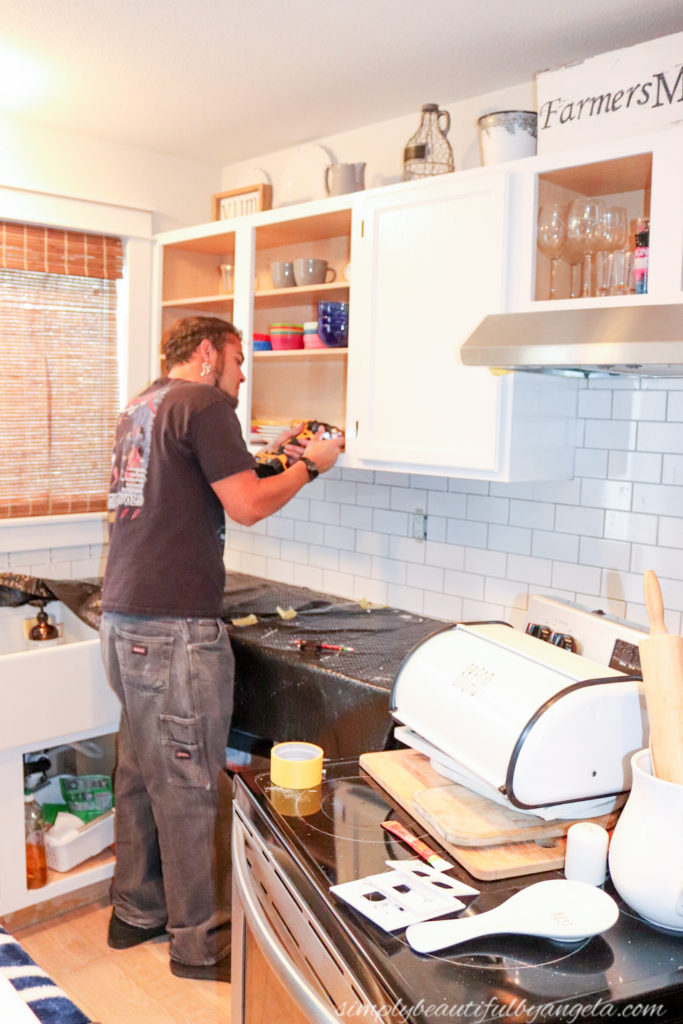
In between coats on the doors I worked on the frames. I followed the same deglossing and cleaning steps and then used a brush to apply a coat of primer and three coats of paint. This is where I really noticed the self leveling feature of the Advance–there are virtually no brush strokes to be seen. Ahhhmazing!
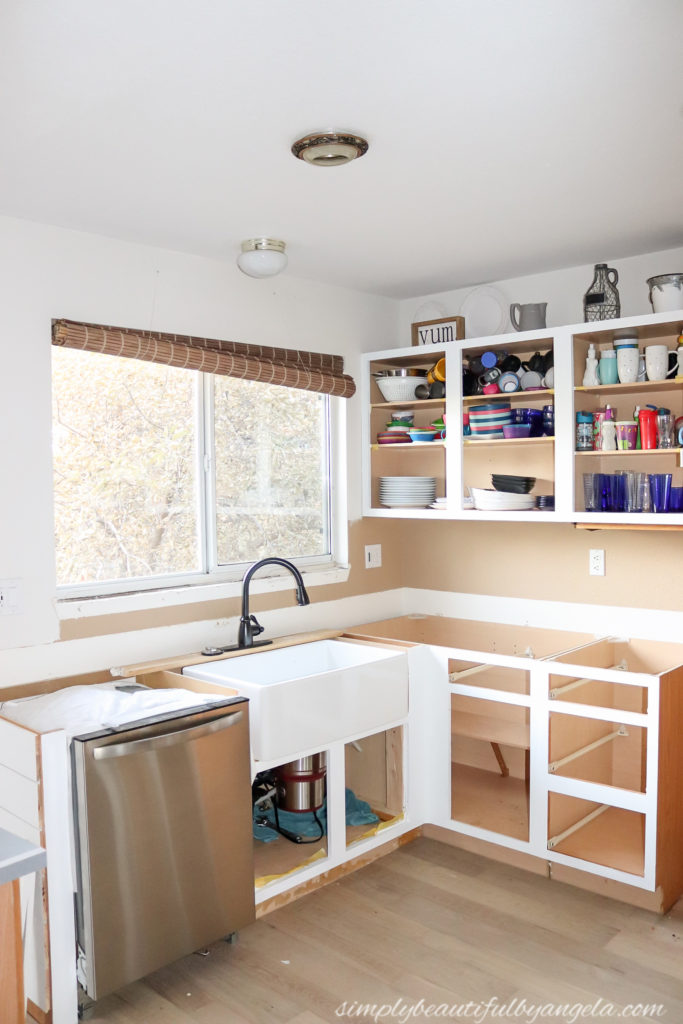
We let everything cure for a couple of days and once the new countertops were in we attached our new self closing hinges to the doors, hung them up and finally installed the new hardware.
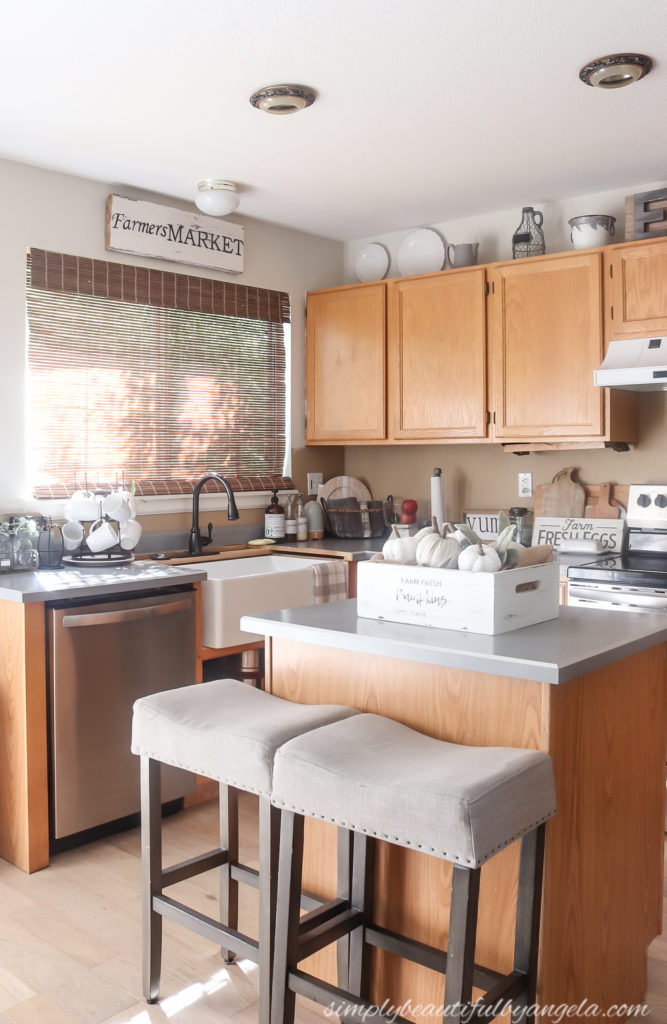
Okay, now for the fun part. As a reminder this is how the cabinets looked prior to painting them…
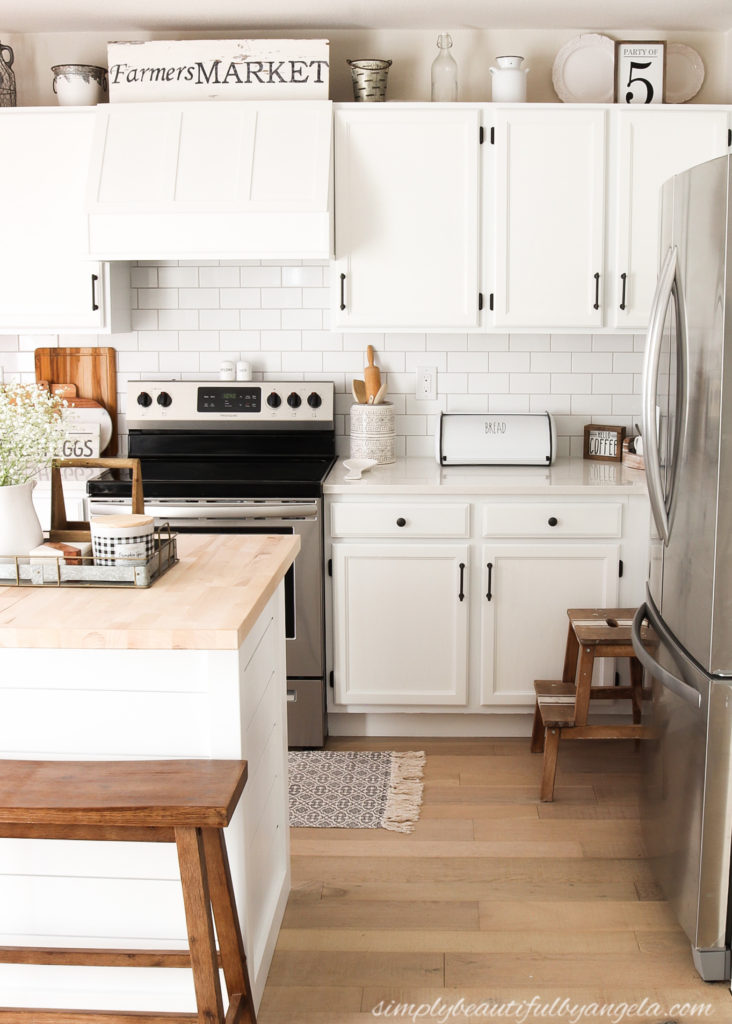
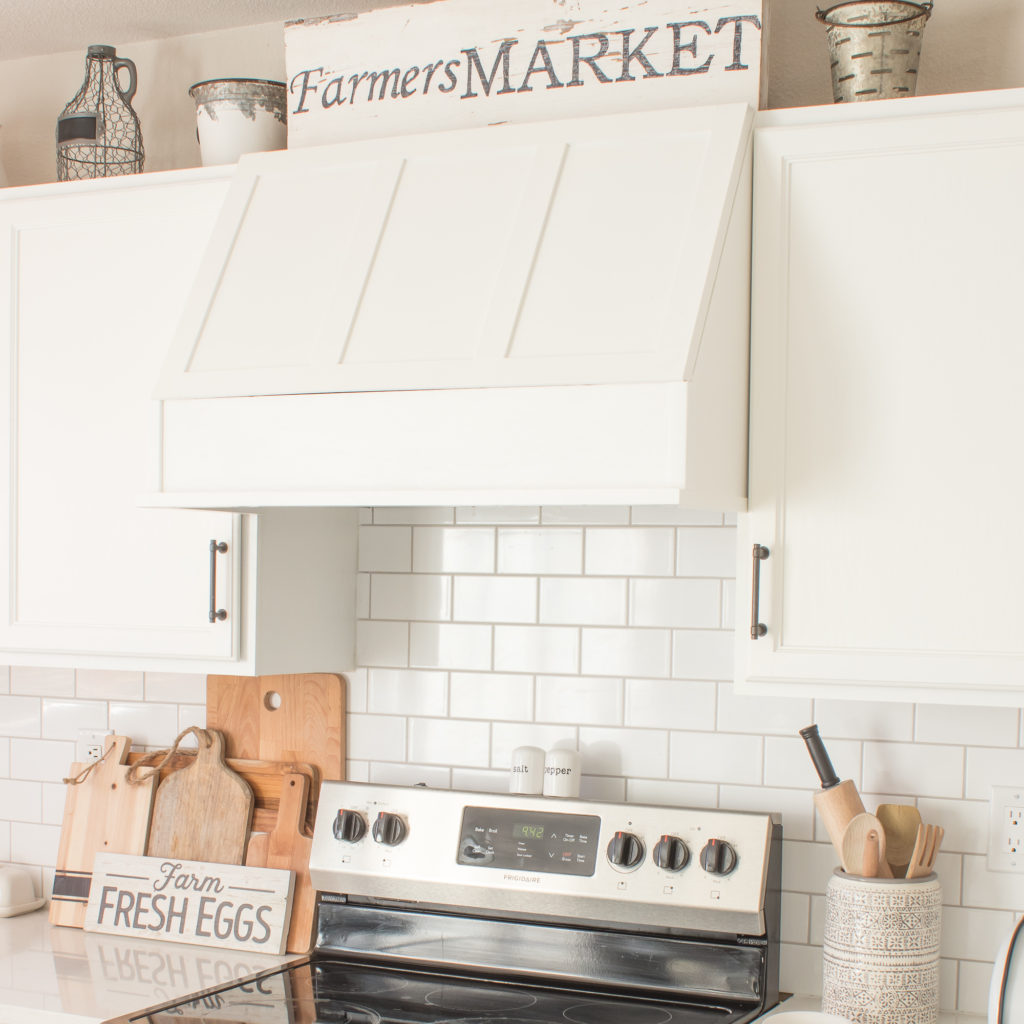
And here they were after!
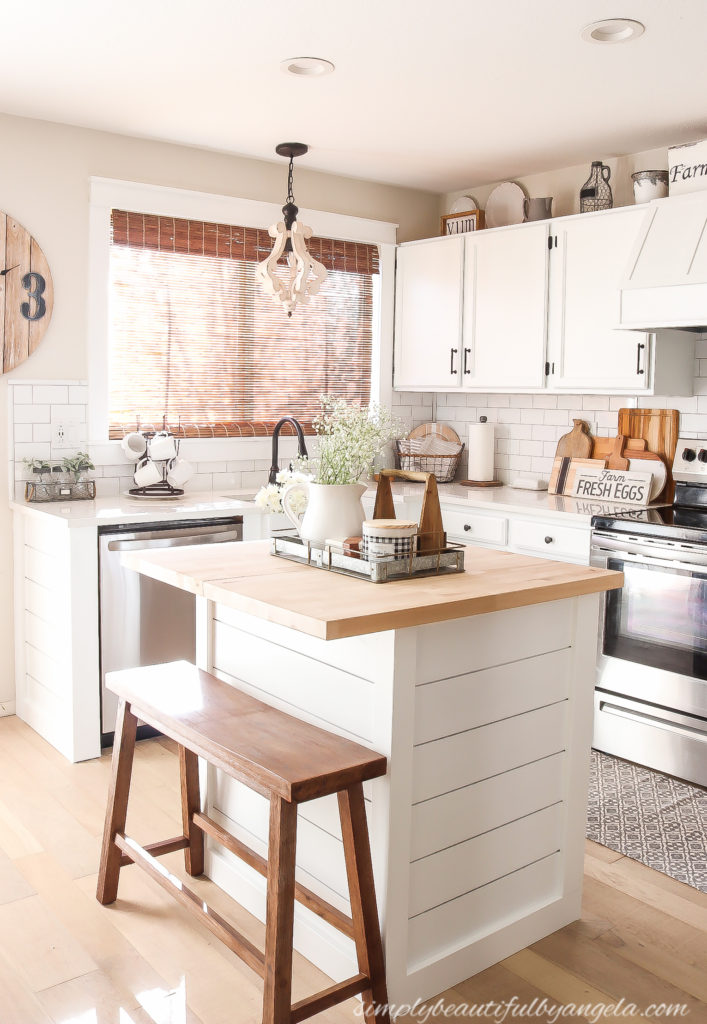
These pictures are from the kitchen reveal when I was still waiting for the replacement island countertop to ship–so try to look past that haha!
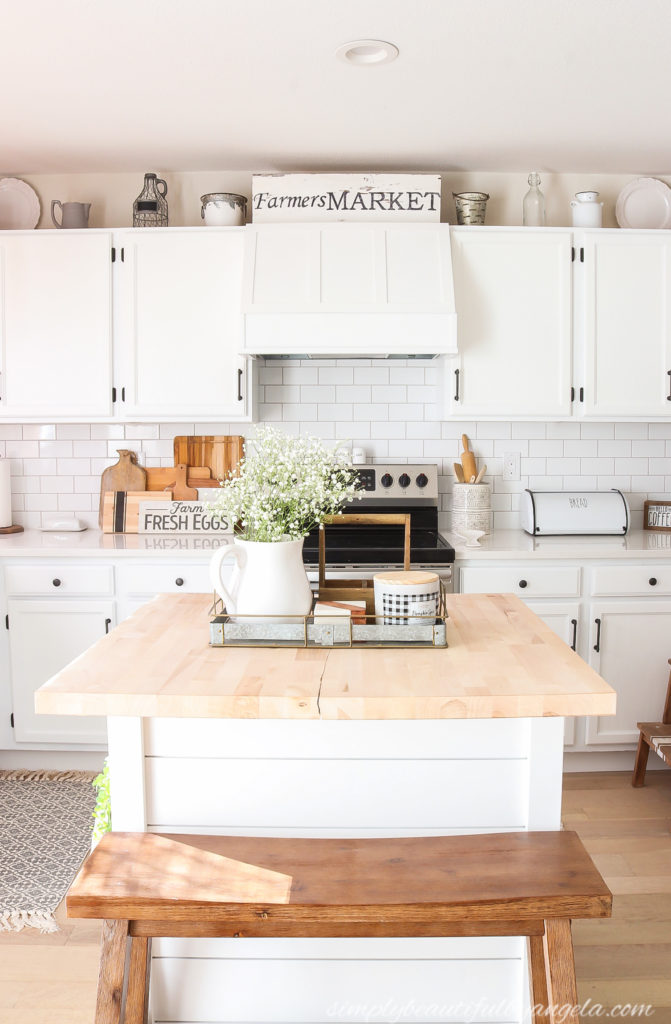
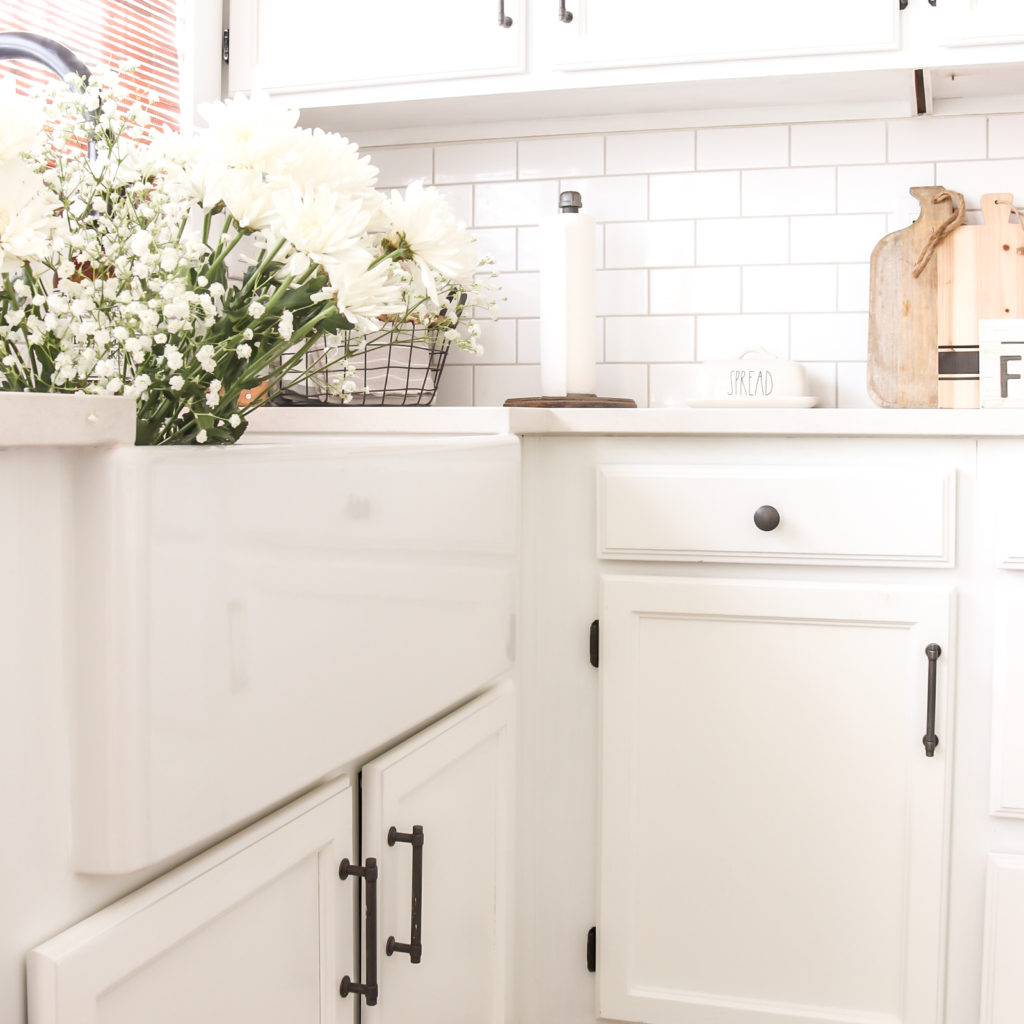
I chose these straight pull bars and matching flat top knobs and I am in love with the way the soft iron contrasts with the white.
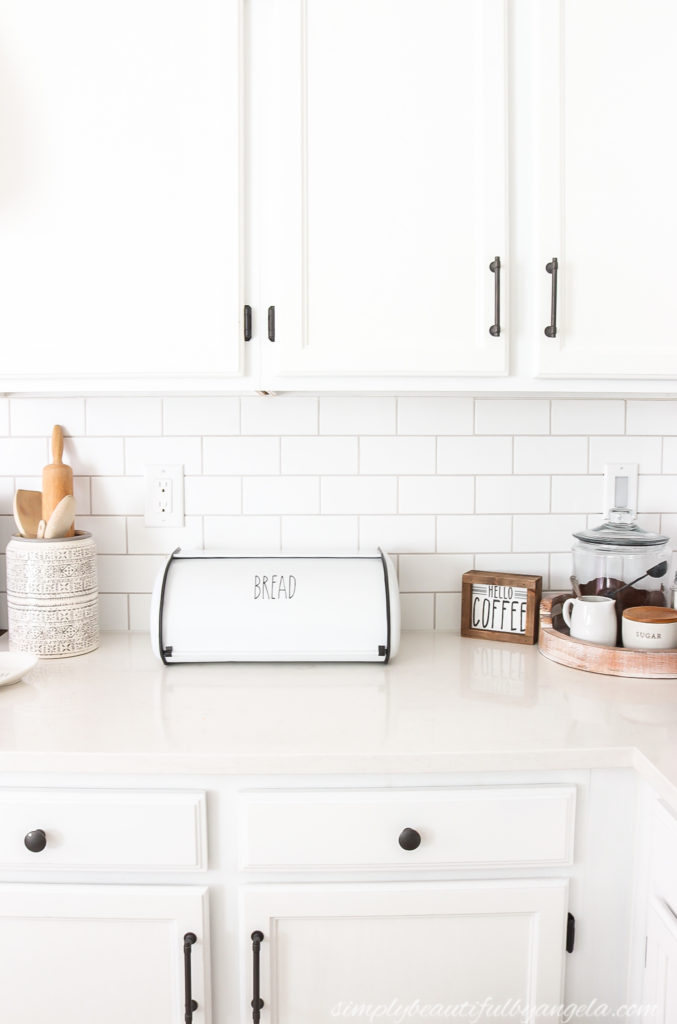
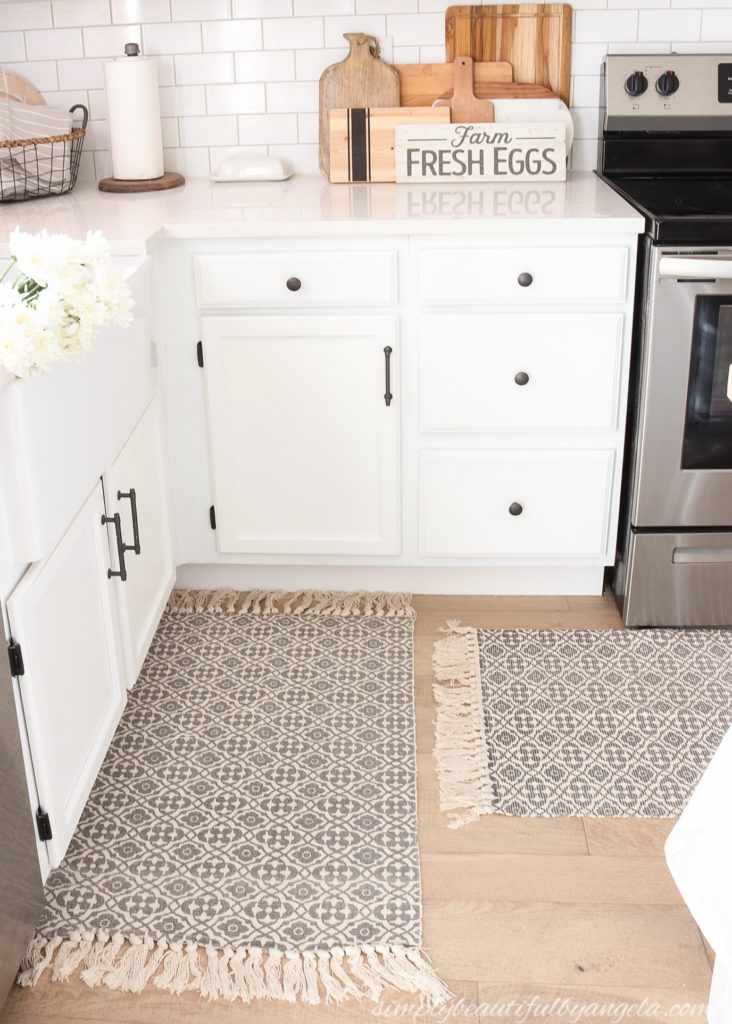
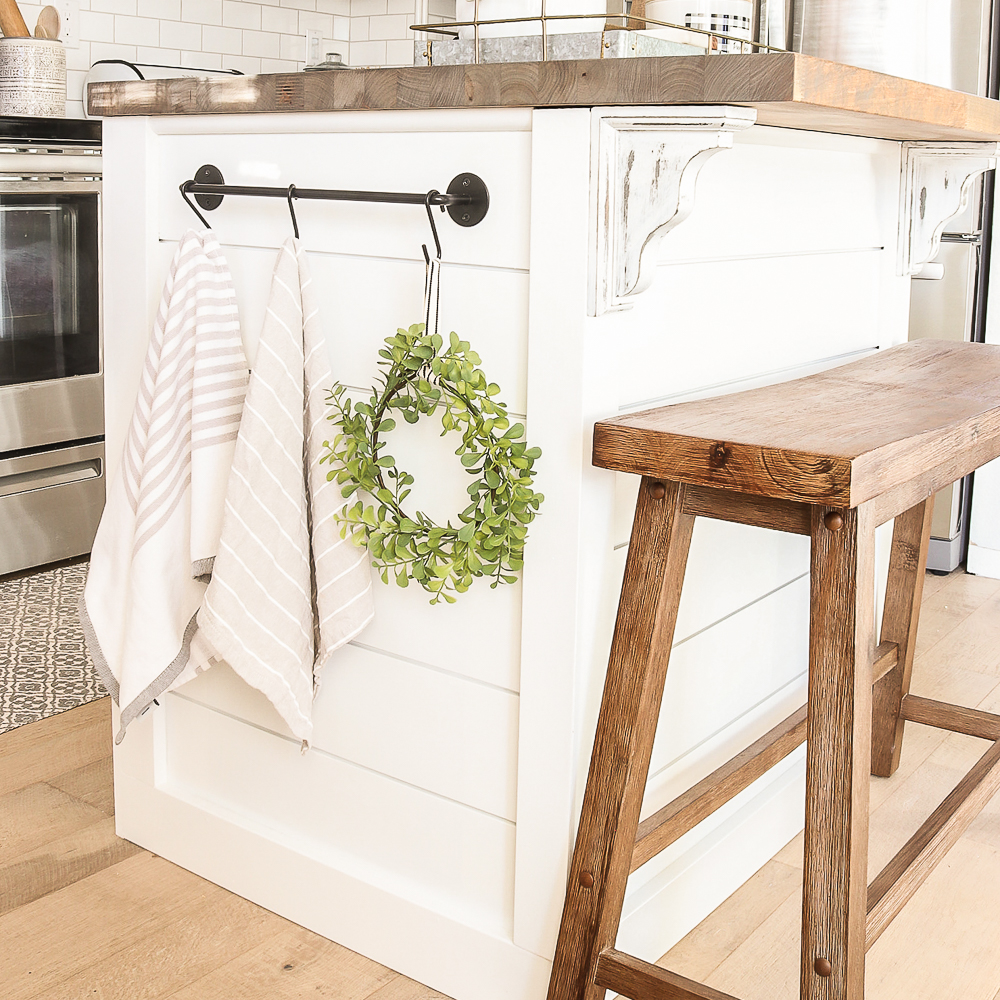
Here’s some more fun before and after shots!
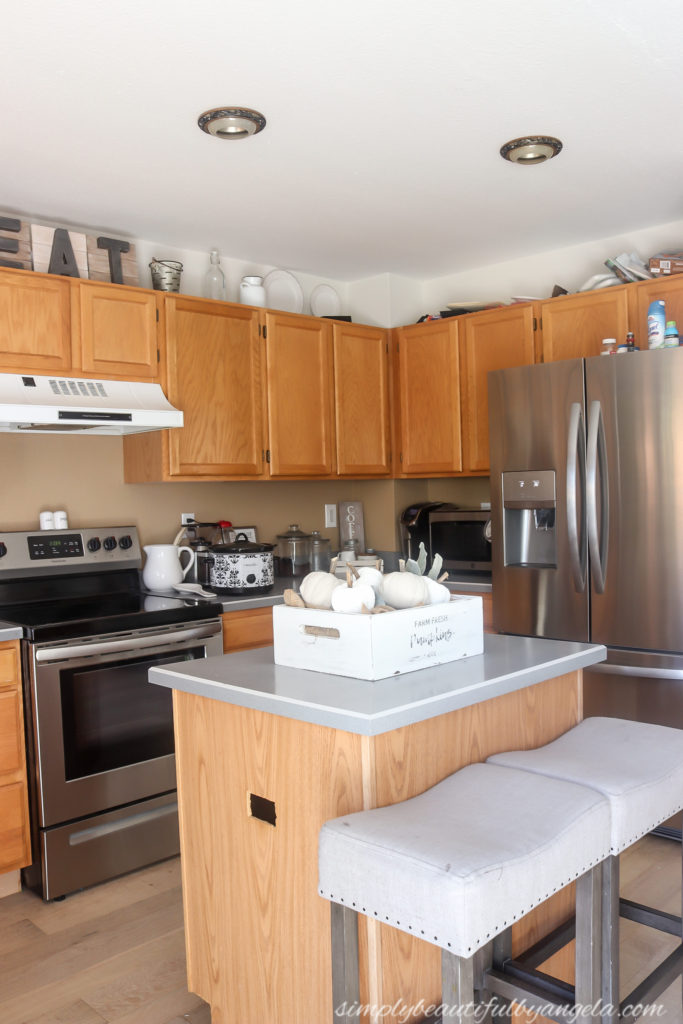
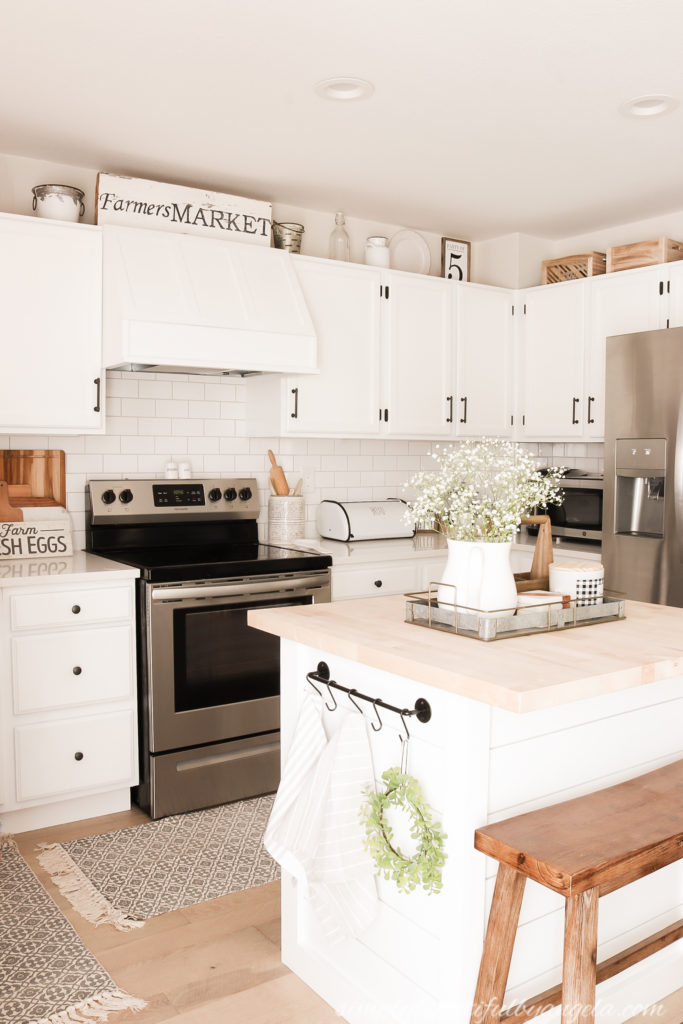
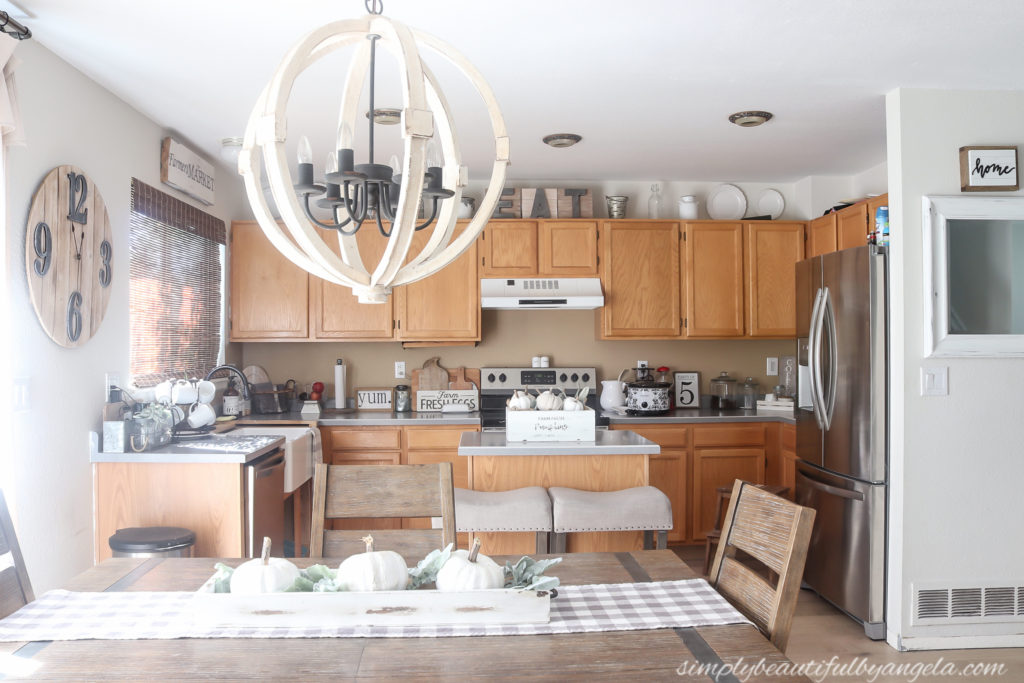
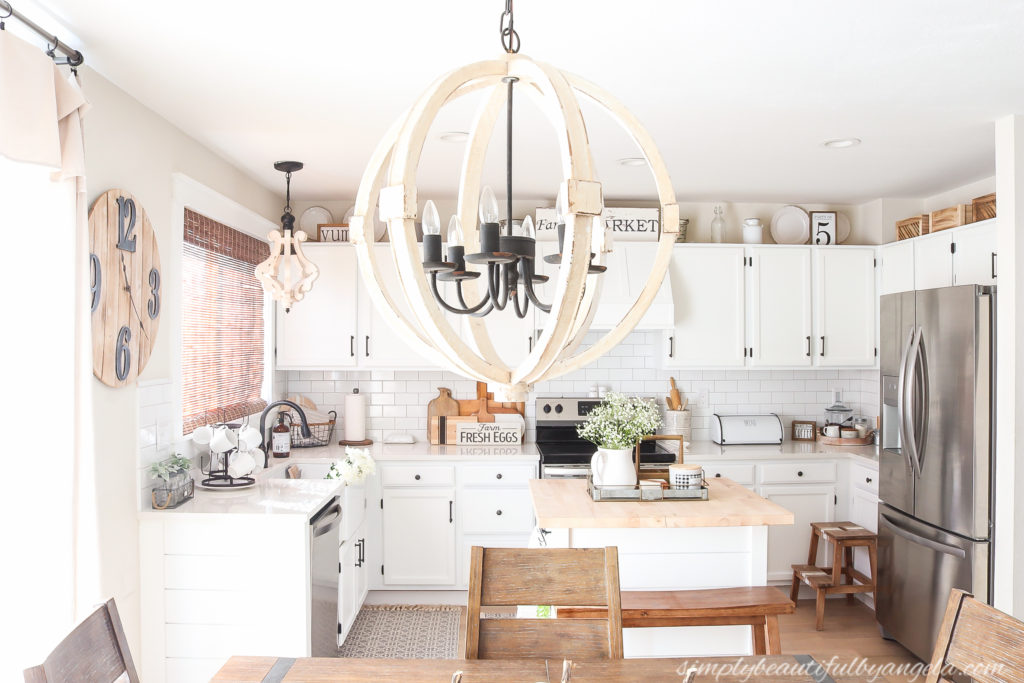
SUCH an amazing difference! Lighter, airier and much, much more cheerful.
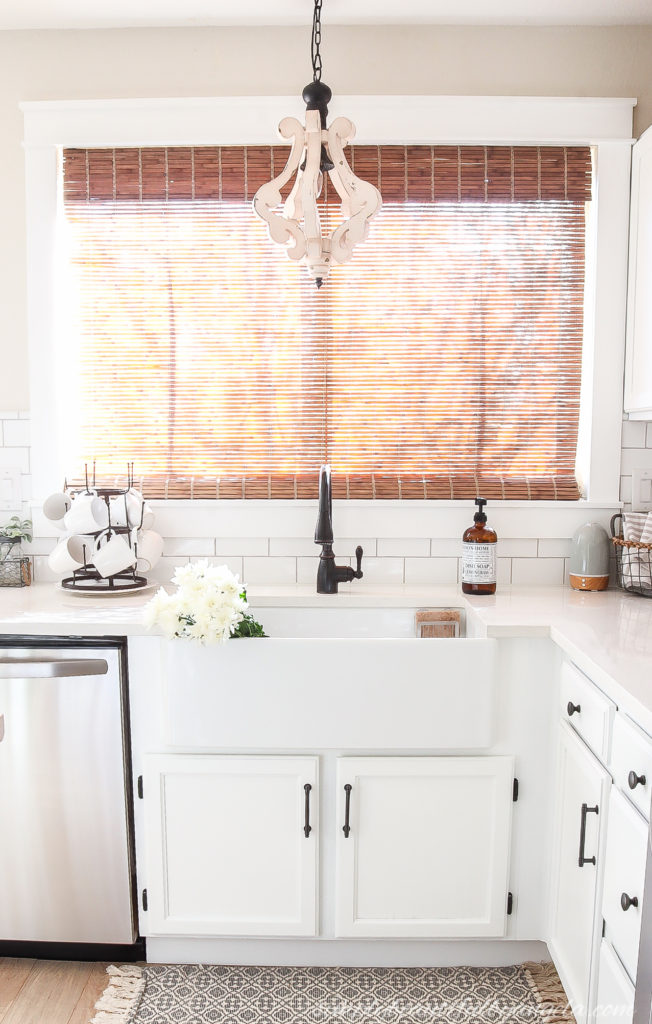
One day I would like to build upper cabinets with glass doors. Whenever I mention this the hubby reminds me that they will be an absolute nightmare to keep clean, but I still think that it would be totally worth it. After all, I’ve discovered Krud Kutter haha! But until then I’m pretty happy with how the paint has transformed them.
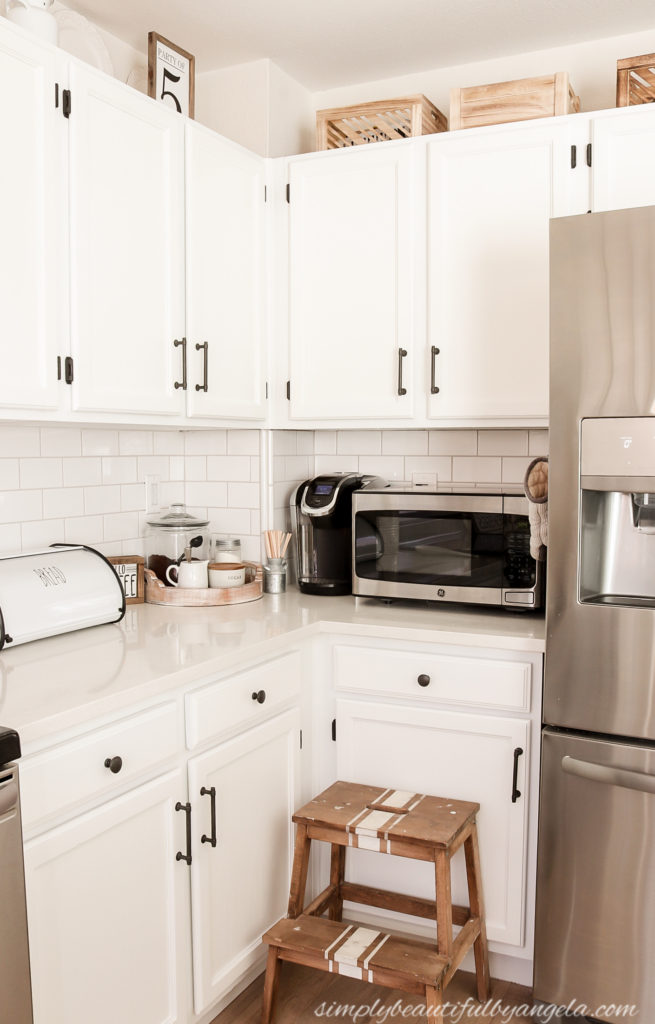
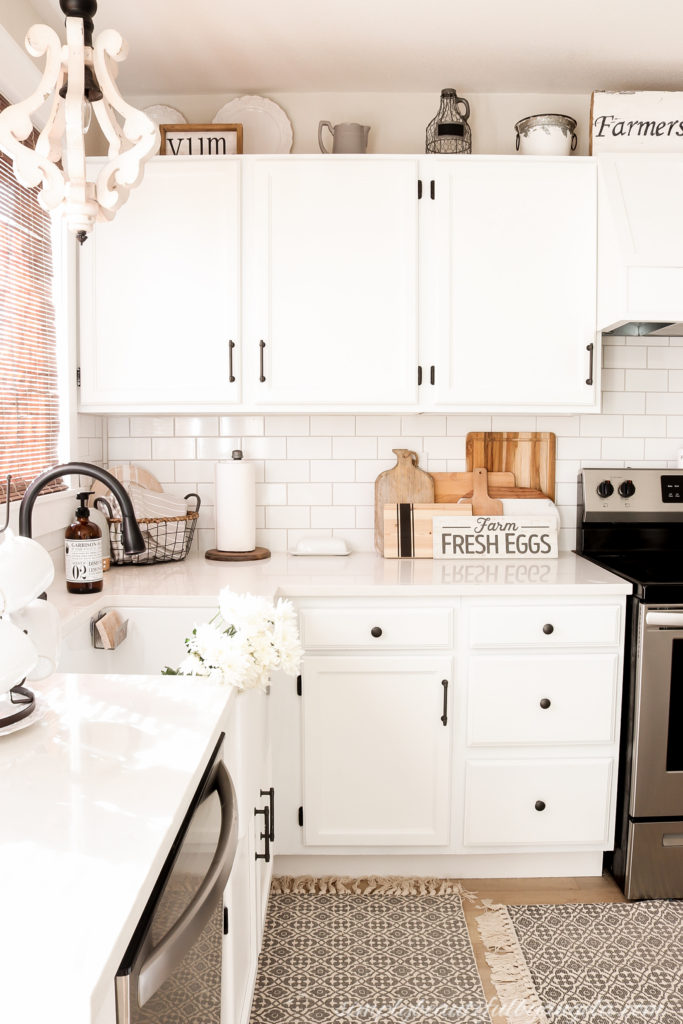
Not bad for my first paint spraying experience, right?!
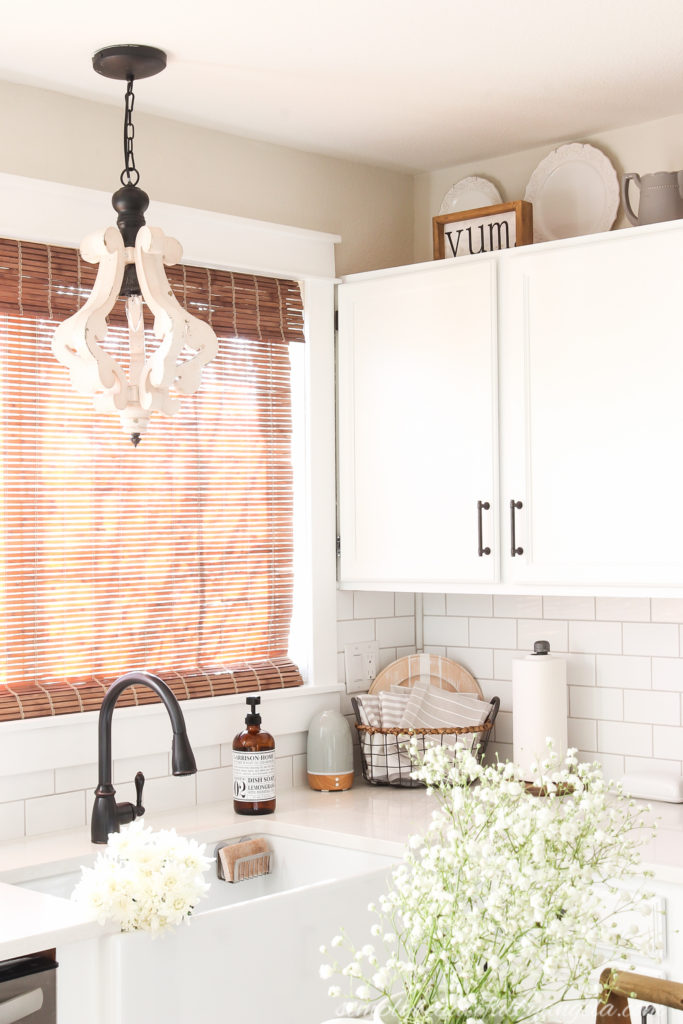
It’s hard to tell the difference via photo but in person these are soooo much smoother and more professional looking than the ones that I did at our last house. I wish I would have purchased a sprayer years ago!
Before I go I want to address a couple of the most commonly asked questions that I get. Feel free to reach out if you have any more!
- How was the cleanup? As far as the sprayer goes, it was honestly no worse then rinsing out a roller and brush! All of the parts easily come apart and you just use warm soapy water. The overspray really wasn’t as much as I had expected it to be. I still wouldn’t actually use indoors though!
- How have they held up? I believe paint takes about a month to fully cure, so there were a few spots that we hit while re-installing the doors. I just went back and touched those up with a small brush. The heavy use spots like the door where we keep the trash and the door behind where the boys’ keep their stool have seen some wear so I eventually plan to seal those two with a matte poly once I touch them up. All the others are doing great though!
- Did you put a top coat on? Nope, all of them with exception to those two doors that I just mentioned have held up fantastically so I didn’t find it was needed.
- How long did it take? Since I work full time and most of my at home time is occupied being a mommy, I worked on it when I could which was about an hour after dinner and a couple of hours on the weekend. It took me about a week and half from start to finish.
Linking up to these awesome parties!
They really do look fabulous! I’m not always patient enough for these types of projects.
Thank you Joanne! I know it’s so hard haha! The results always make it worth it though 🙂