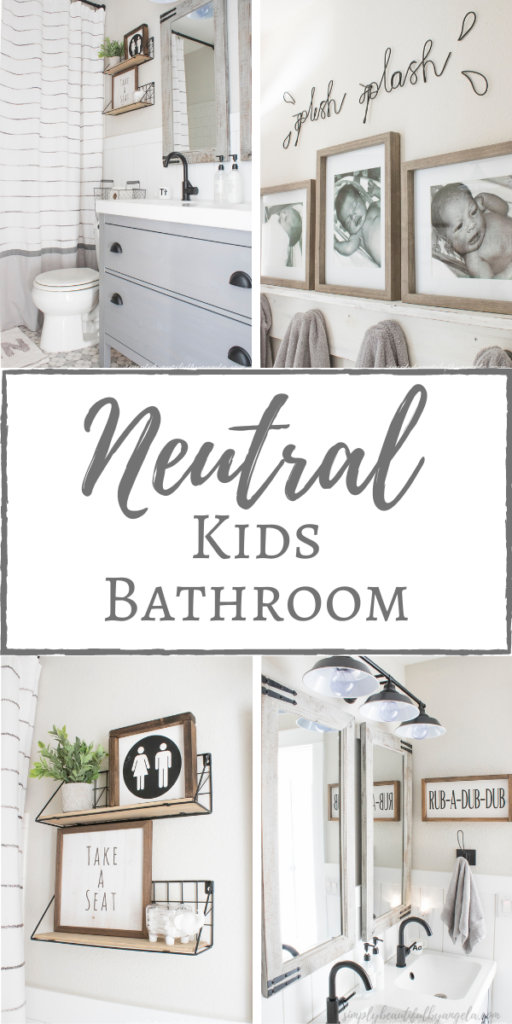
Today is the day! I’ve spent the last six weeks planning and implementing the kids bathroom makeover as part of the One Room Challenge hosted by Linda from Calling it Home. I always enjoy participating in this event and I’m so extremely excited to show you how it turned out!
In case you missed any previous posts in this series you can catch them all here.

- One Room Challenge (Week 1): Neutral Kids Bathroom Plans
- One Room Challenge (Week 2): New Tile
- One Room Challenge (Week 3): Vertical Shiplap
- One Room Challenge (Week 4): Painting and Building the Vanity
- One Room Challenge (Week 5): Painting Shower and Finishing Touches
As a reminder, this is what the bathroom looked like when we first moved in.
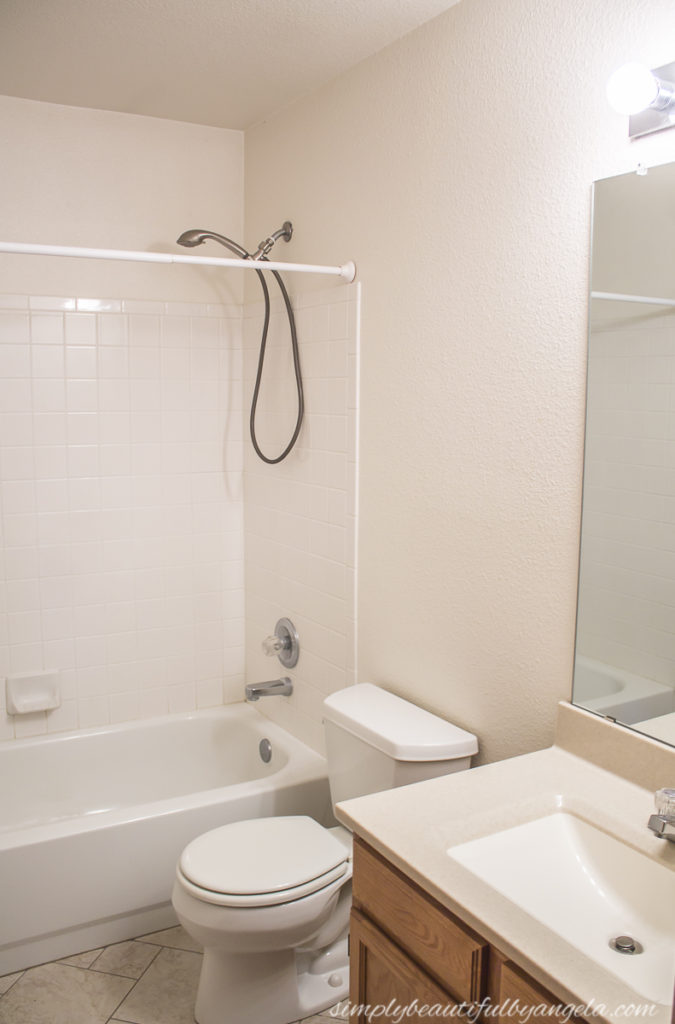
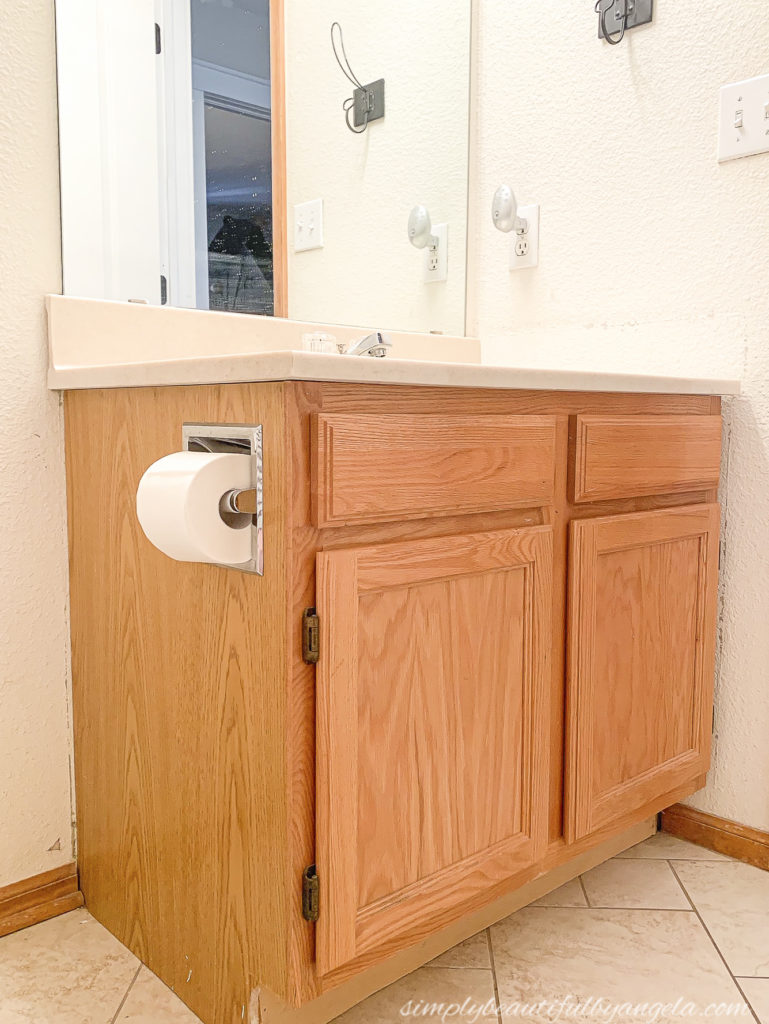
Builder grade oak vanity with a beige counter, beige tile and beige walls. After a pouring my heart in to here is the finished space today:

This is what it looked like from the other direction.
And here it is now:
Such a transformation! It turned out even better than I had envisioned and the kids are as stoked as I am about their new special space. Okay let’s chat a little about the details.
The first thing we did was replace the old tile with fun new tile. I knew that I wanted patterned tile, but I also didn’t want it to feel too feminine. This one fit the bill perfectly.
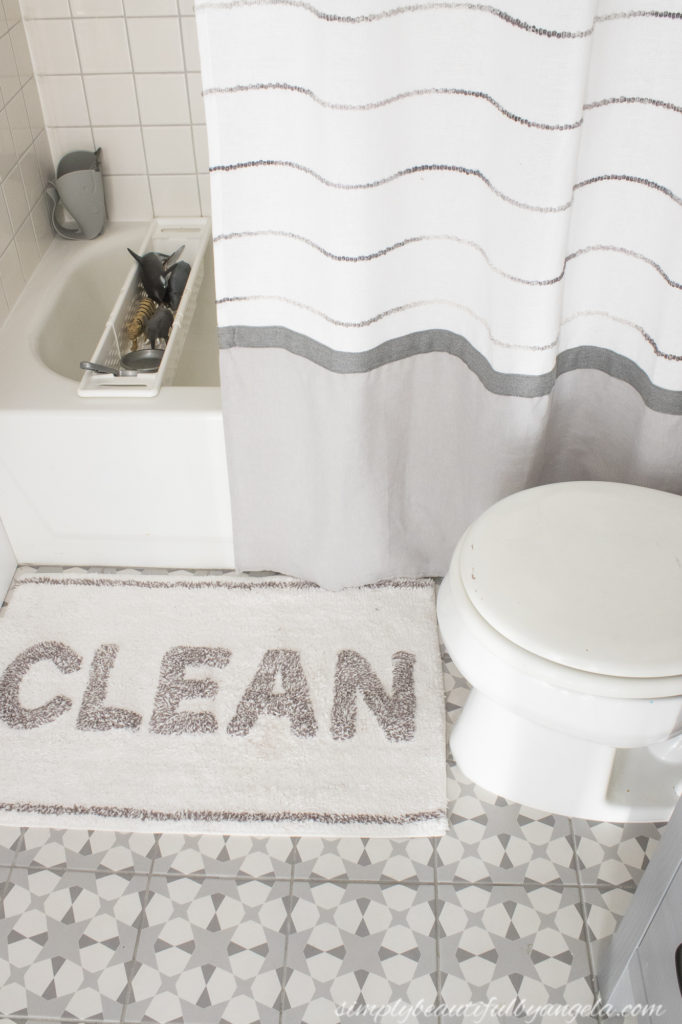
The bath rug was a last minute find at Target and it fits perfectly. I know white is risky, but trust me–Oxiclean laundry spray works wonders haha!
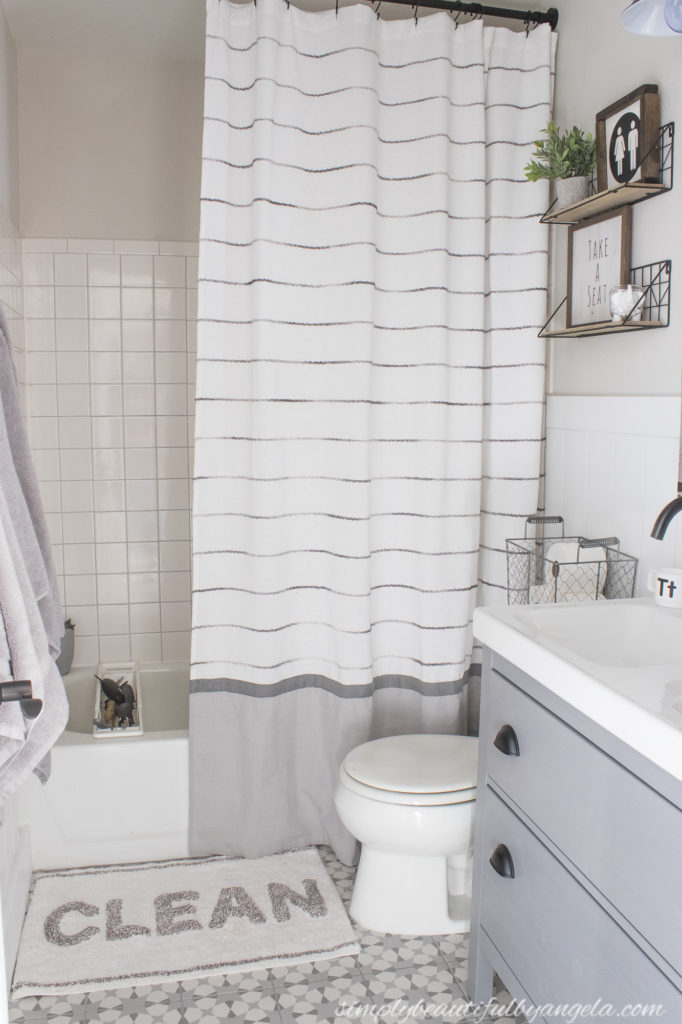
I installed a half wall of vertical shiplap. I feel like it really polishes the whole space and makes the room feel taller.
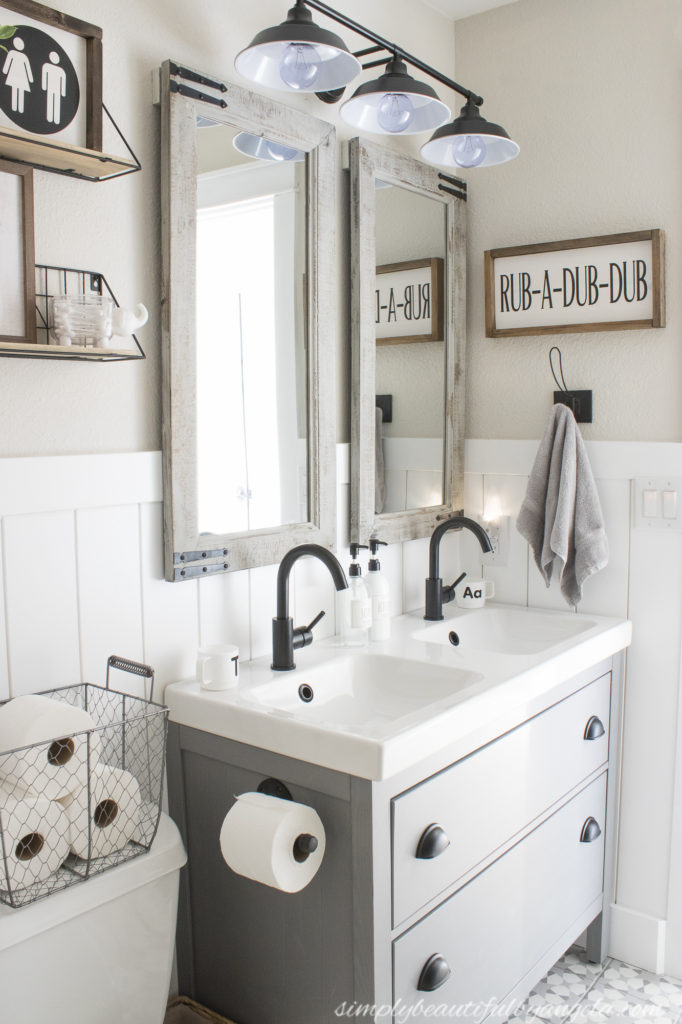
I was so excited when I realized that the IKEA Hemnes double vanity would fit in here.
I love that two kiddos can now brush their teeth and comb their hair at the same time. Not to mention the amazing amount of storage it provides!
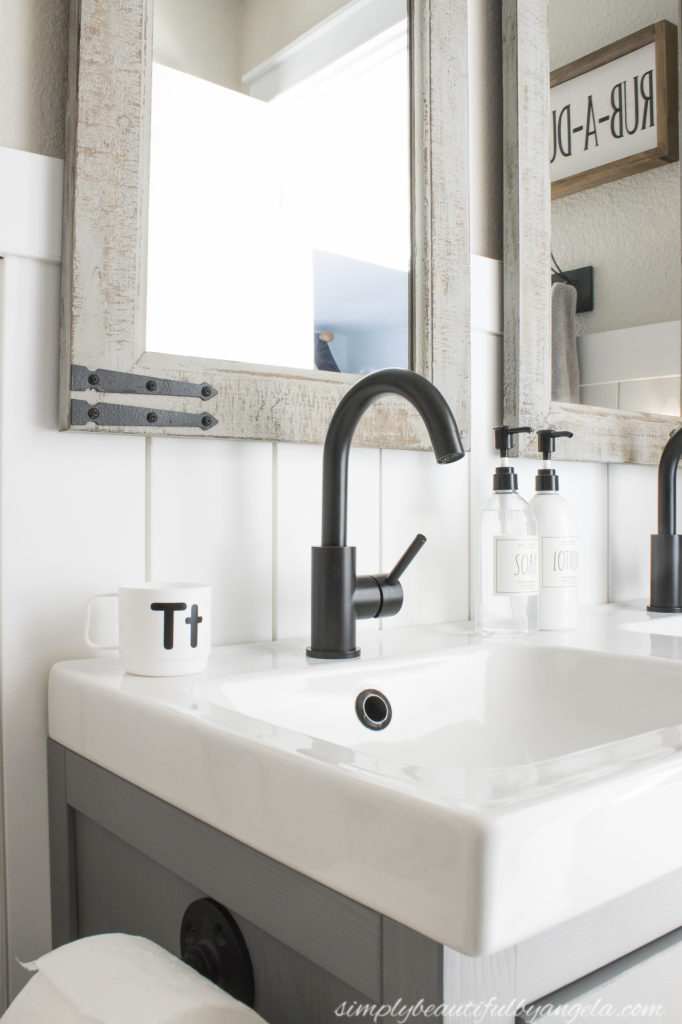
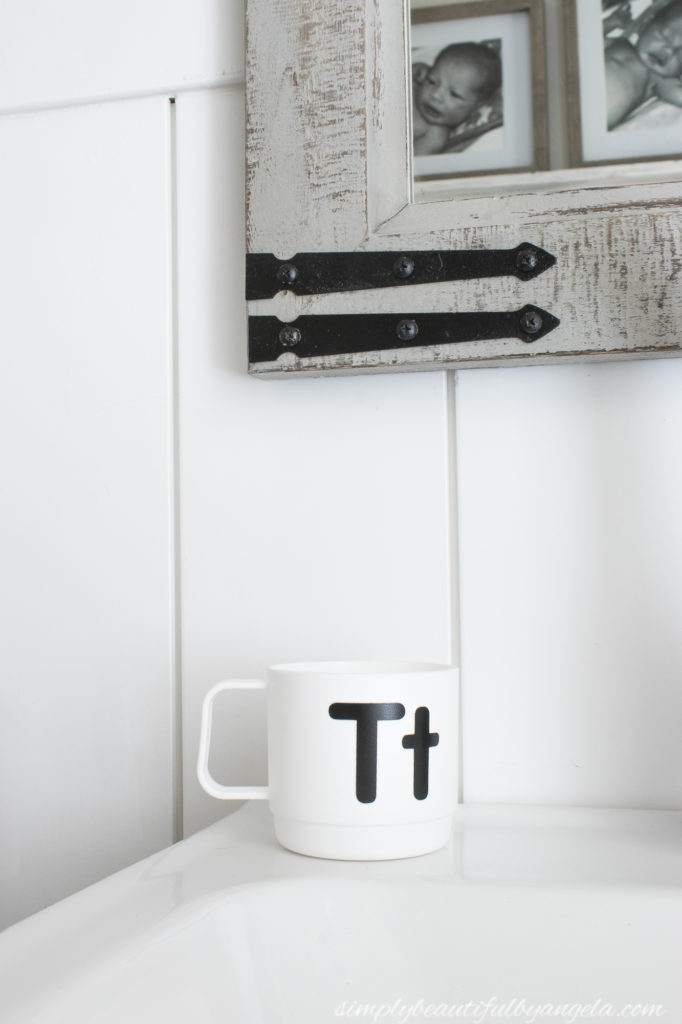
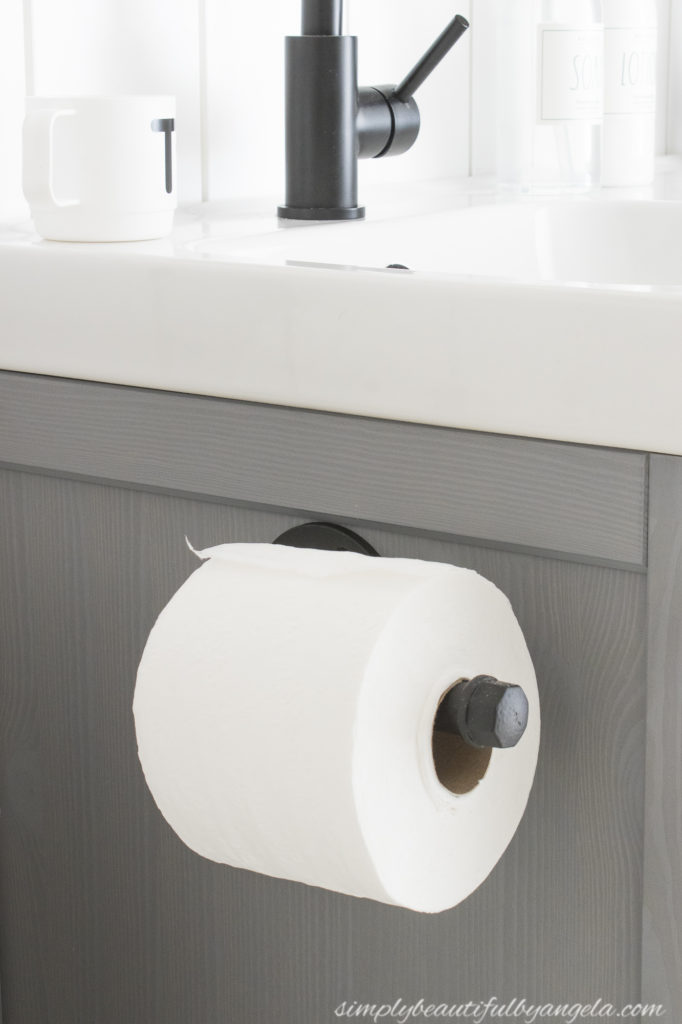
I found these fun monogram cups for each of them, although I had to order Lucas’ online so we’re still waiting for his to arrive.
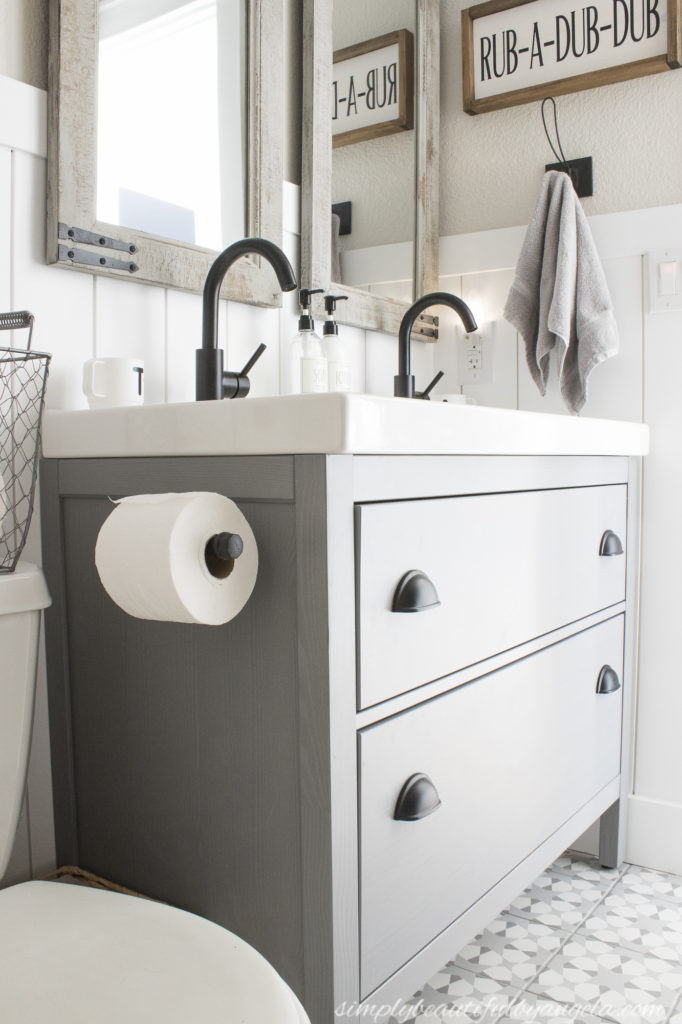
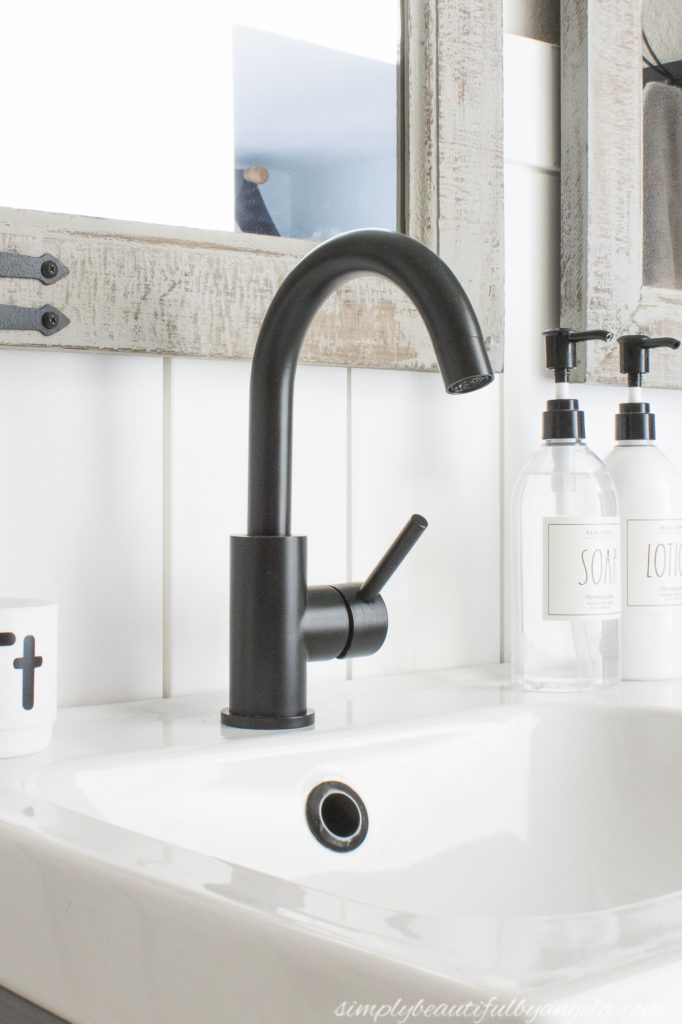
They pop so nicely next to the black faucets that I chose.
I actually ordered two different ones prior to these but neither felt right. I’m so happy with these ones!
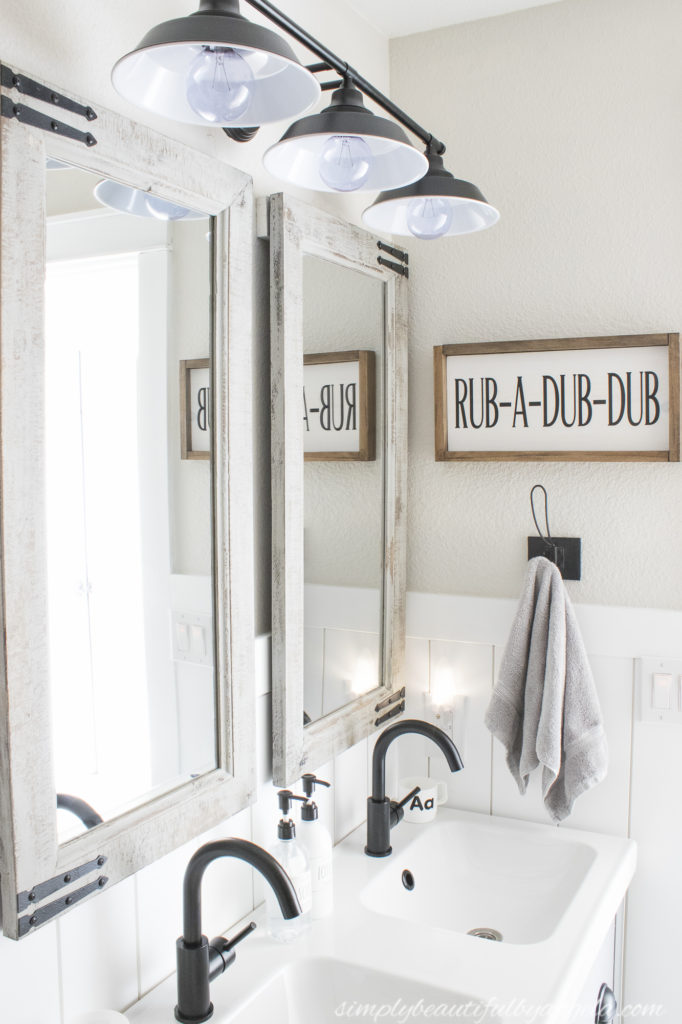
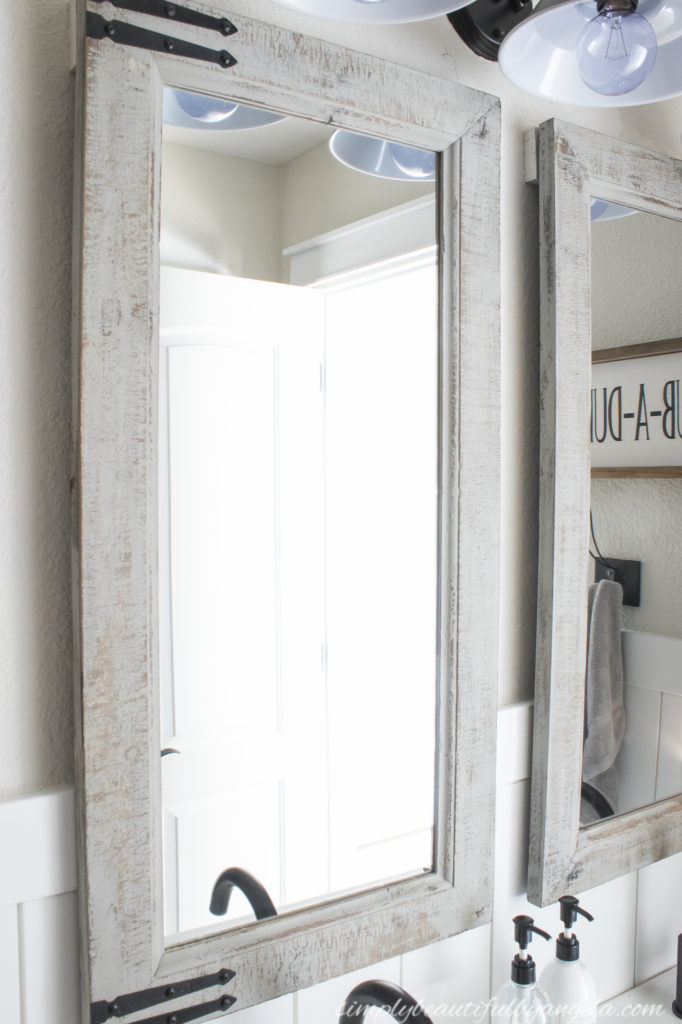
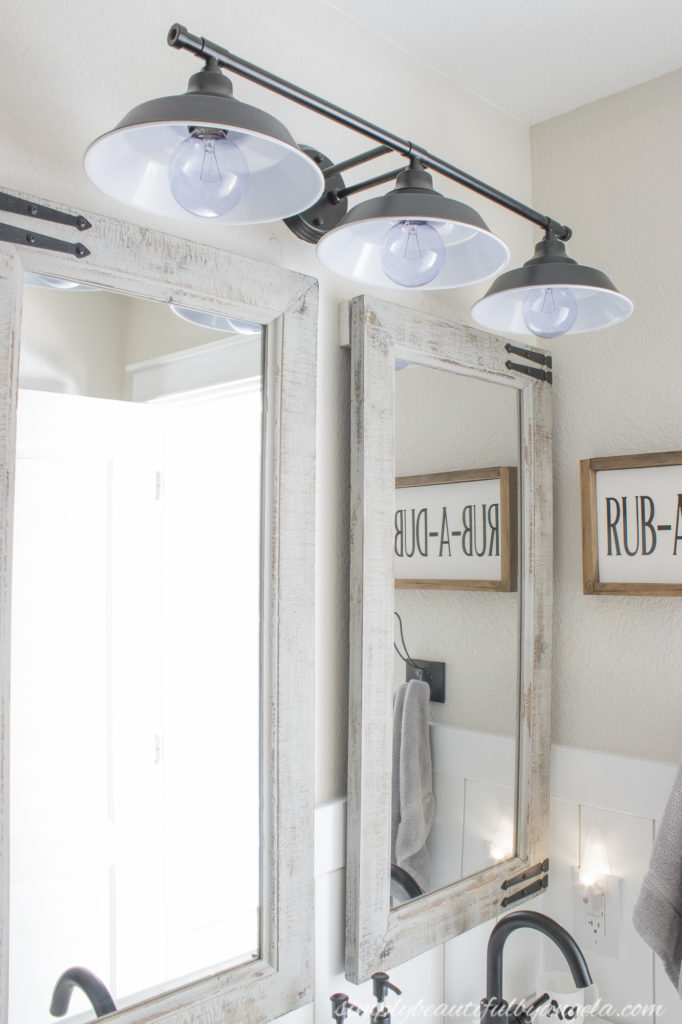
I also had major indecision on the mirrors. After 4 different orders I finally chose these beautiful Sonali Farmhouse mirrors.
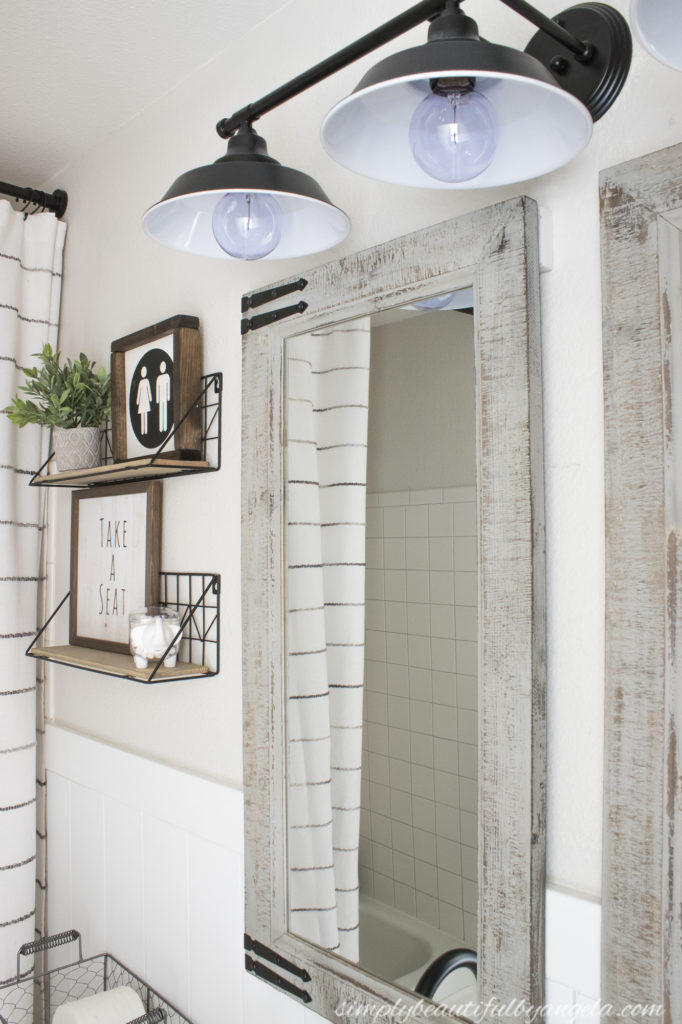
I was pleasantly surprised to see that they are actually much more gray than brown as they show online. The hardware was originally rust and I took them off and spray painted them black.
The black metal vanity light compliments the black accents in the mirrors and vanity.
Oh that reminds me, you may notice that the pulls on the vanity aren’t the same as the ones shown in the stock photo. I decided to switch them out for these black cup pulls.
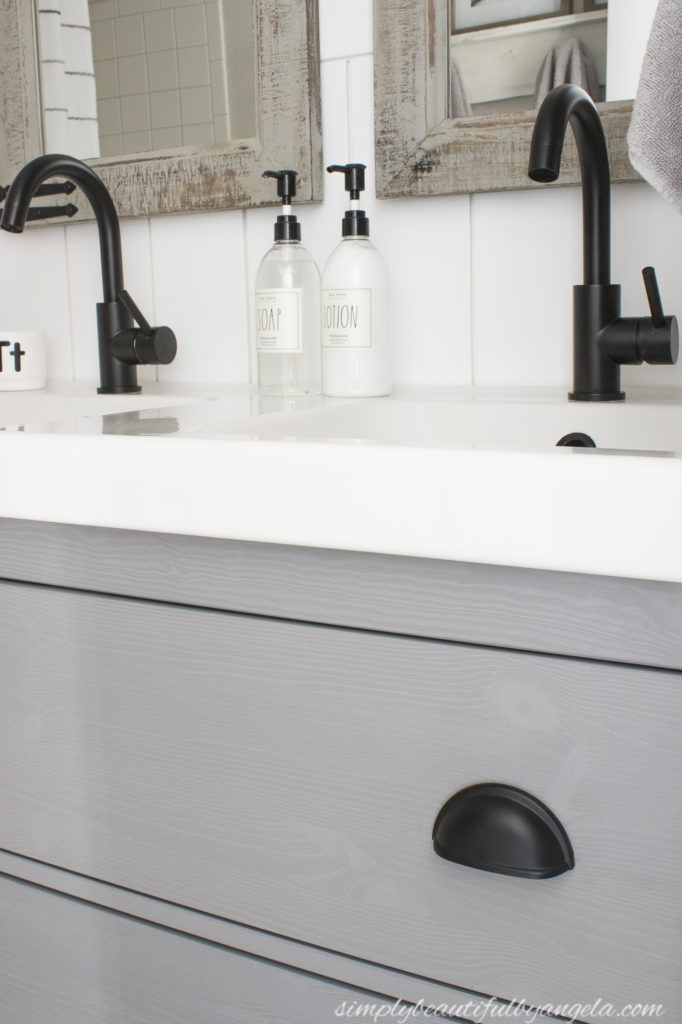
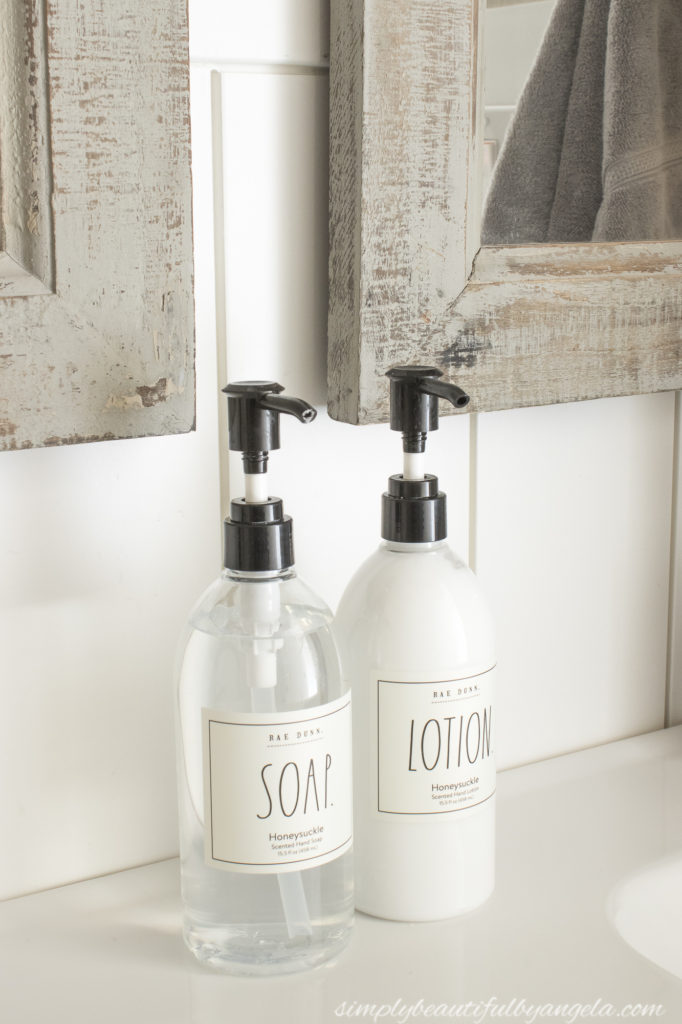
I found this plastic soap and lotion bottle set at Marshalls to replace their old ceramic set. I feel much better having something non-breakable in here!
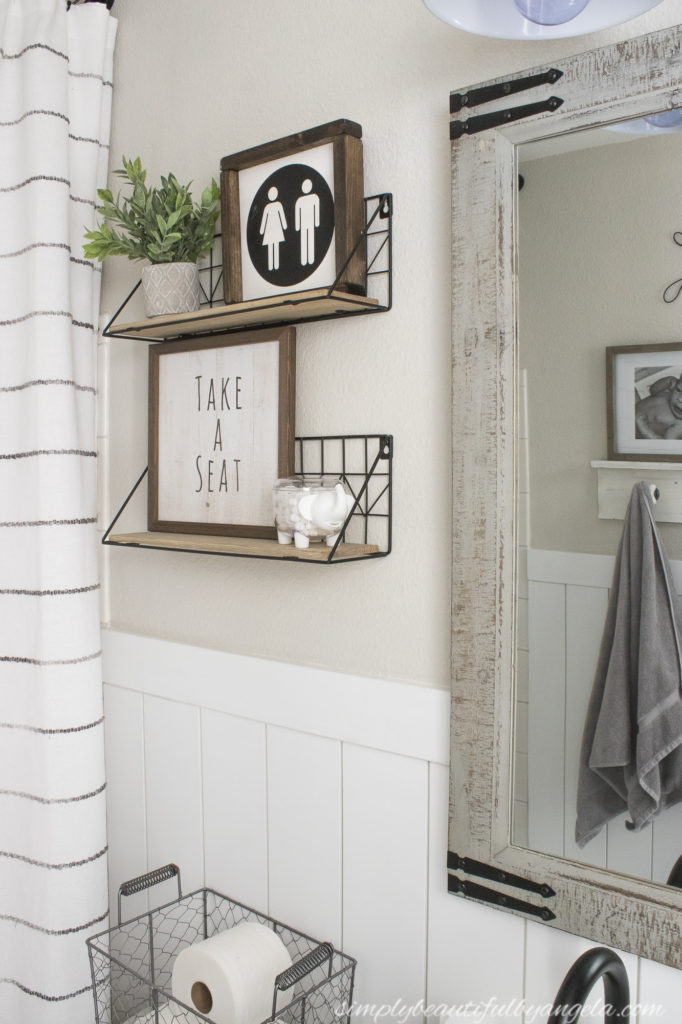
I had a hard time deciding what type of shelves to put above the toilet. I finally chose these cool wood and metal shelves.
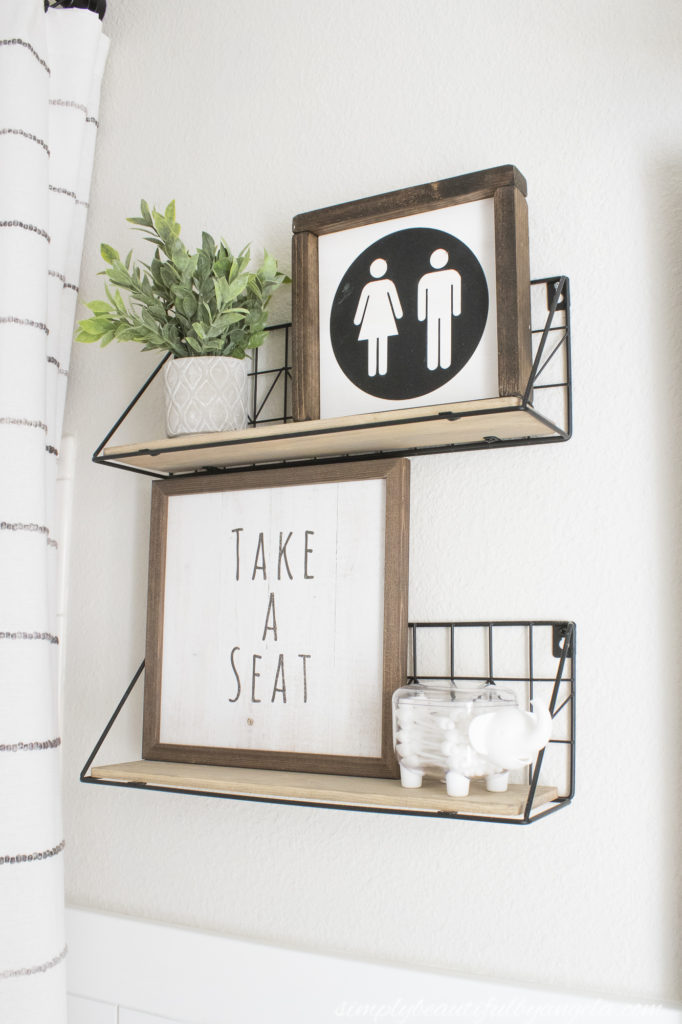
I ordered the “beige” color but didn’t like how yellow the pine was so I actually sanded them down and stained them with weathered oak stain. Isn’t this elephant q-tip holder the cutest thing ever?

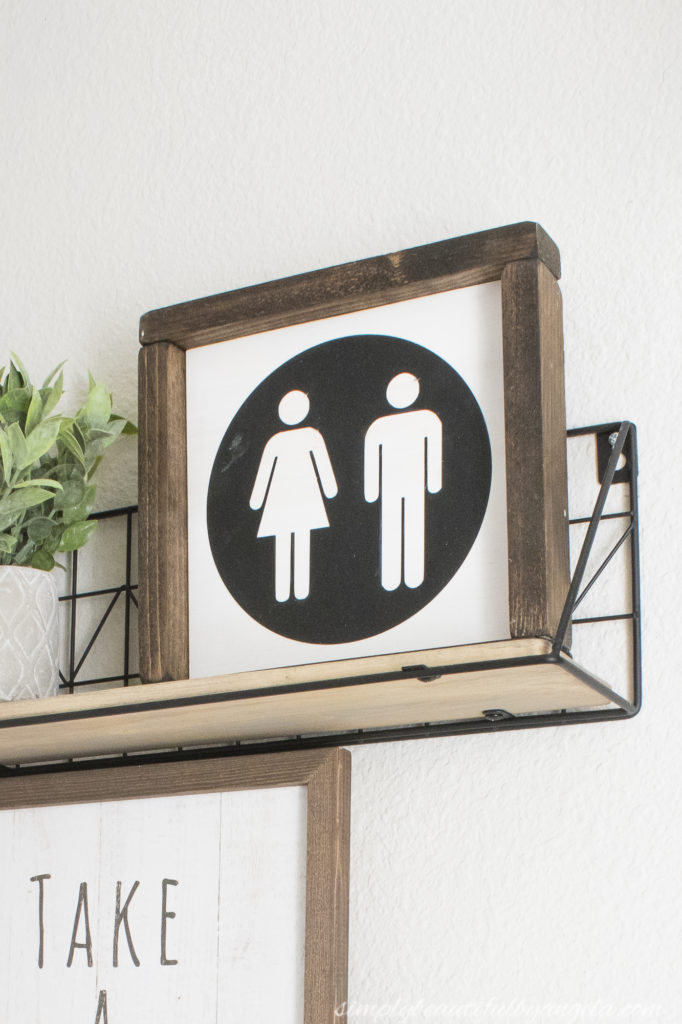
I want to take a minute to talk about a couple of amazing wood signs by Goggins Creations. The restroom people one looks absolutely adorable perched on the top shelf.
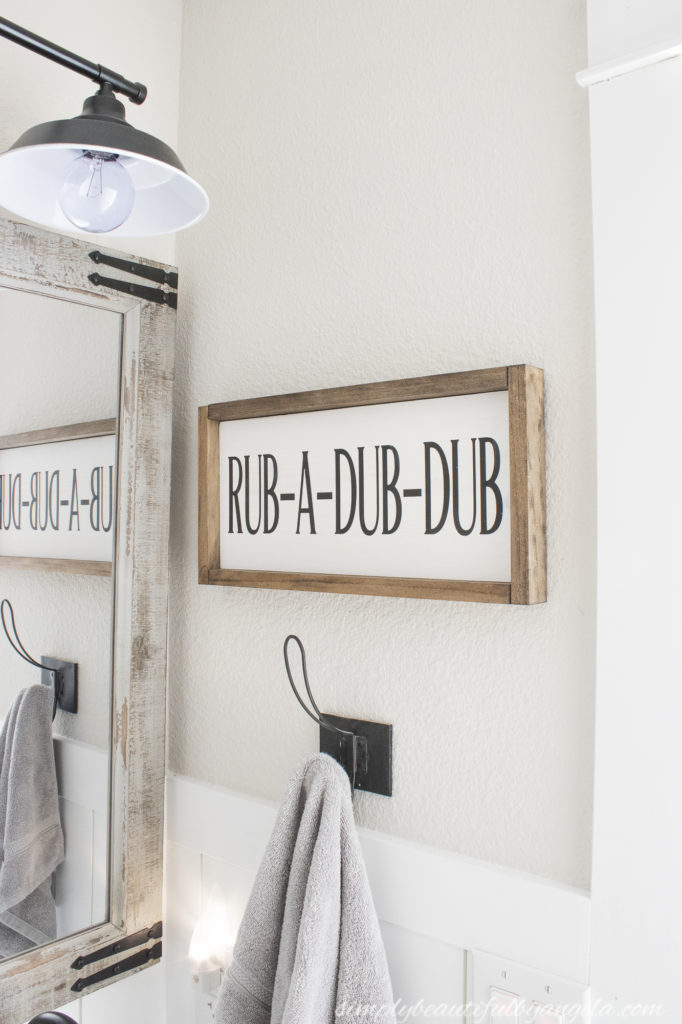
I also got the rub-a-dub-dub sign for the wall next to the sink. I used to sing the phrase to the boys when they were babies in the bathtub so it has extreme sentimental value to us!
Speaking of sentimental, look at how cute this wall turned out! They are photos of each kiddo getting their first bath.
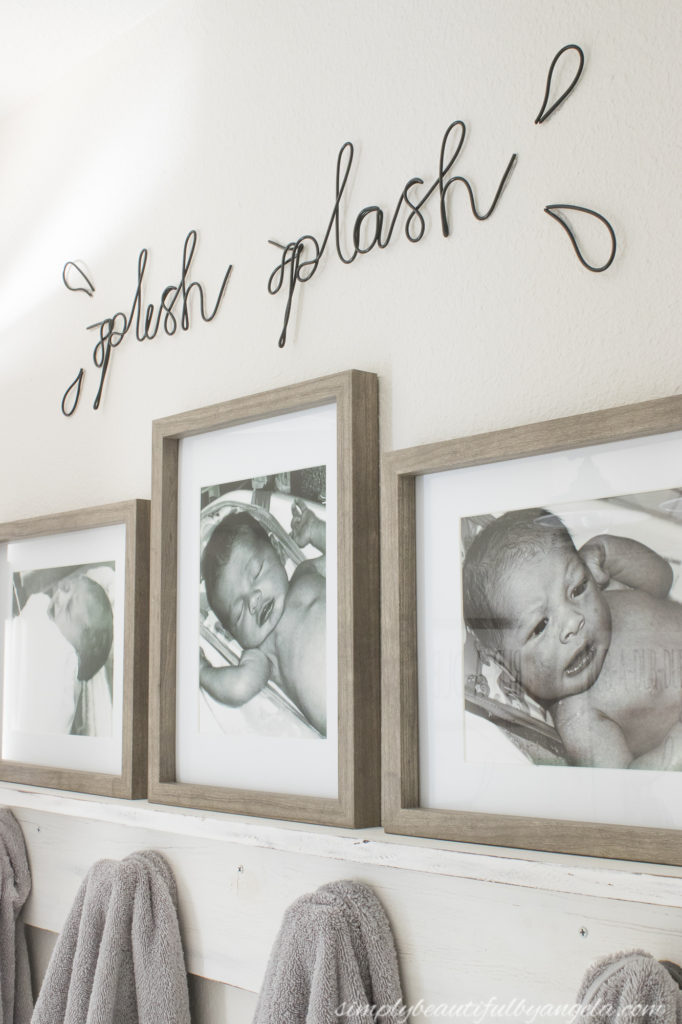
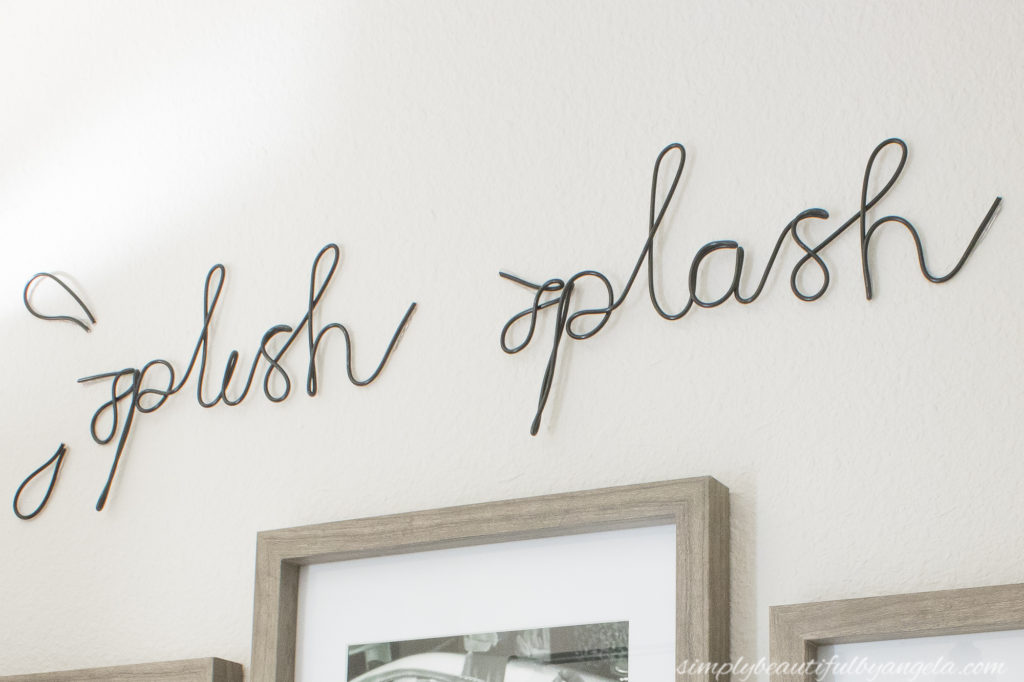
The metal splish splash sign was a last minute addition and I think it works perfectly in the space above the photos.
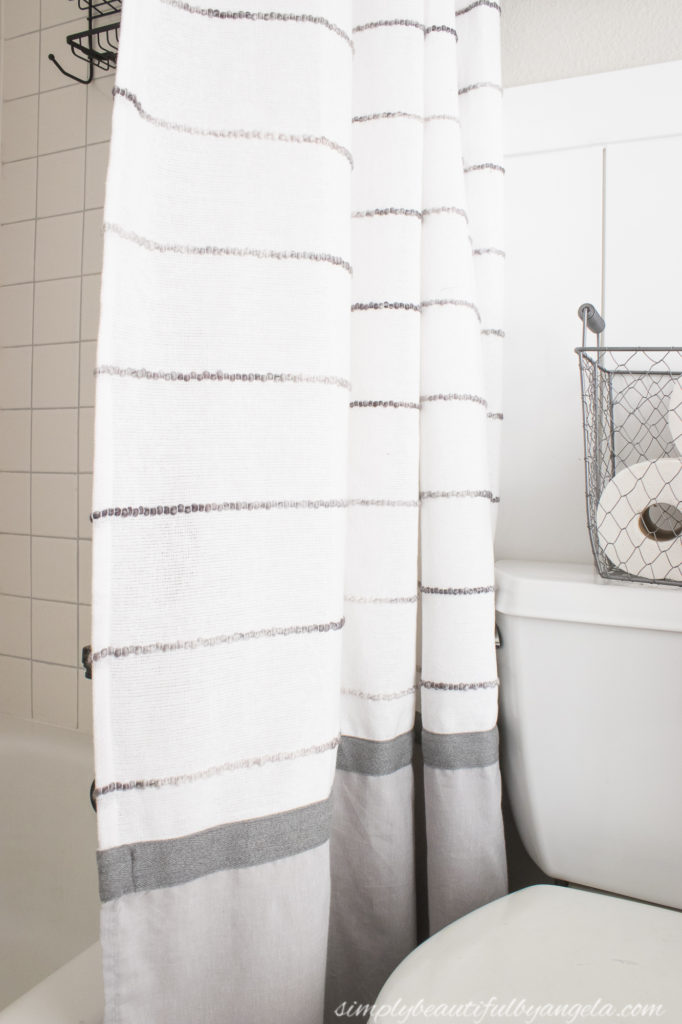
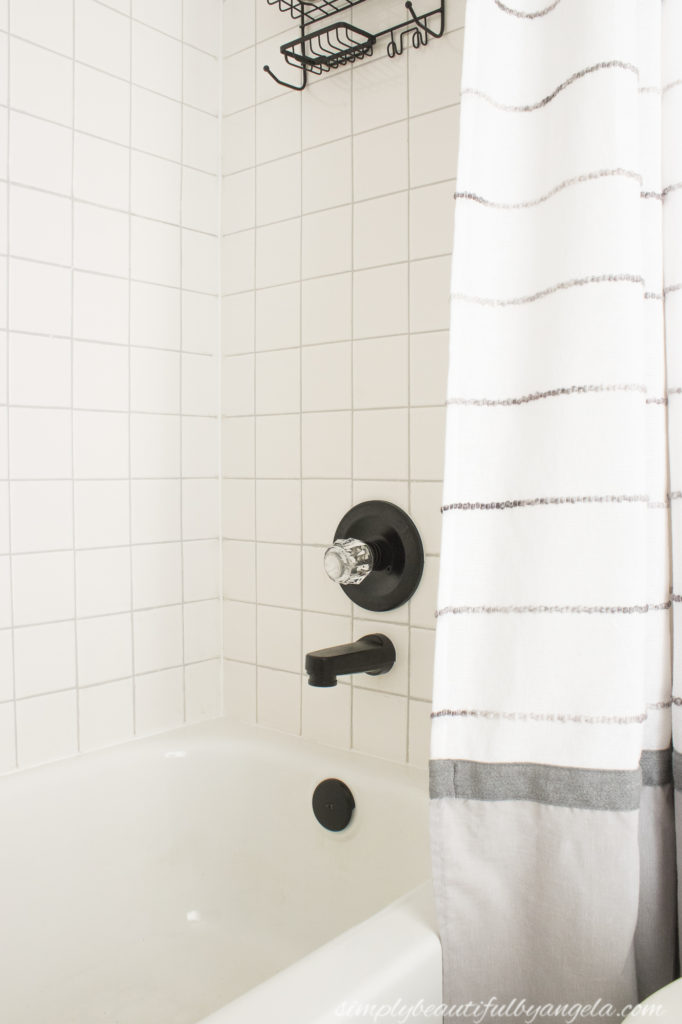
The striped shower curtain that I picked is so unique because the stripes are actually strips of Ombre dyed yarn.
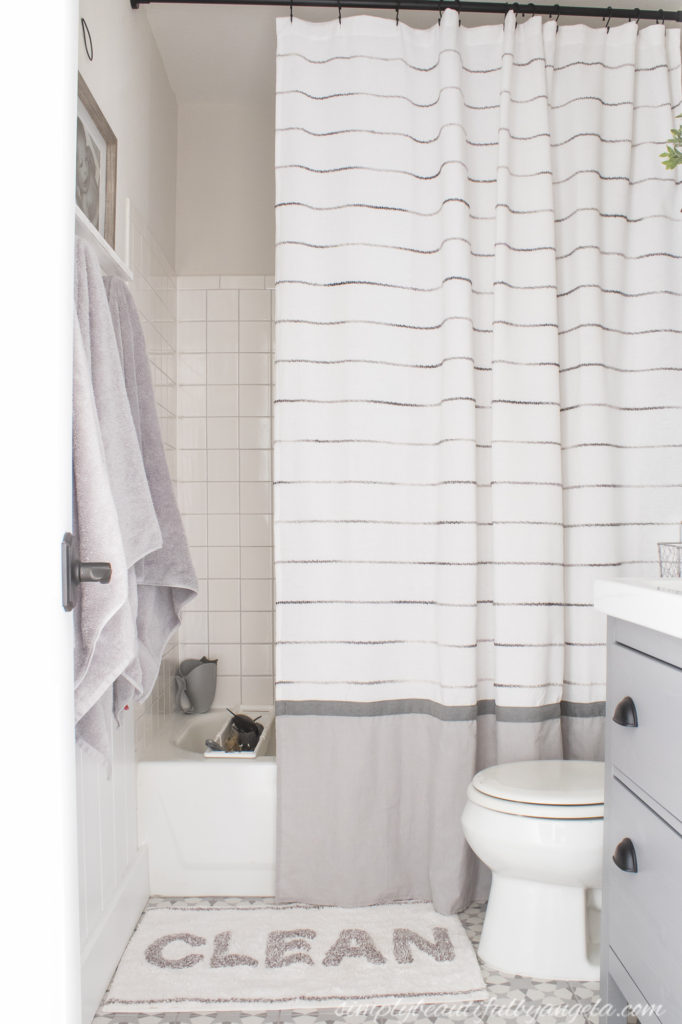
I decided that I wanted it hung high to give the illusion of more space so I sewed an addition on to it. I promise to have a full tutorial on that in the next coming weeks.
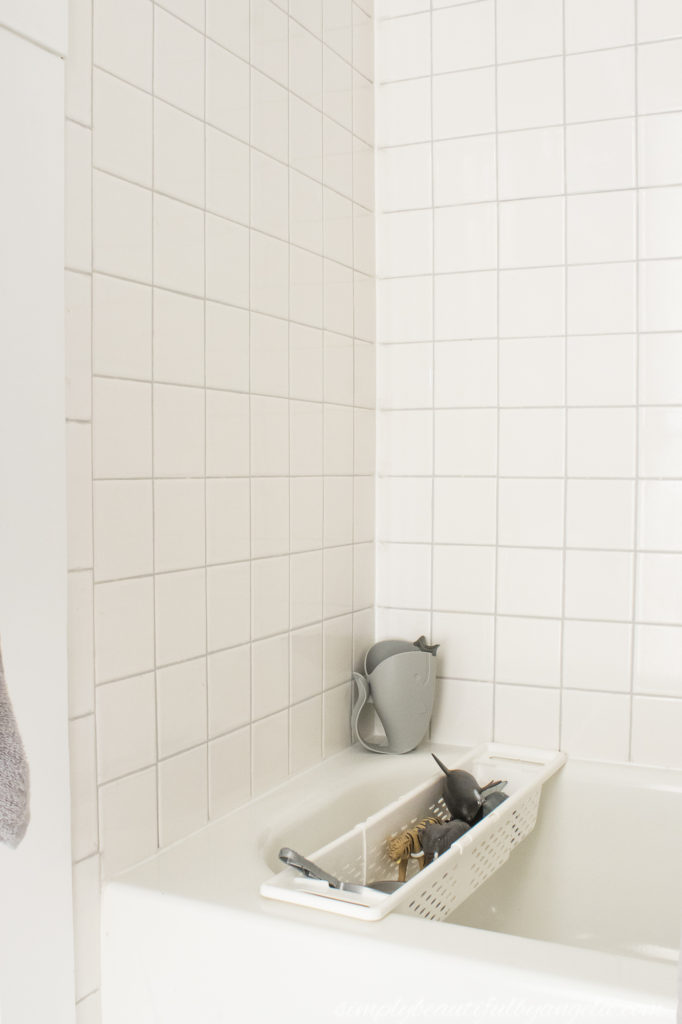
I like to keep it open a little so that I can admire the grout that I painted gray.
Oh and here is how the spray painted fixtures turned out–not bad huh?
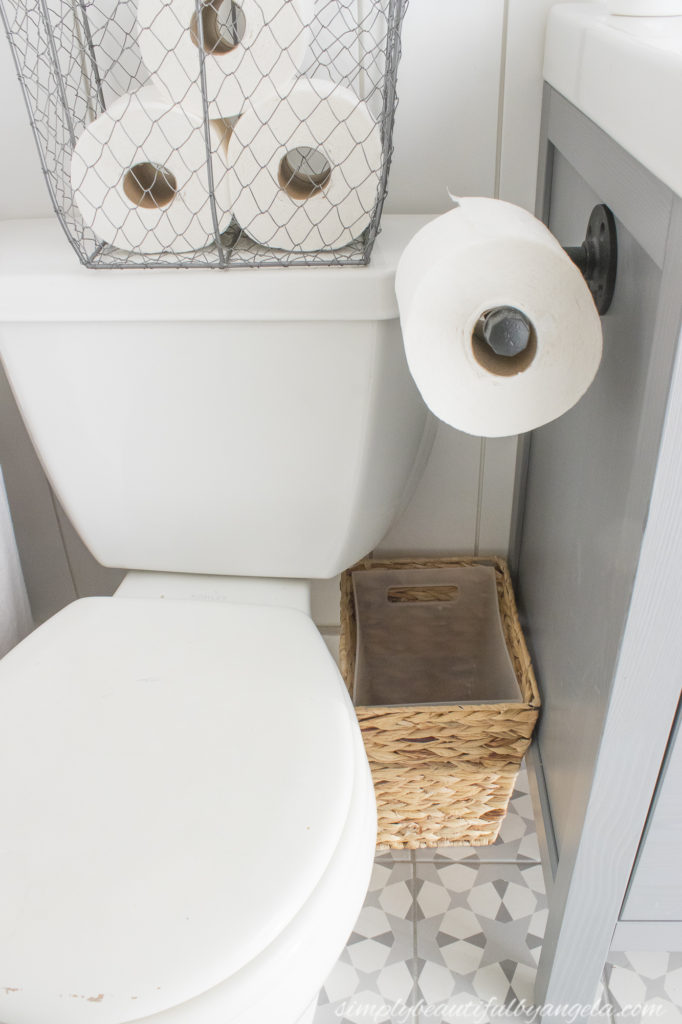
The pipe toilet paper holder was a fun add on and I love how easy it is to change the roll…maybe they can do it themselves from now on? Here’s to hoping!
The water hyacinth wastebasket fits perfectly in this little spot and I really like that the plastic liner is removeable.
Overall I think I pulled off the fun whimsical vibe that I was hoping for perfectly and I’m thrilled with how everything came together.

- Tile
- Vanity
- Pulls
- Faucets
- Vanity Light
- Mirrors
- Monogram Cups
- Soap and Lotion Bottles (found at Marshalls–similar here)
- Shelves
- Elephant Q-Tip Holder
- Restroom People Sign
- Rub-A-Dub-Dub Sign
- Cement Potted Plant (found at Marshalls–similar here)
- Pipe Toilet Paper Holder
- Wastebasket
- Shower Curtain
- Shower Curtain Rod
- Shower Curtain Rings
- Bath Rug
- Towels
Linking up to these awesome parties!
(Affiliate links may be provided for convenience. For more info, see my full disclosure here.)
Your bathroom turned out so good! I found you through the link party and then found you also did the one room challenge. I’m glad they extended it a few days because I need the weekend to finish up. I love your blog. 🙂
WOW! what a transformation.
You did a beautiful job Angela!!! The new vanity is so pretty and practical too!
What an amazing job done. Thanks for joining us at #alittlebitofeverything
What a beautiful bathroom! Bravo! Cheers to a great challenge!