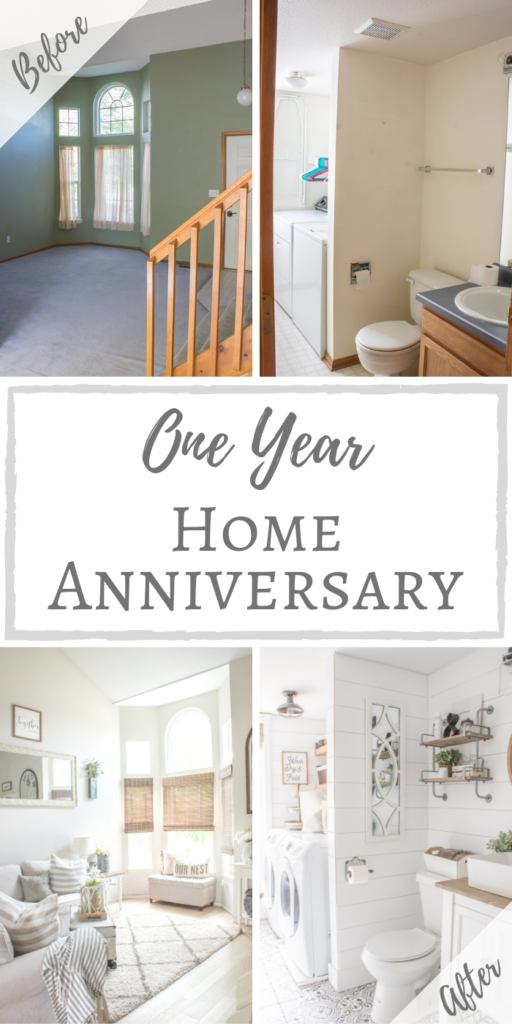
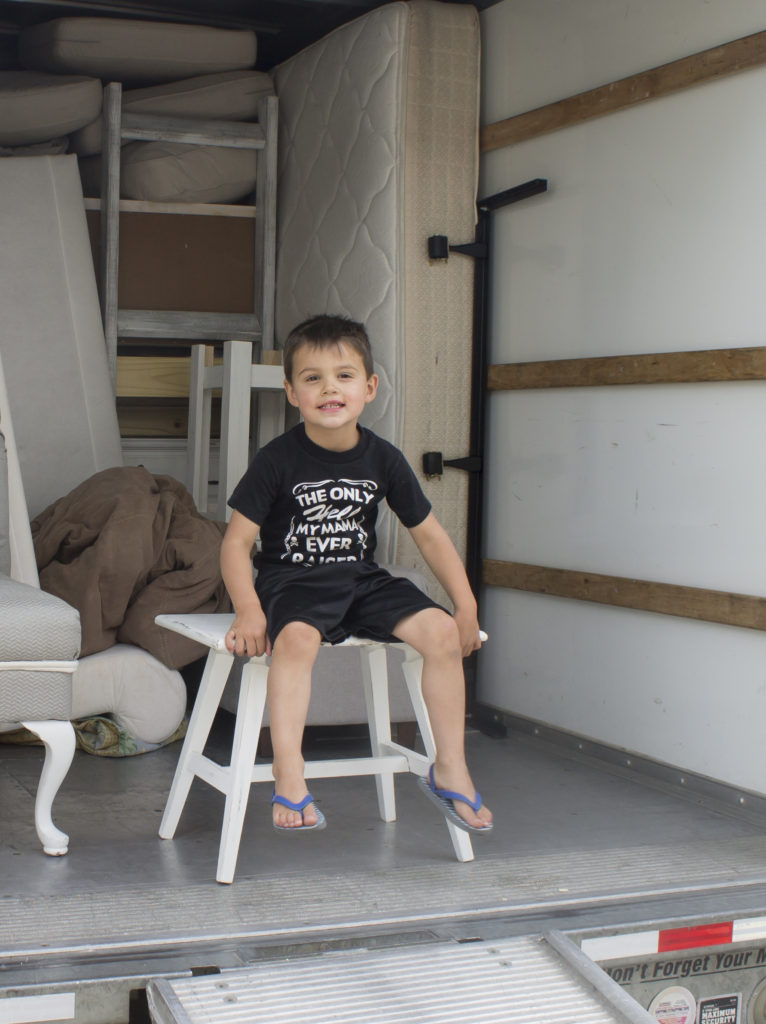
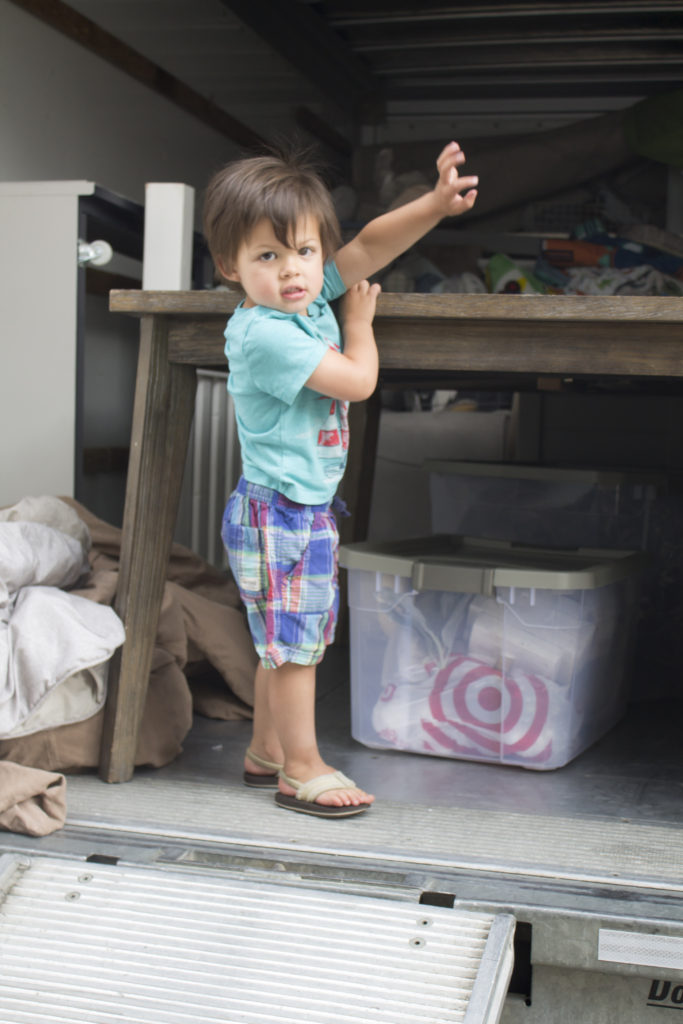
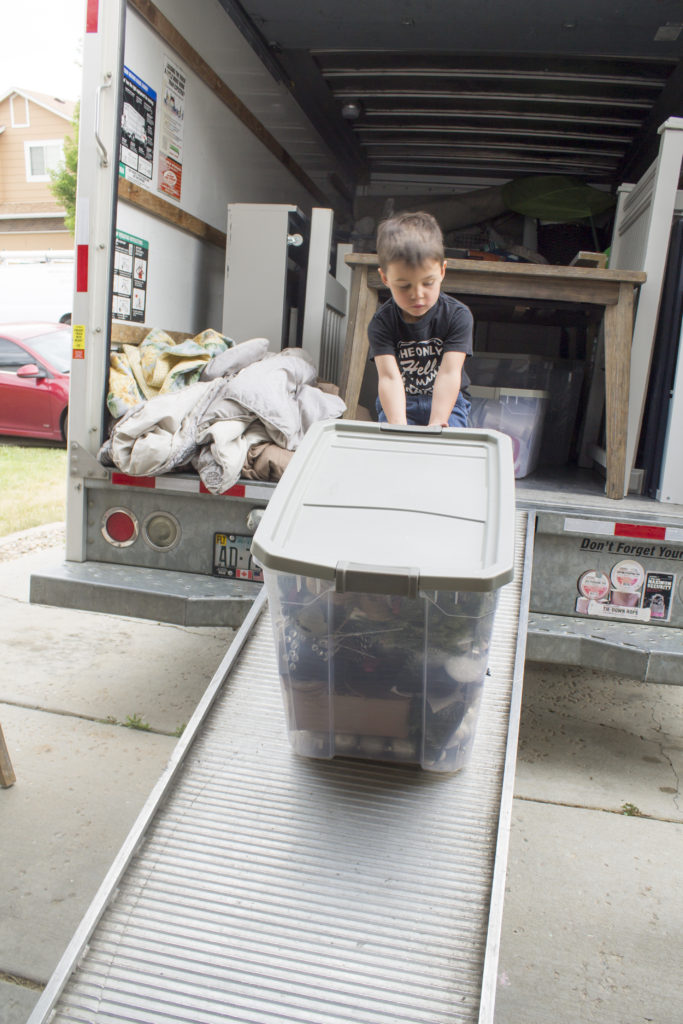
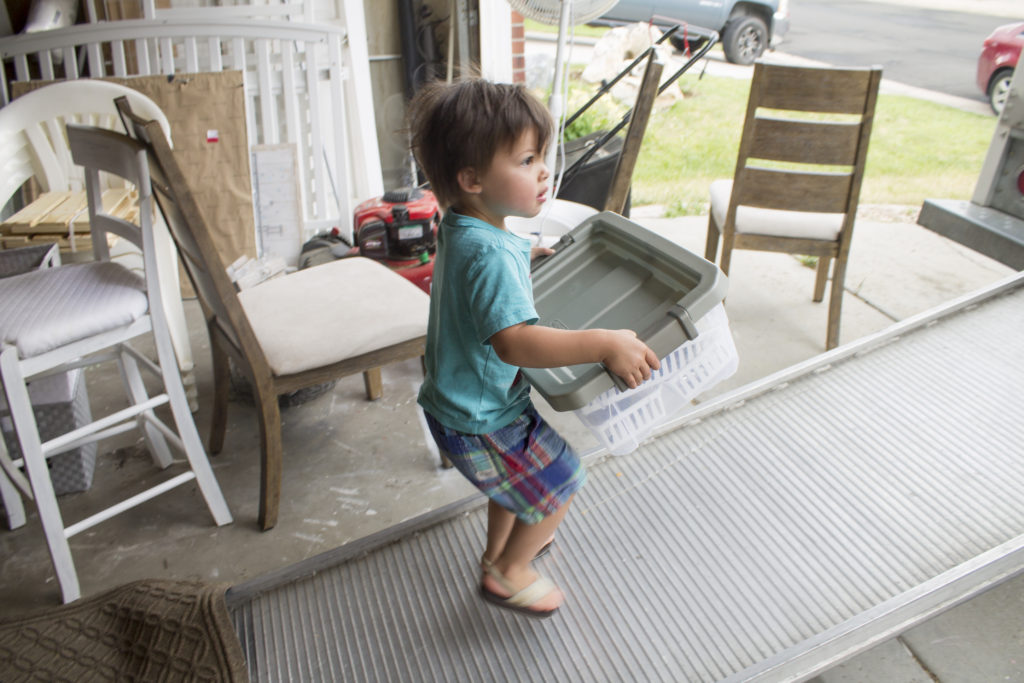
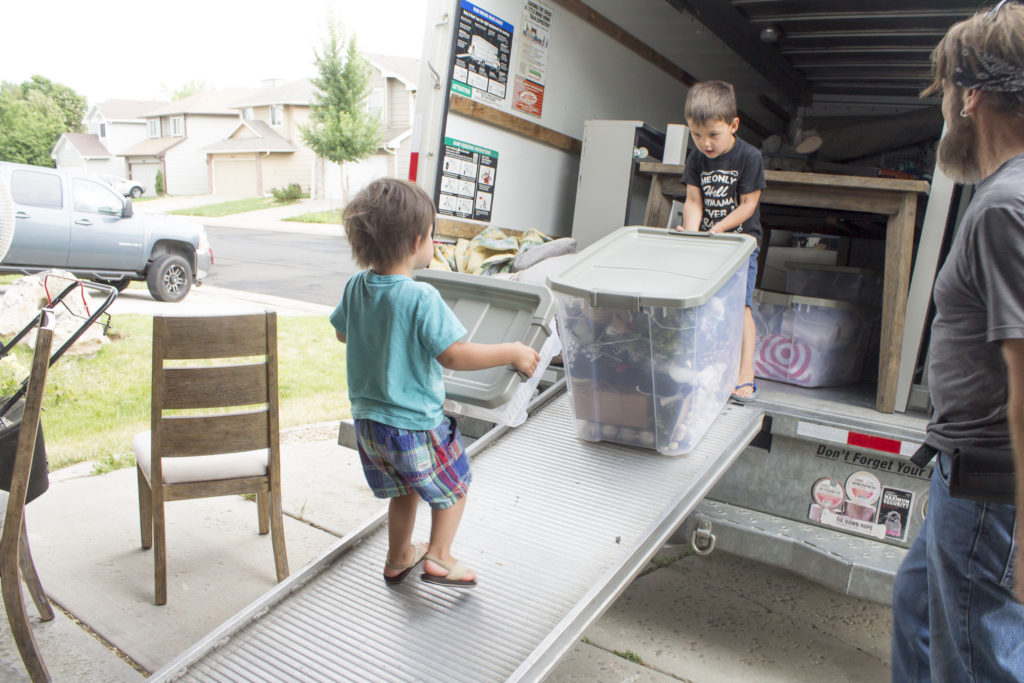
Hello friends, I hope you are all having a beautiful week so far. So Sunday these pictures of the boys helping on moving day popped up on my Facebook memories and it dawned on me that we have officially been in our new home for one whole year, you guys!
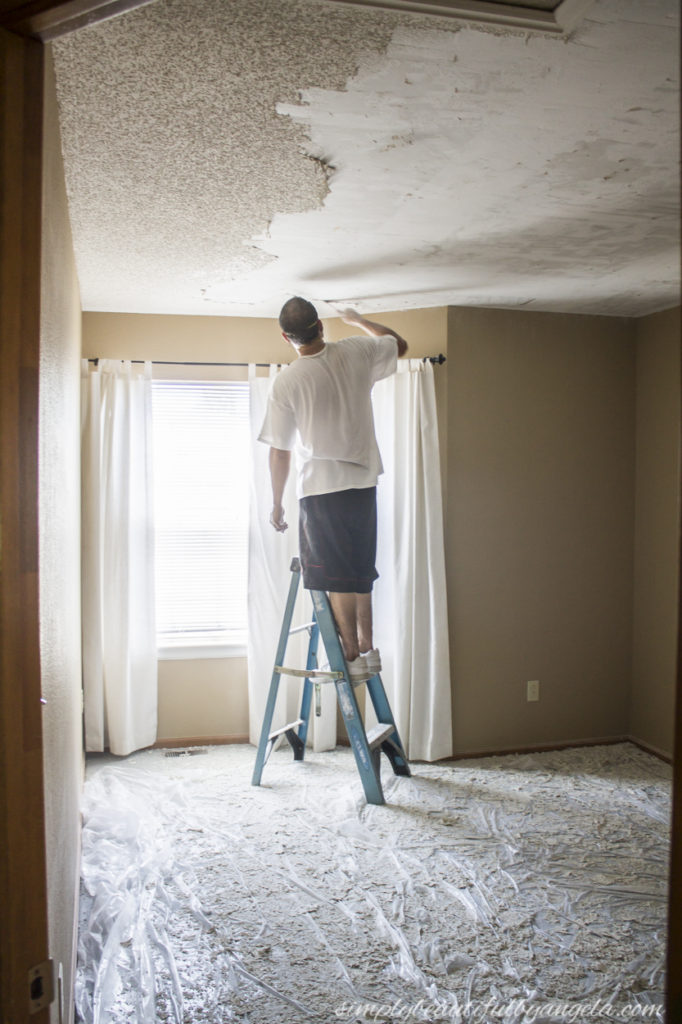
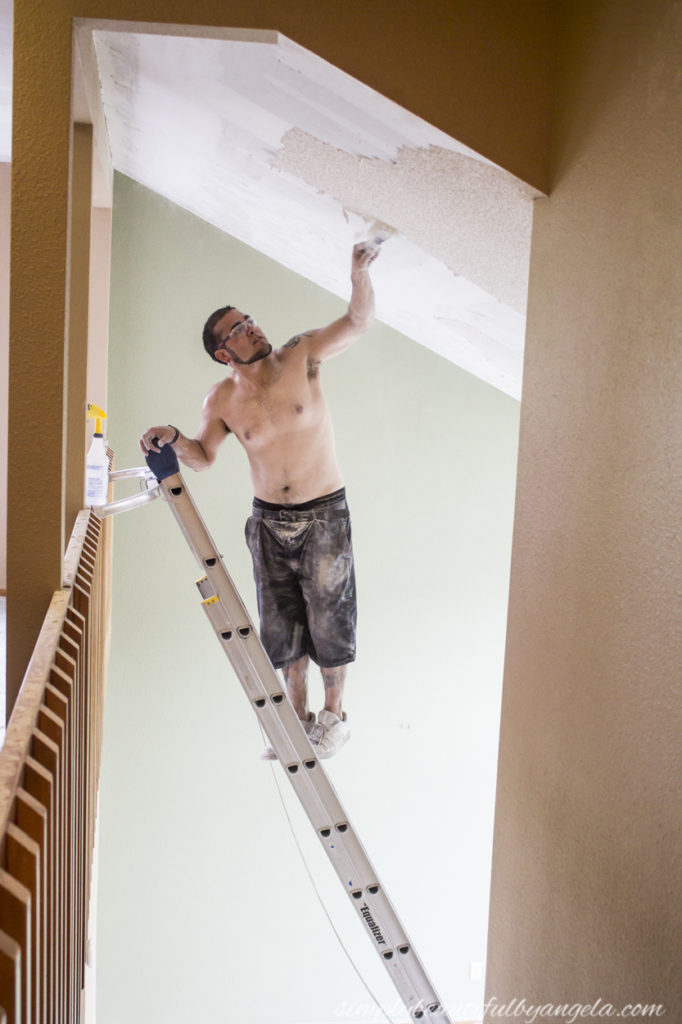
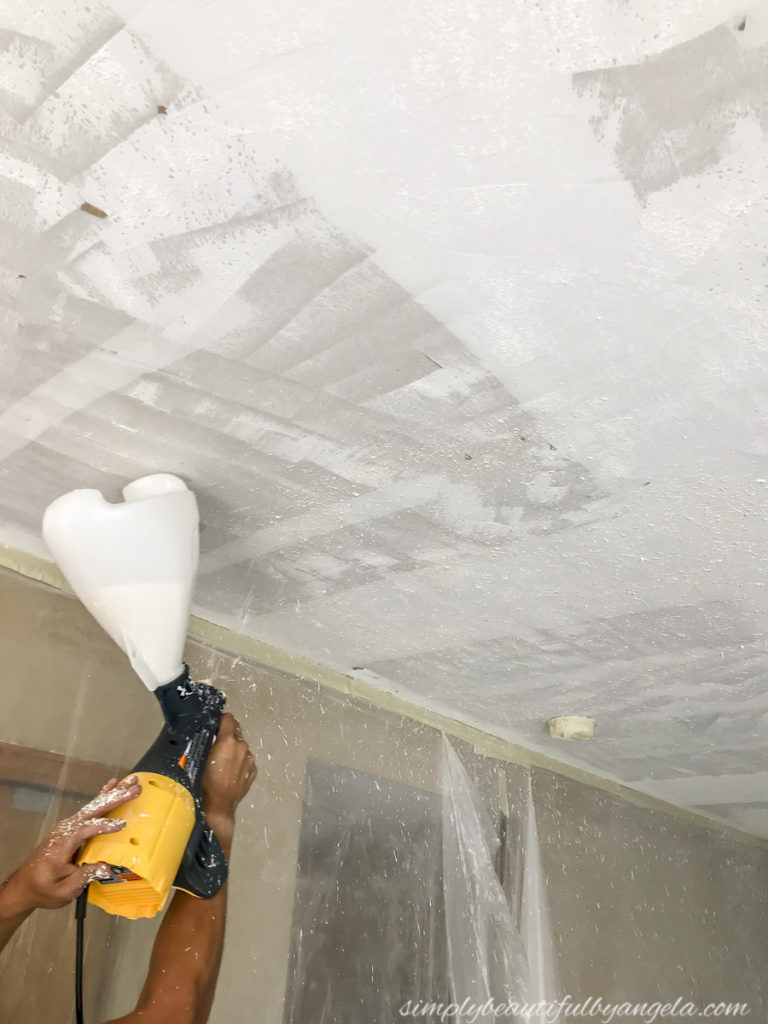
I remember spending two weekends and several weeknights scraping the popcorn ceilings, re-texturing and painting (tutorial here). It left us utterly exhausted but we were so excited to finally be moving our stuff in!
Oh how the time has flown. Since that day we’ve been working sooo hard on our new fixer upper and it seems like as soon as we near the end of one project, we are already starting planning of the next one! #fixerupperlife 🙂
We still have a long way to go and it sometimes seems like the list is endless. I realized that when unfinished items stare us in the face every day, it’s really easy to forget about all that we actually have accomplished. So I decided to go around with the camera and recapture all of the old shots that I took before we moved in to compare them to today.
I was so shocked at the difference between some of them and decided that it would be fun to share them with you all. So grab a snack because this post is going to be a long one filled with a ton of pics!
Exterior
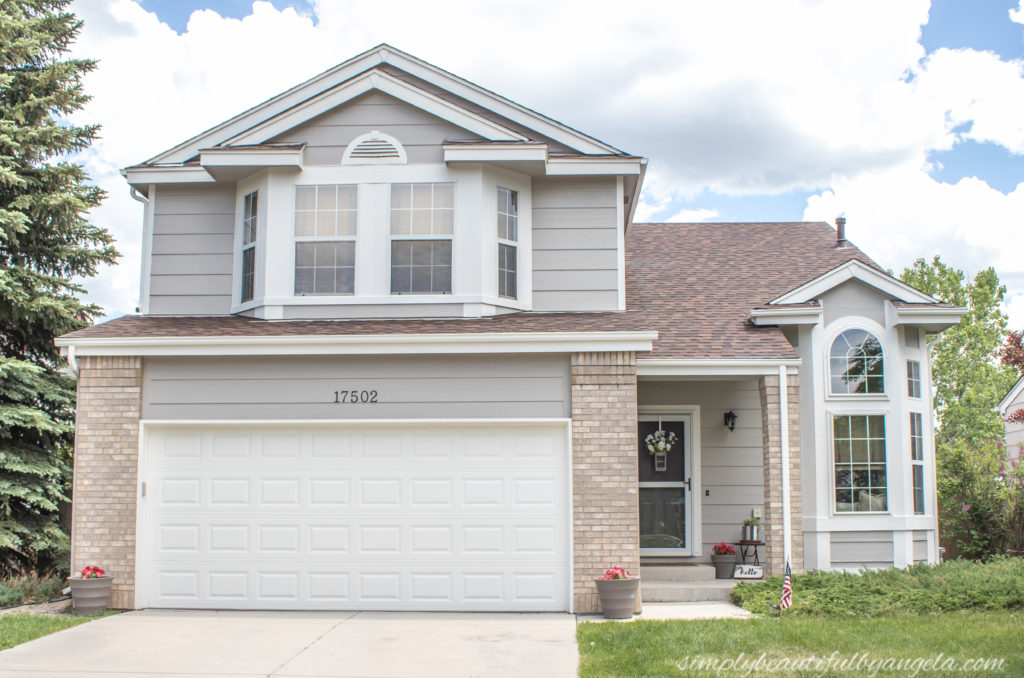
Let’s start with the exterior. The 25 year old paint and was really showing its age and we knew from the second we first saw this house that new paint was going to be in order. But the first weeks after we moved in were super chaotic and the thought of picking new colors was something that I seriously dreaded. Once fall rolled in and we started to become more settled, I finally began to choose a few samples and shared my favorites in this post.
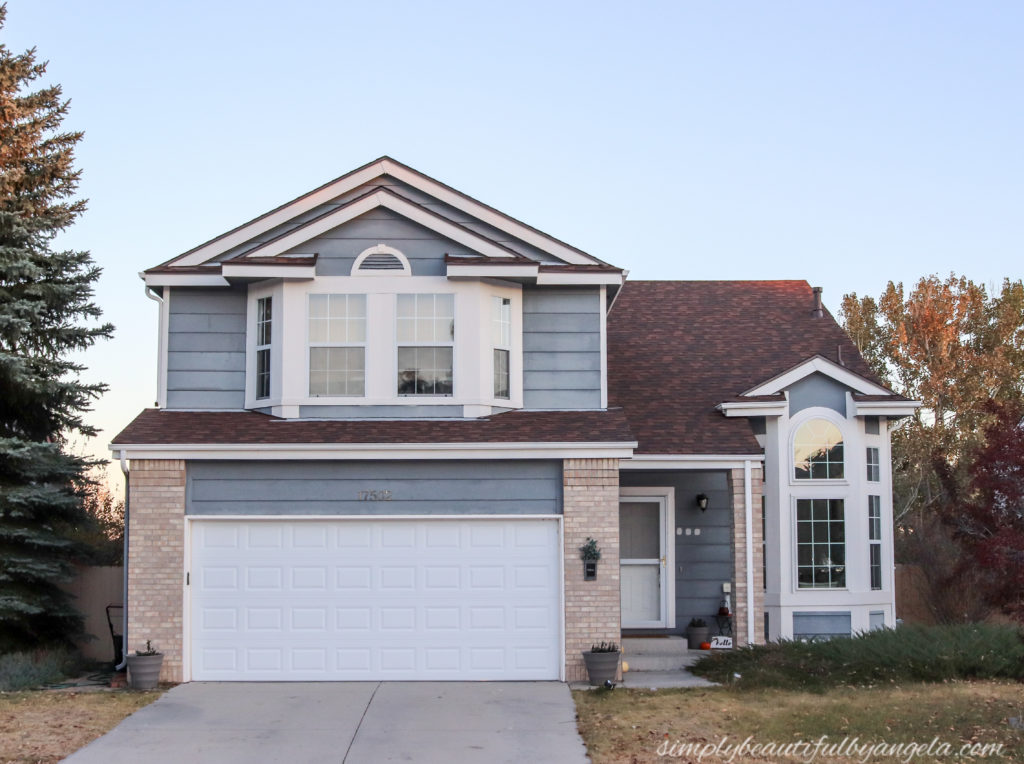
After much debate, Requisite Gray and Snowbound by Sherwin Williams were the winners! I feel like they blend with the brick beautifully and I couldn’t be happier with my choices. You can catch the full reveal post here.
Front Room
Ok, let’s head inside. This was the old view from the front door:
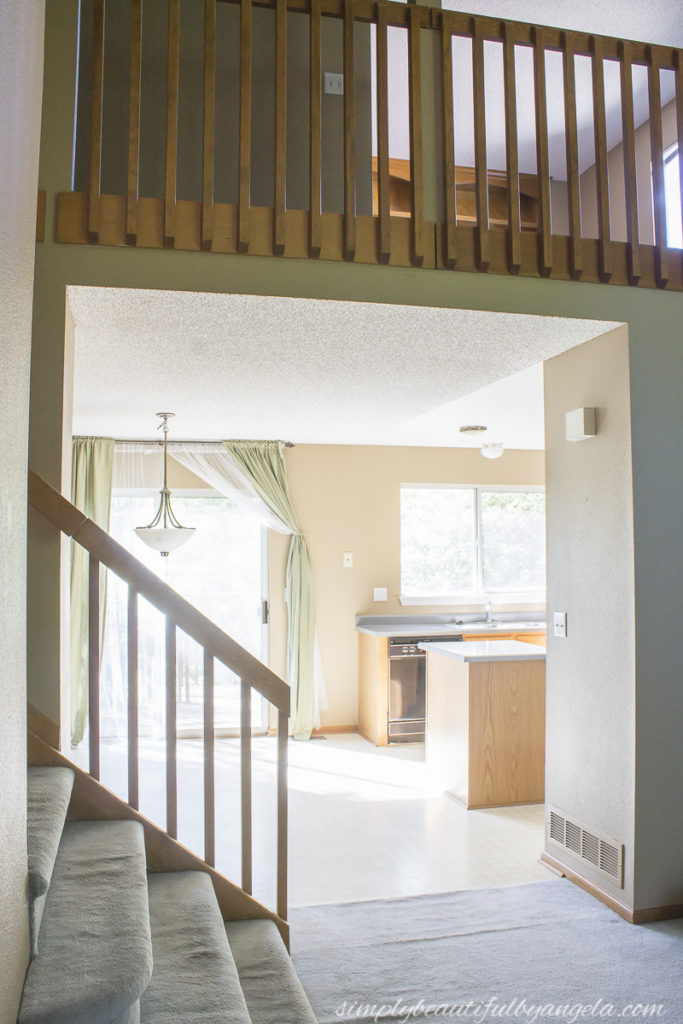
We painted the banister, installed hardwood flooring and painted the walls Basalt Powder by SW and this is what it looks like today!
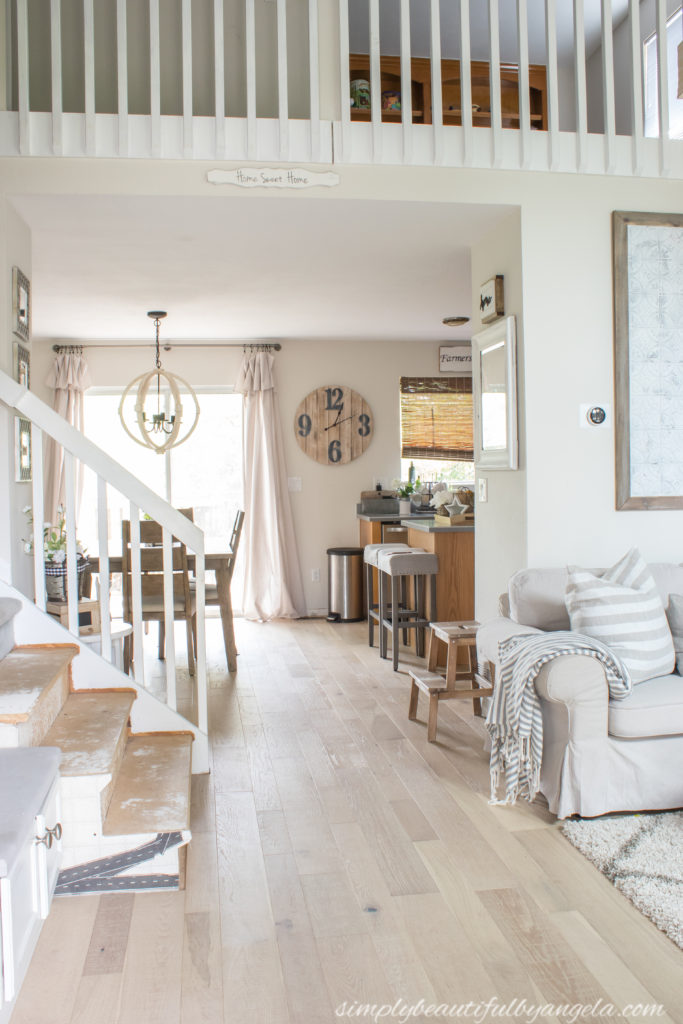
I know, the stair situation is unsightly, and unfortunately it’s the first thing that you notice when you walk in. As you may recall the bottom 3 steps used to extend out:
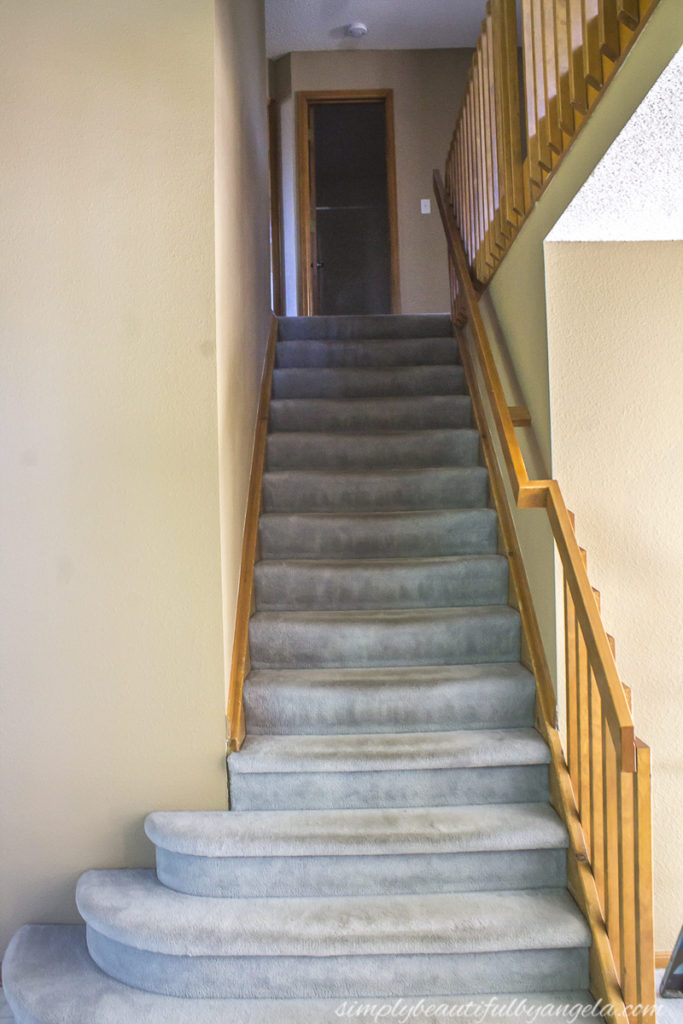
We decided to chop them off while we were installing the floors to open it up more. We propped up a piece of the old floor as a temporary solution to hide the gaping view that it left into the basement. Not the prettiest solution but it was sure cheap haha!
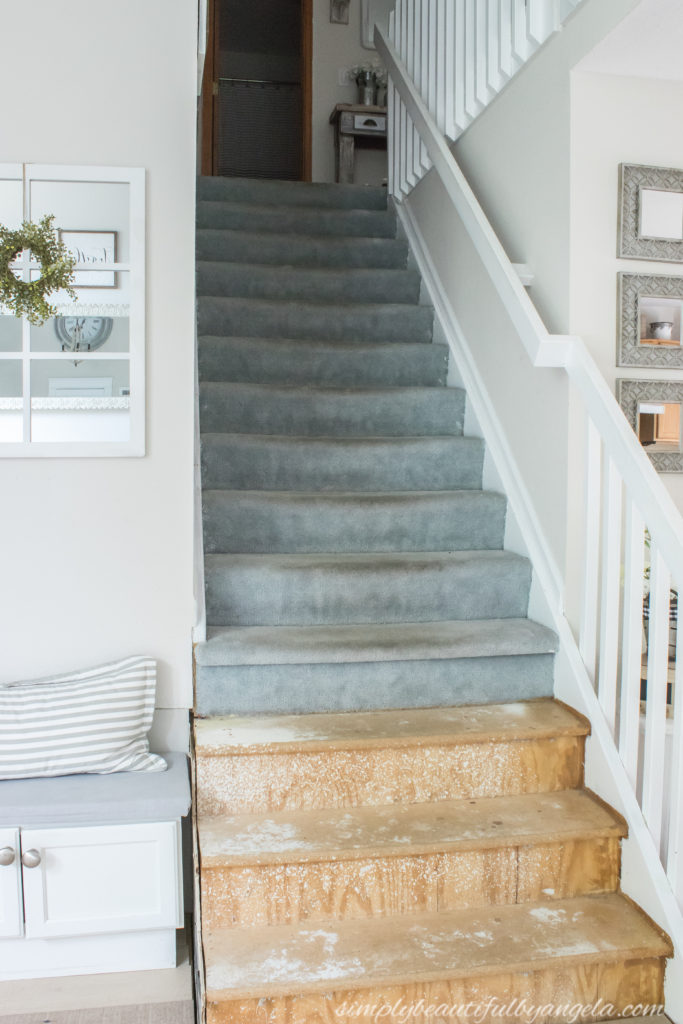
The plan is to replace the treads with new oak ones (that I will stain to match the floors) and to paint the risers white. I keep envisioning how amazing it’s going to look when it’s done and I cannot wait to get moving on it!
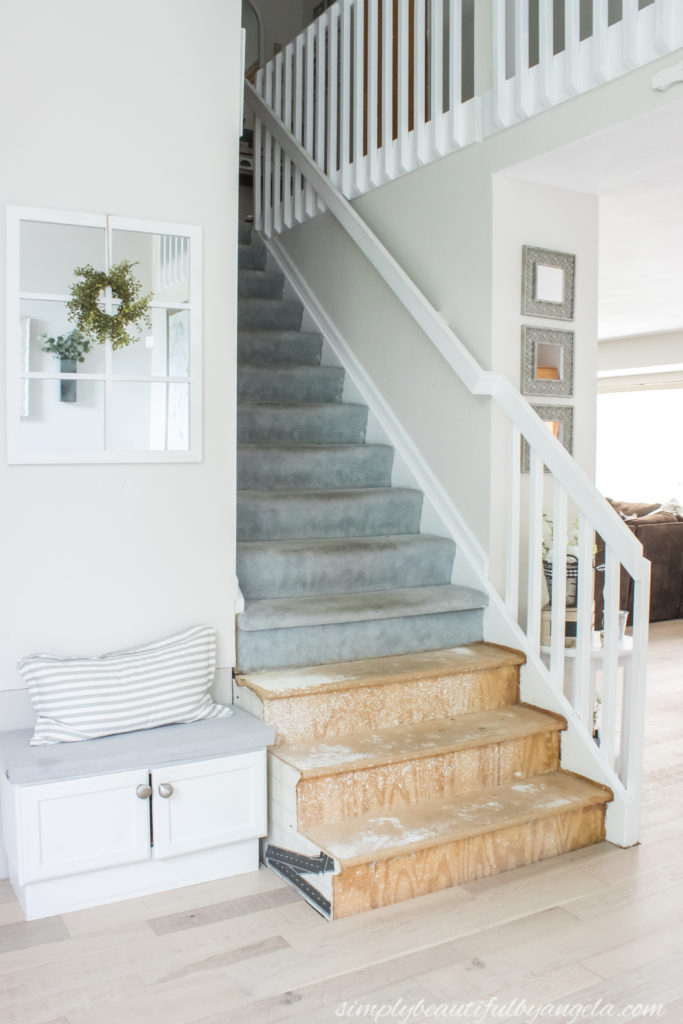
Ok so back to the room. This was the view of the from the other side:
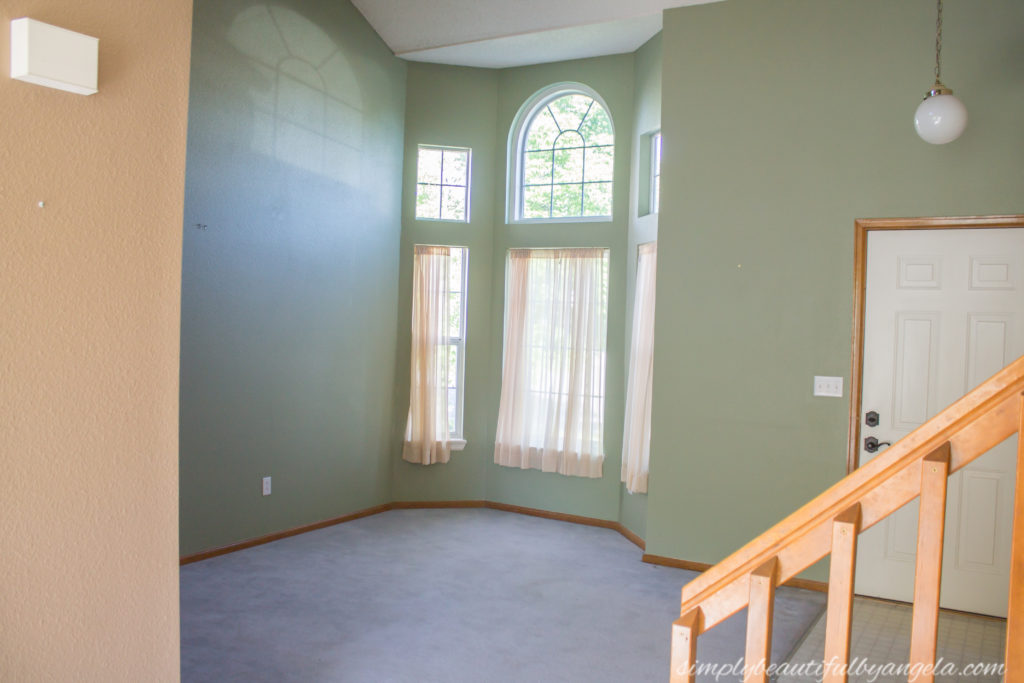
And here it is today!
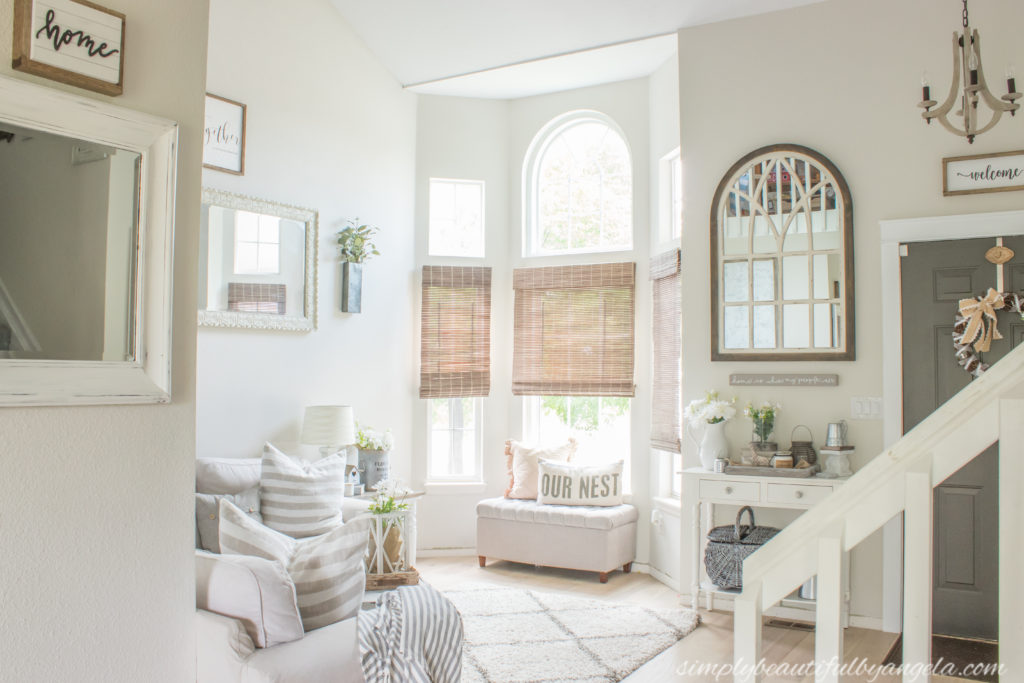
The new paint and flooring completely transformed it! Baseboards aren’t on yet since I am planning on installing board and batten, but I am so happy with how this room how turned out so far. If you look up at the top right corner you will see that we replaced the old light with a pretty wood pendant chandelier.
Kitchen
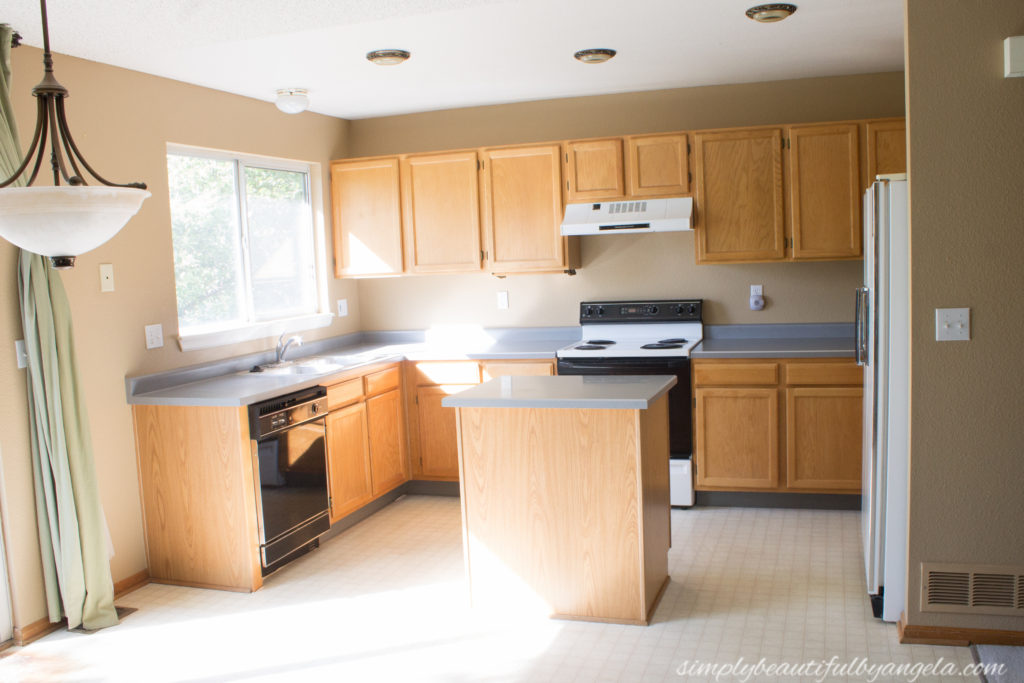
Let’s move back in to the kitchen. Classic 90s builder grade oak cabinets, laminate countertops and 25 year old appliances:
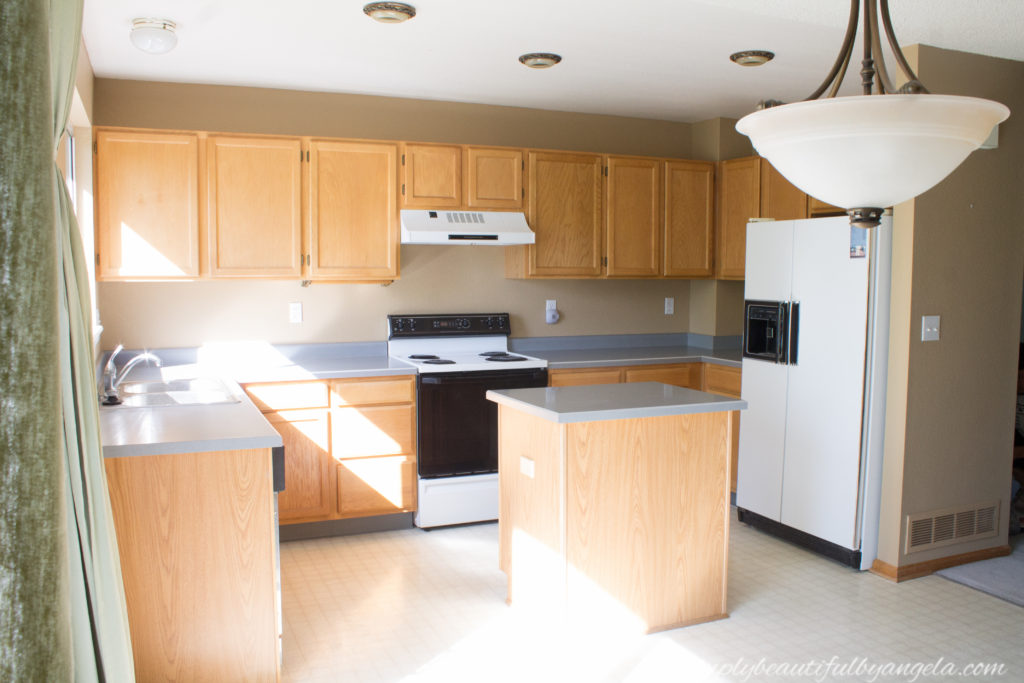
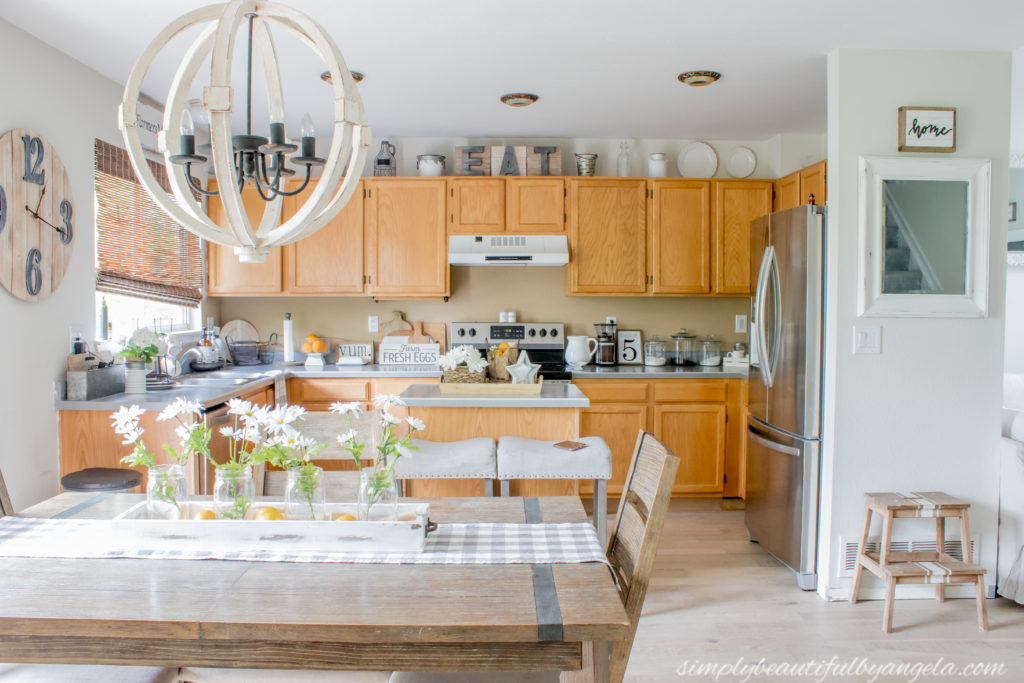
And here it is today…
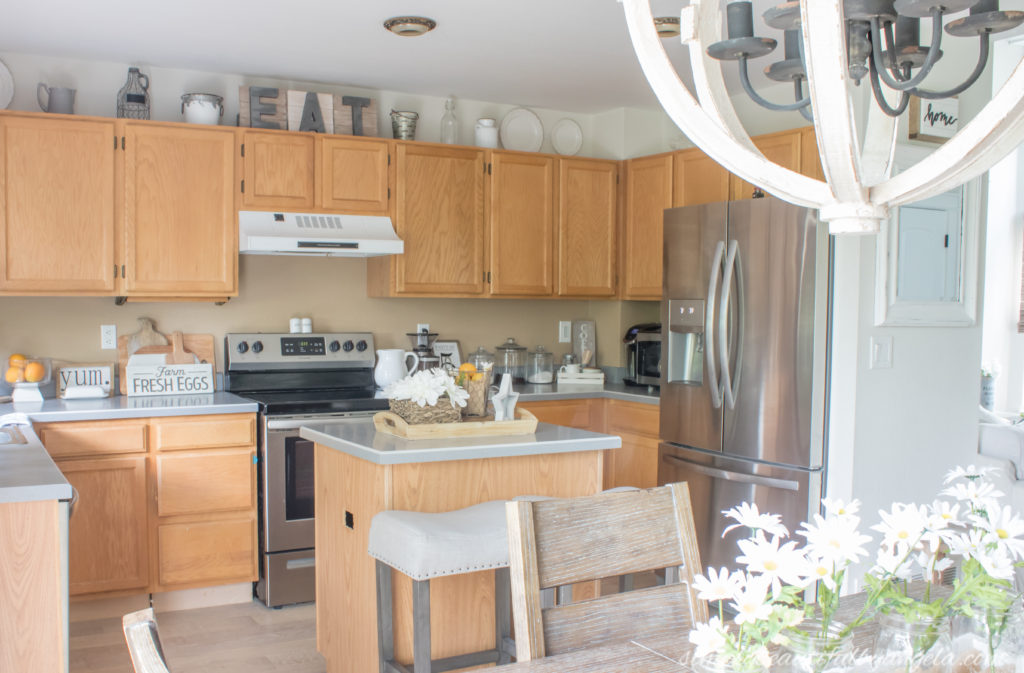
Whomp whomp. We have new flooring and appliances, but that’s about all that has changed. Eventually the cabinets will be painted white, countertops will be quartz and we will install a subway tile backsplash and new hood vent.
We will get there one day but so far have really been dragging our feet on this space. Although we didn’t waste any time replacing the lighting over the dining area with my beloved wood orb chandelier that we had in the old house.
Living Room
The living room is where we spend the majority of our time hanging out and playing. It’s the most utilized room in the house, but in its old state it used to feel kind of cave like:
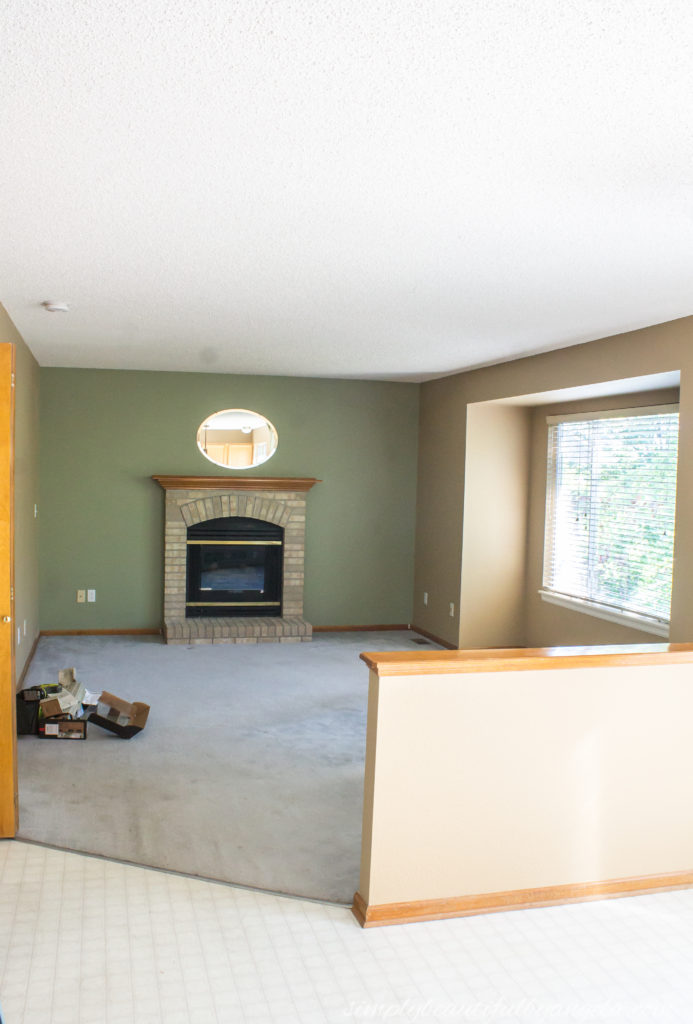
Luckily the new paint and flooring alone has brightened it up quite a bit! We also took out that pesky half wall and it completely opened up the entire main level.
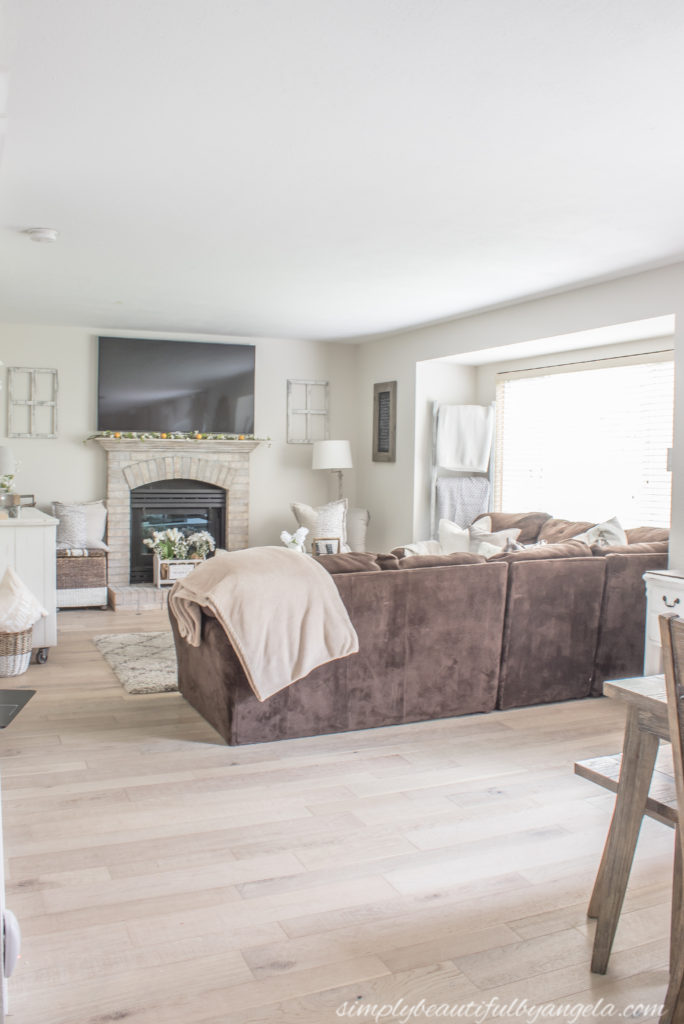
We were super excited to have a gas fireplace, but it was very dated.
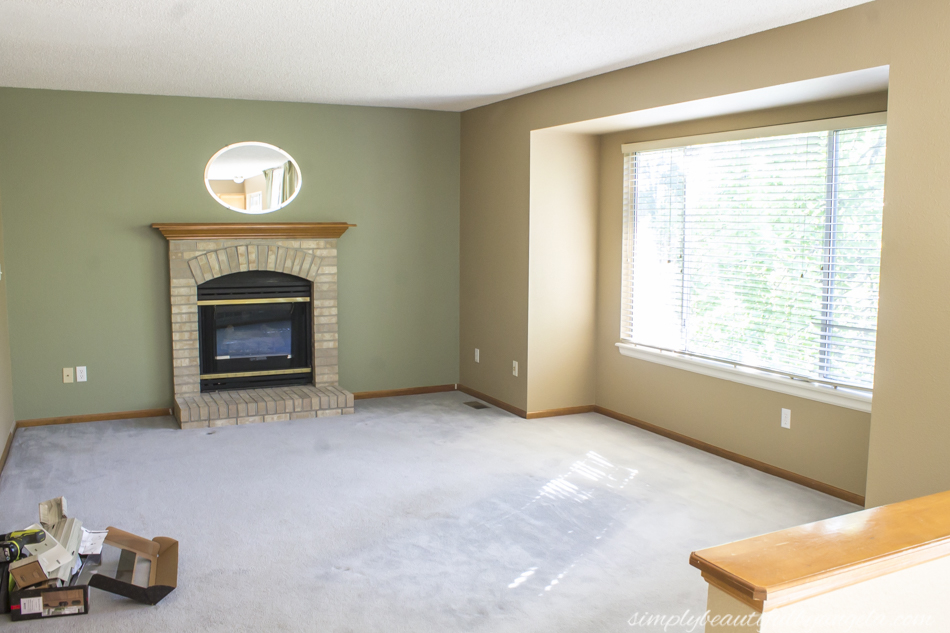
I white washed the brick, gave the mantle a driftwood wood treatment (similar to how I did the basement stairs), and removed the brass trim to update it in the interim. Eventually I want to limewash the brick and build a new floating mantle to make it a little more my style.
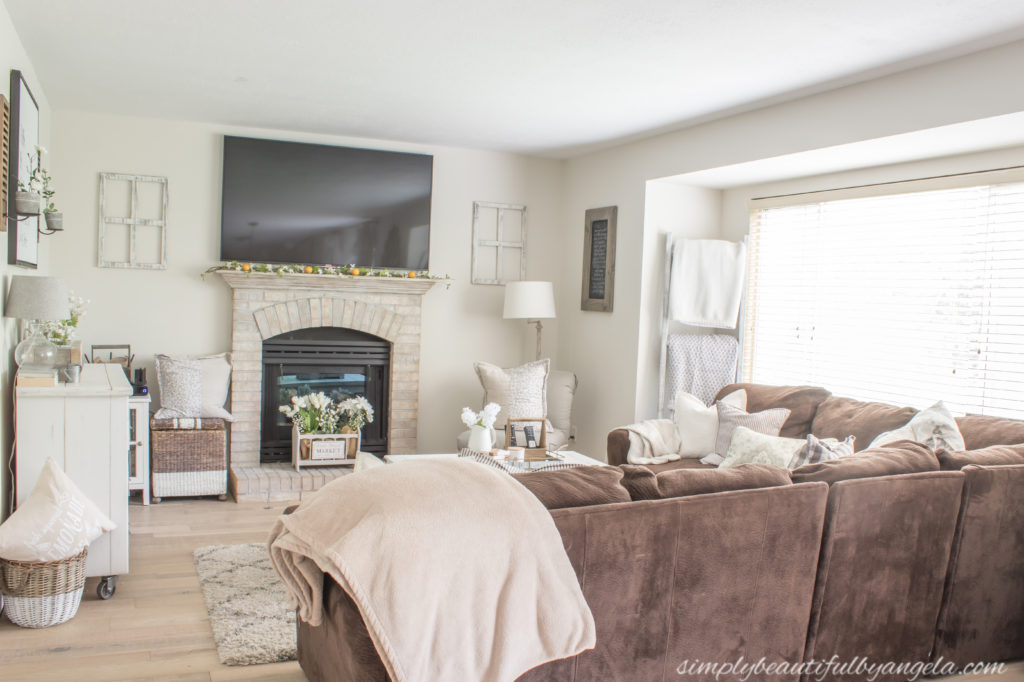
In fact, I actually have big plans for that entire back wall! I am going to shiplap it then build benches on either side of the fireplace with big arched window mirrors above each one. Hopefully it turns out as gorgeous as it is in my head!
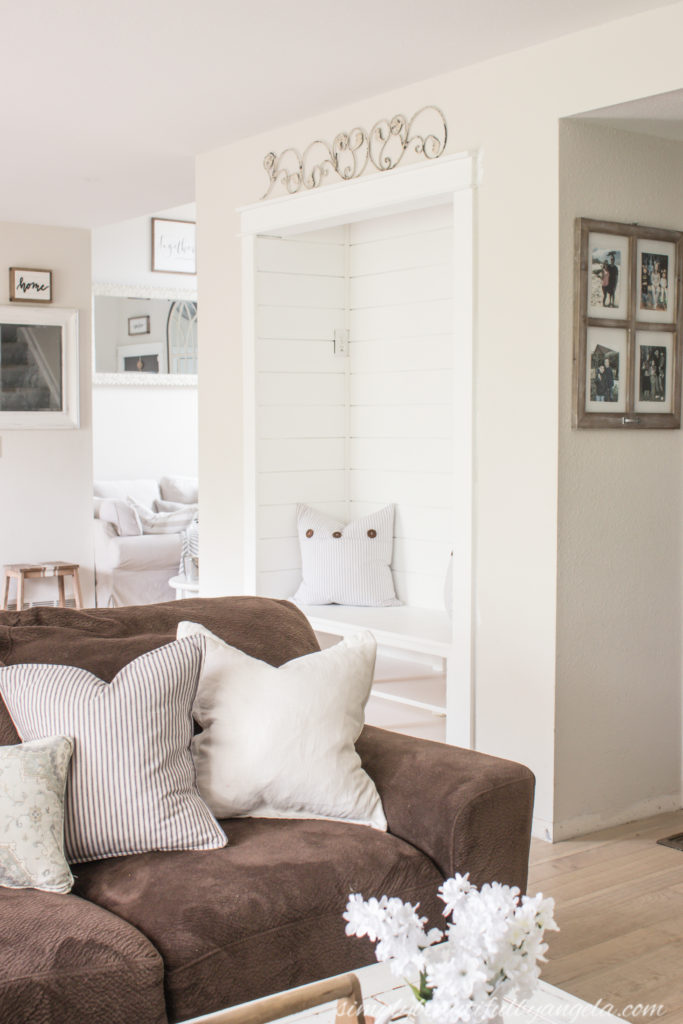
This is view from the back of the living room and you can see that the pantry was in a very awkward spot.
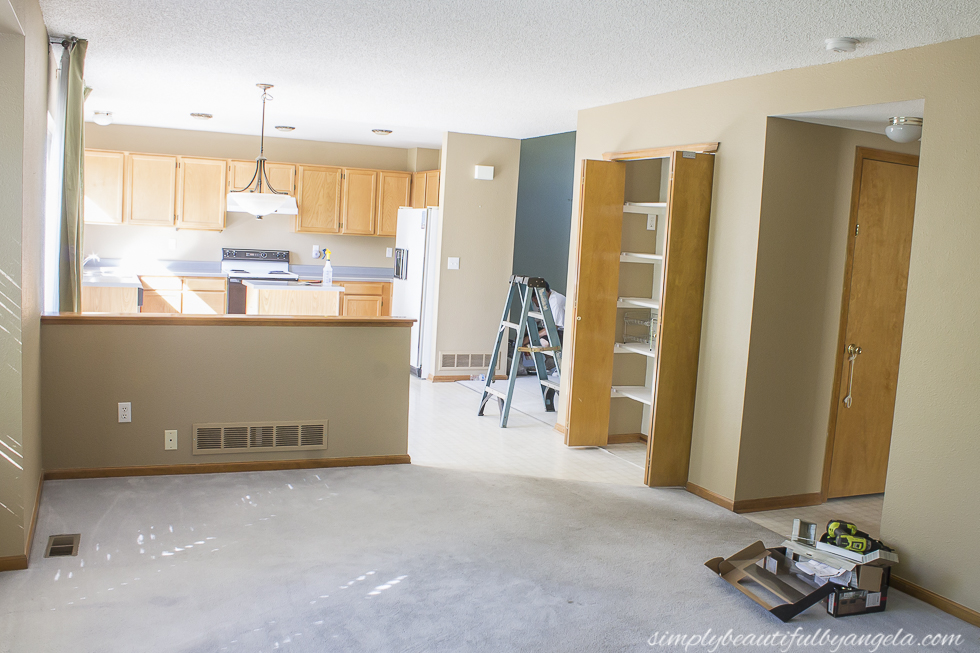
We decided to use some of the extra cabinets in the kitchen for food storage and turn this space into a little mudroom nook! It’s getting close to being done and I shared all of the details on the progress last week in this post.
Downstairs Hallway
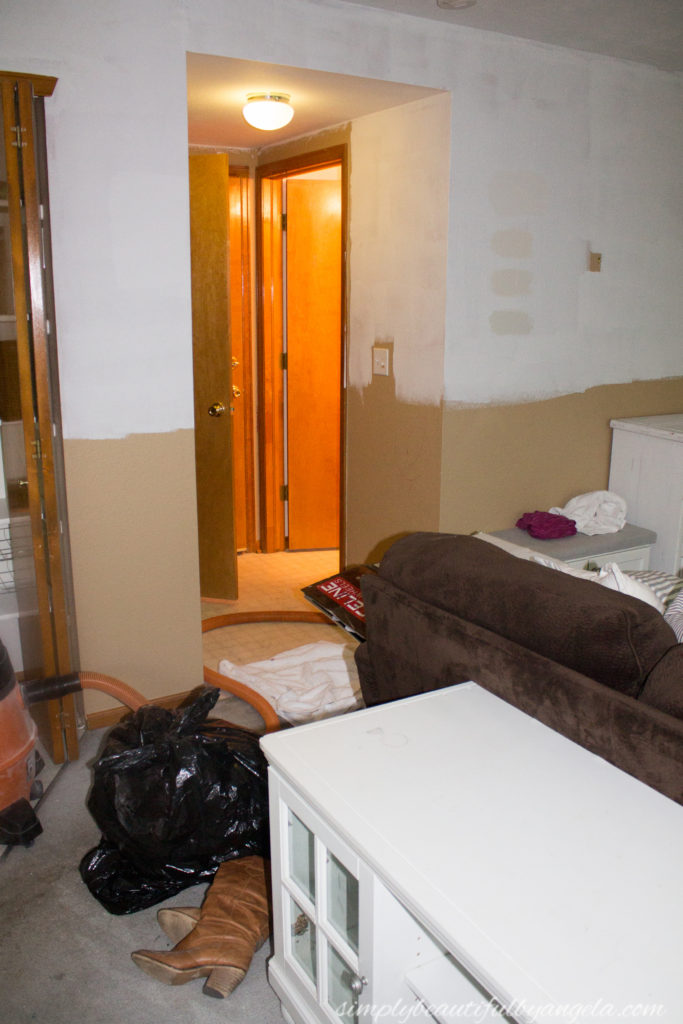
This was the little hallway that leads to the powder room, garage and basement shortly after we moved in.
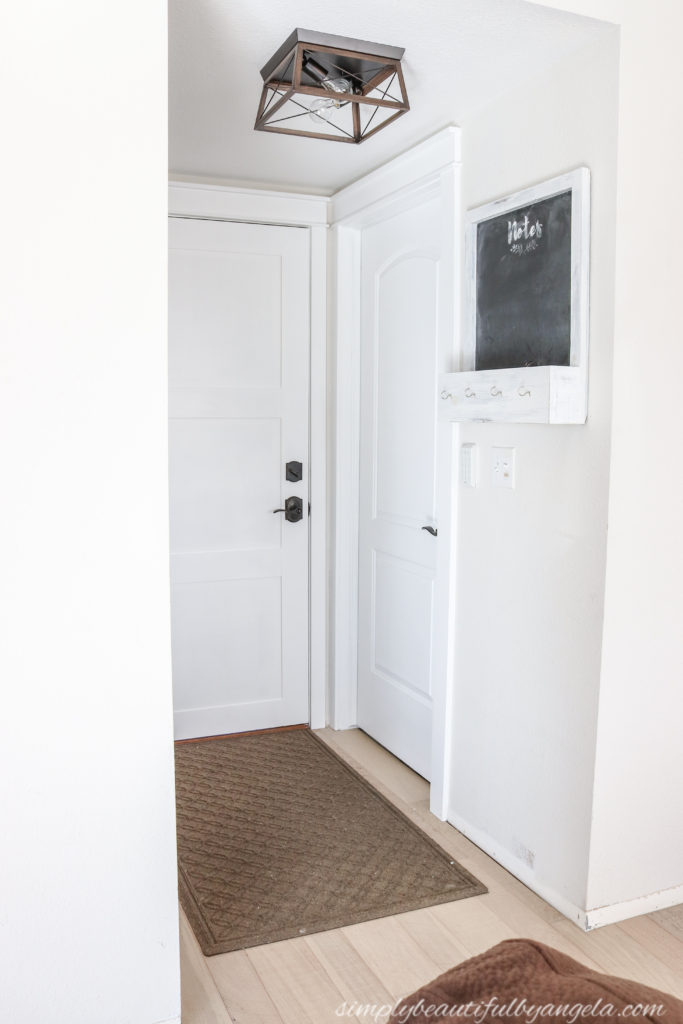
We replaced the powder room door, gave the garage door a budget flat panel makeover, and replaced the light with this farmhouse style flush mount light. Much better, don’t you think?!
Basement Stairs
The basement went doorless for while thanks to a door fitting fiasco. During that time, we ended up deciding that we actually liked having it open. However, that meant that the view was open to the steps which were naaaasty.
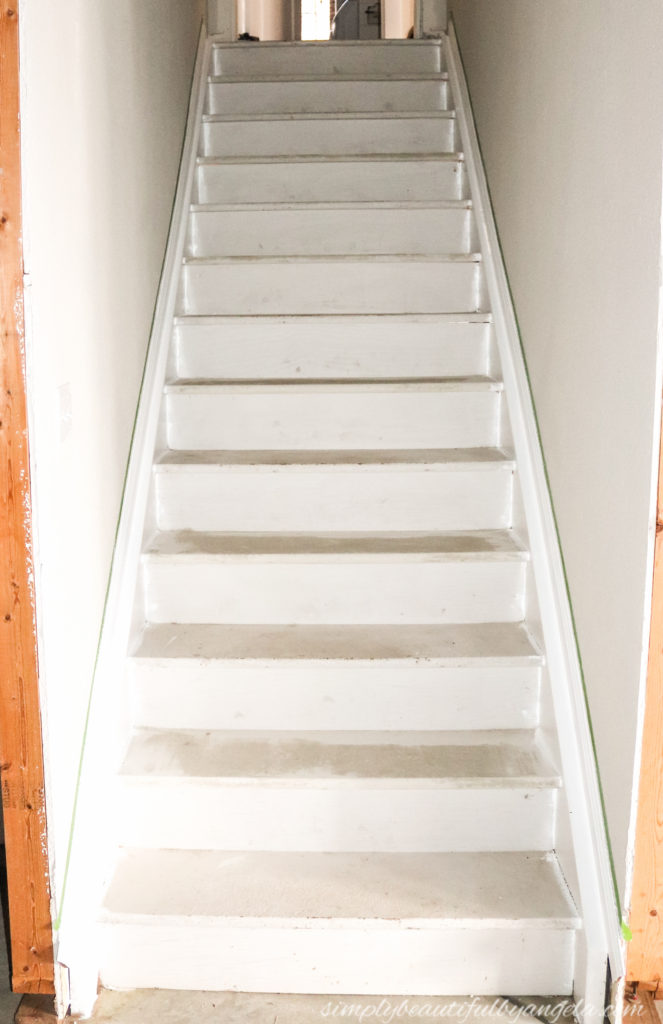
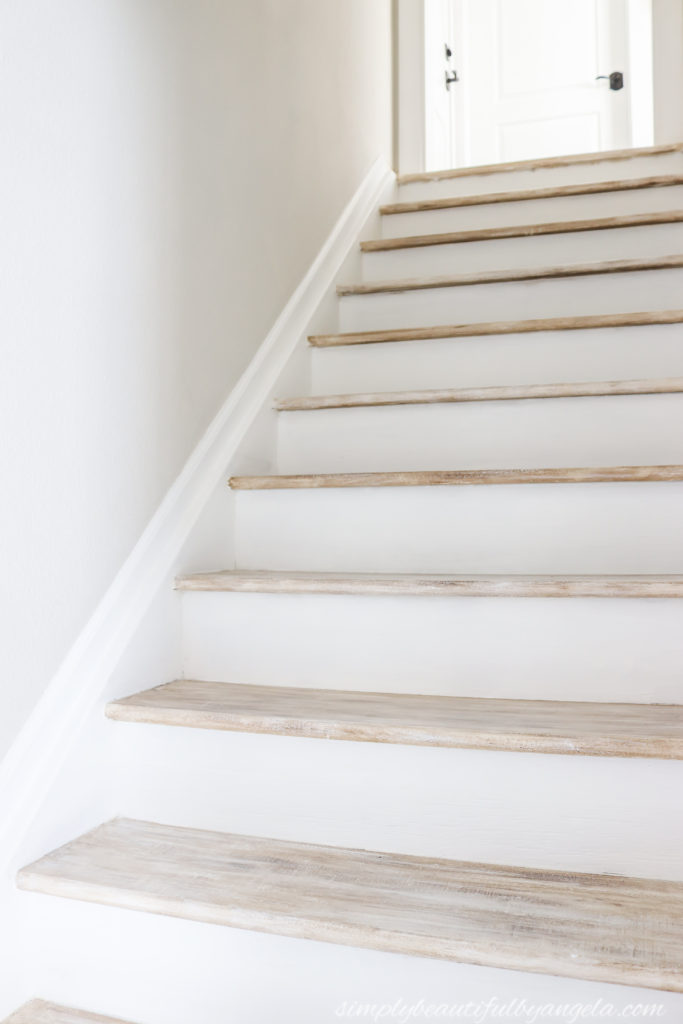
I came up with a budget makeover using paint and dark wax to make them look like wood (tutorial here). We also built a railing out of pipes and hung up some large framed pictures of the kids to make it feel more homey, although I forgot to take a picture!
Powder Room
Originally the powder room was at the bottom of the priority list.
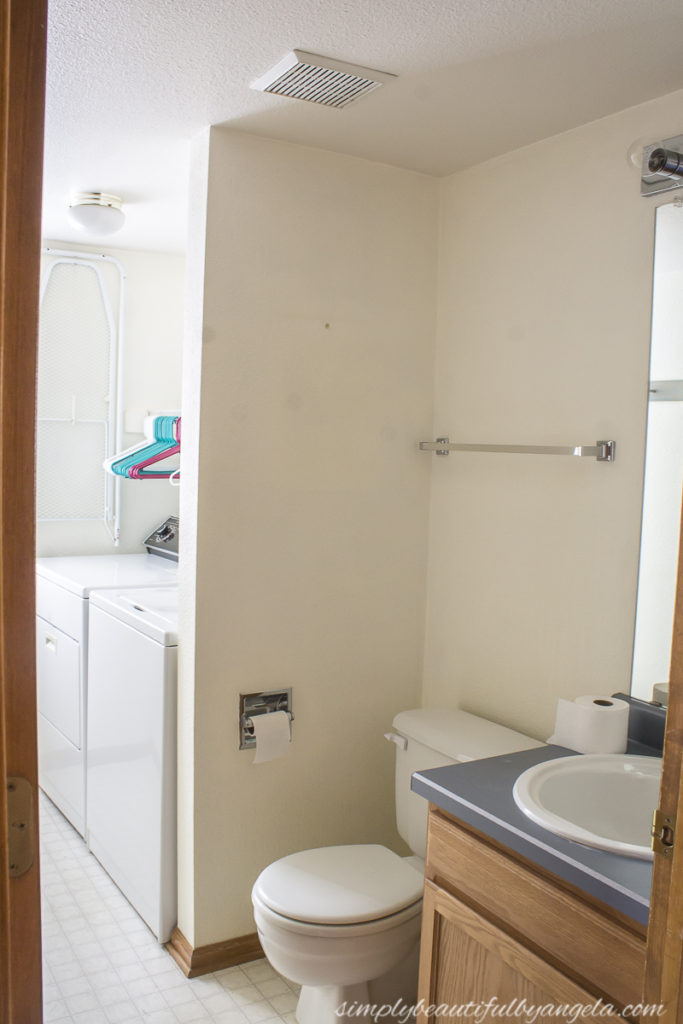
But as luck would have it, it’s now almost completely finished thanks to a washing machine flood that happened the the first week that we moved in. Since the flood caused us to have to gut the entire space during the restoration process, it got renovated a lot sooner than we thought it would.
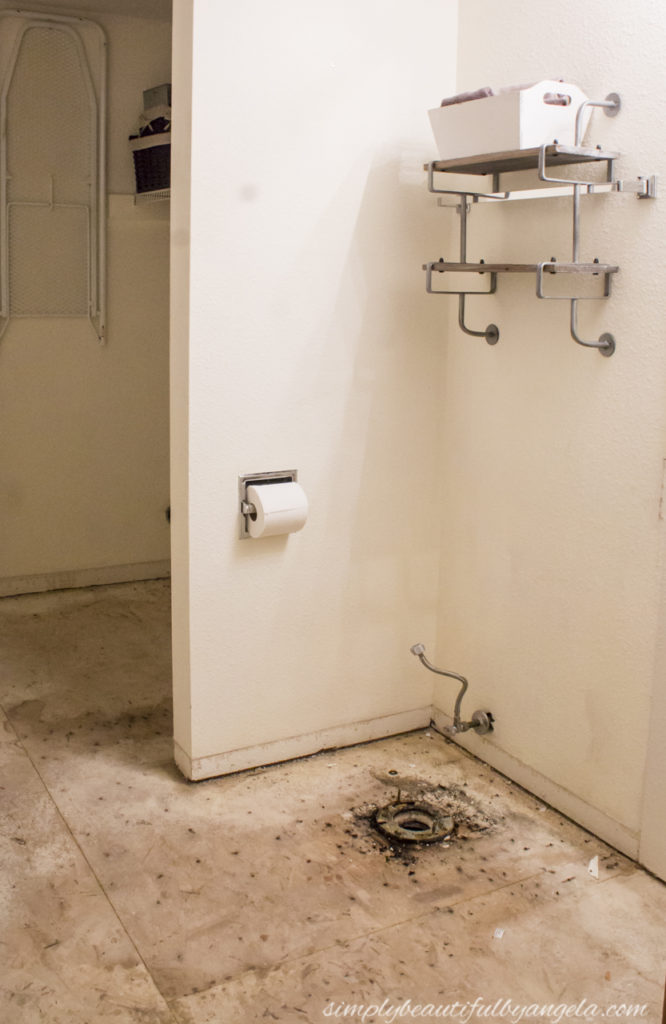
And I’m not complaining!
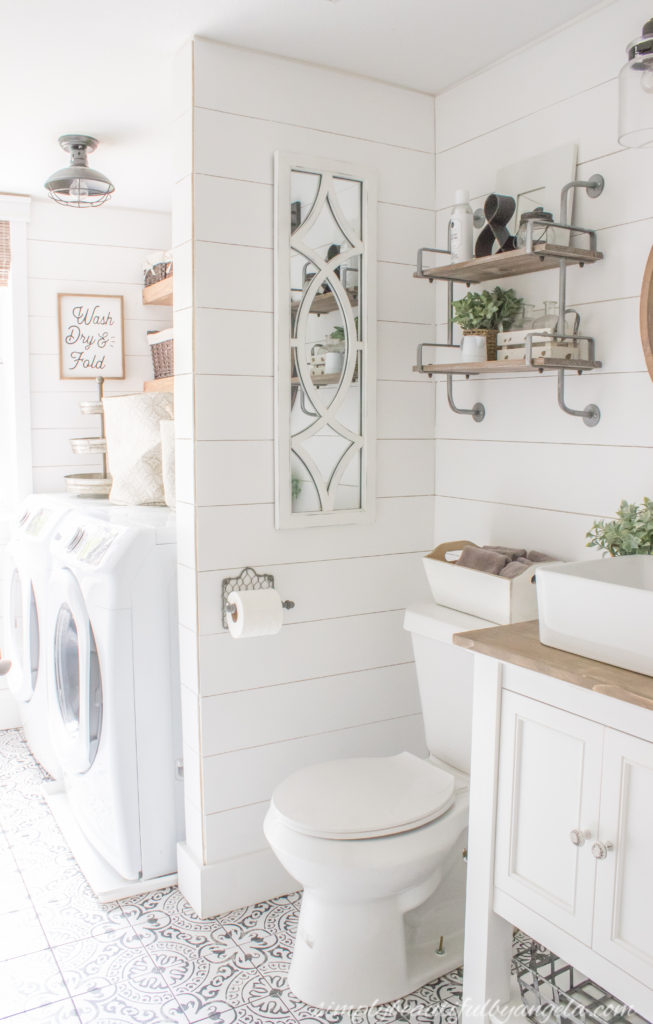
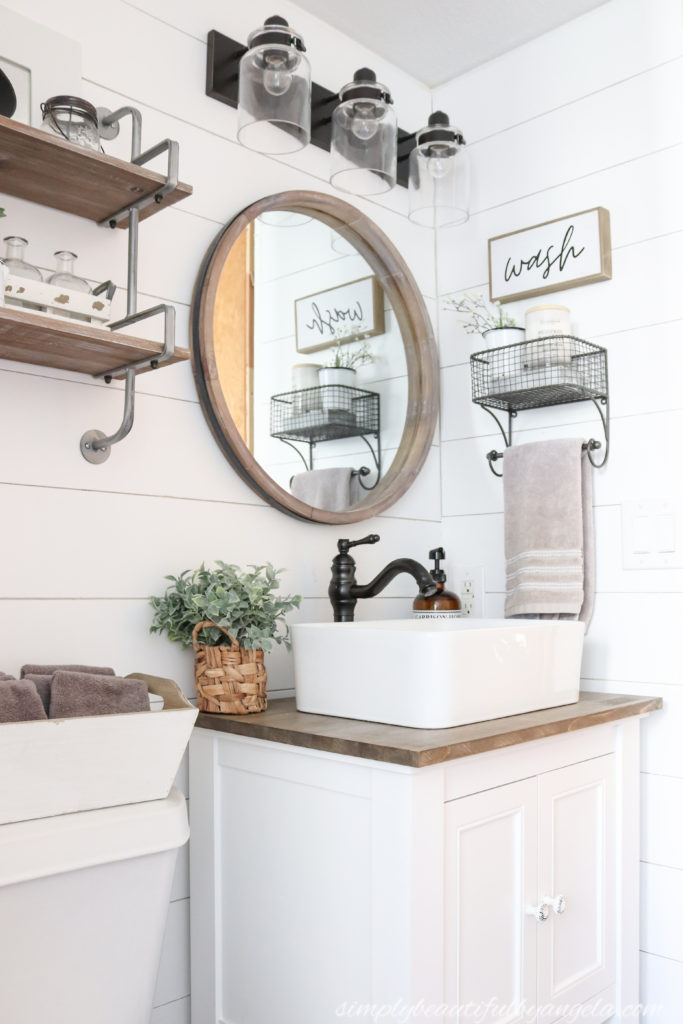
I have always dreamed of having a vessel sink, so when we installed this one I was over the moon excited about finally having one! I shared a tutorial for the installation process here. I was also excited with my new vanity light and how it really popped off of the shiplap.
We replaced the old wire shelving with some DIY wood floating shelves in the laundry area and also added this industrial ceiling light.
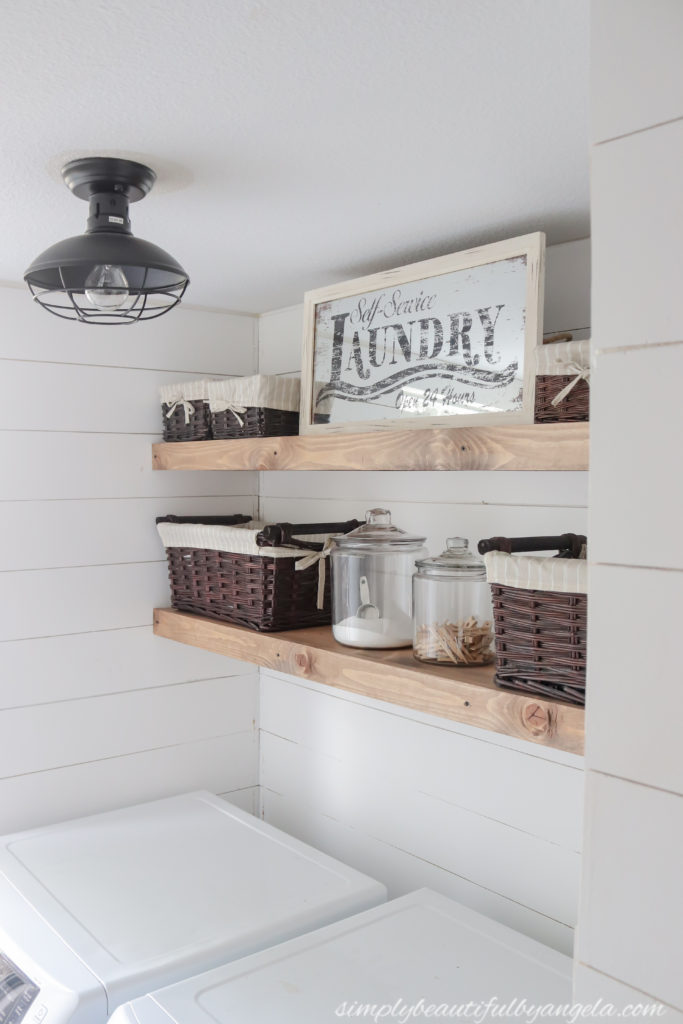
I have been procrastinating on final details since last fall so I actually never shared a full reveal on it! Hopefully I can finish those up and share it sometime this year.
So that about covers the downstairs, now let’s head upstairs!
Master Bedroom
Almost all of the rooms have the same worn carpet that the main level used to have. After we re-do the stairs, we will begin installing the same hardwoods in each one.
This is what our bedroom originally looked like:
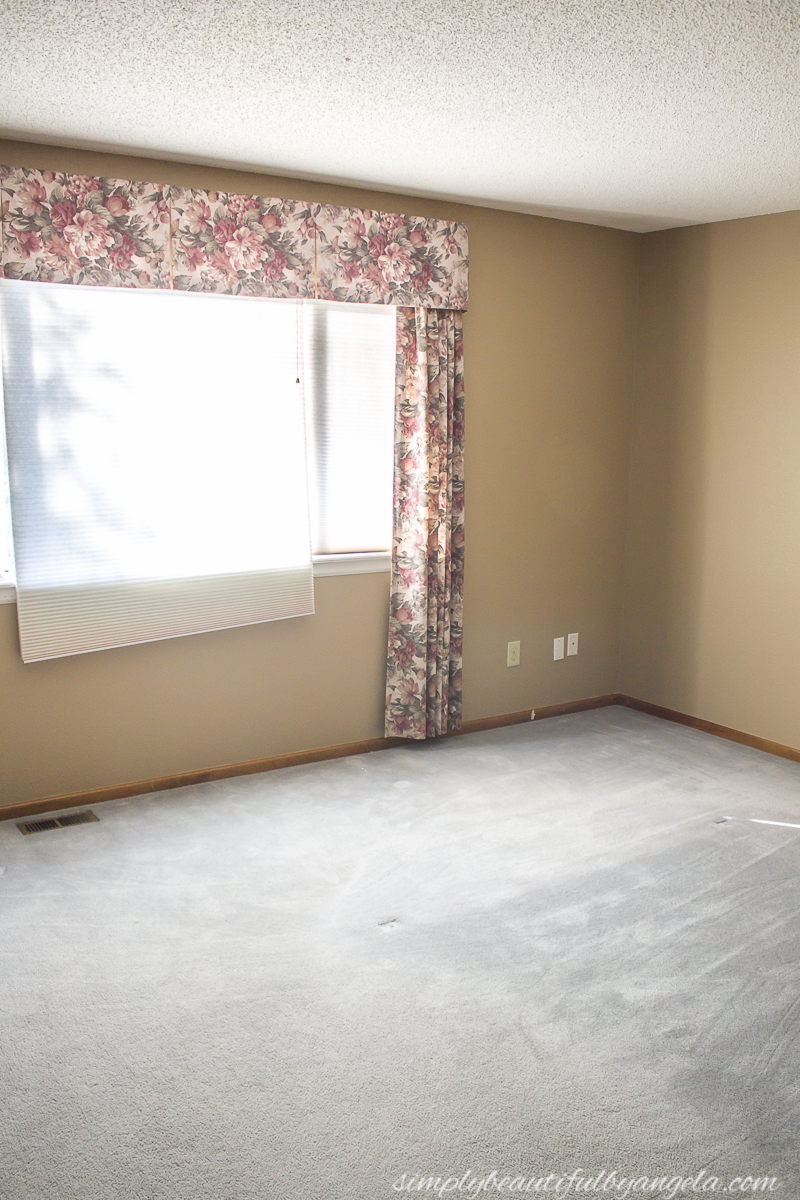
And here it is today!
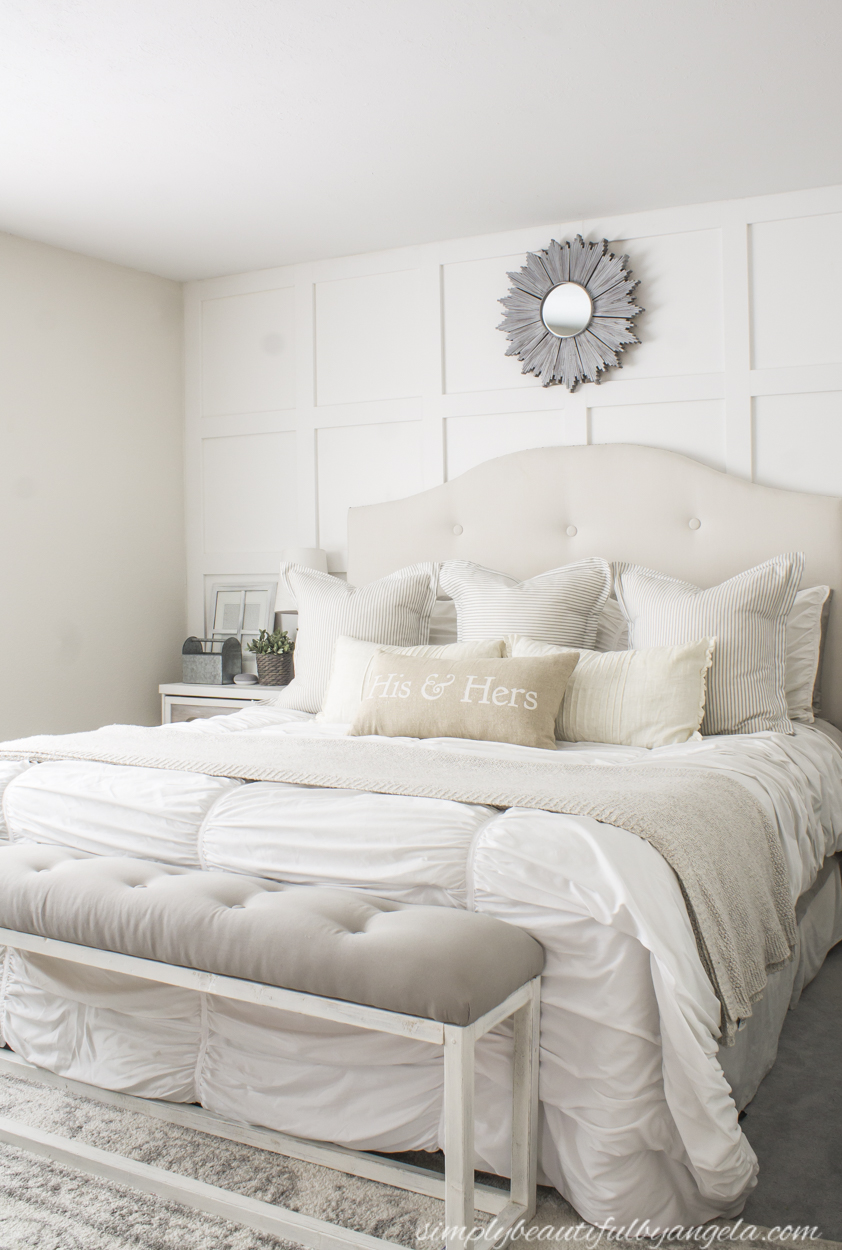
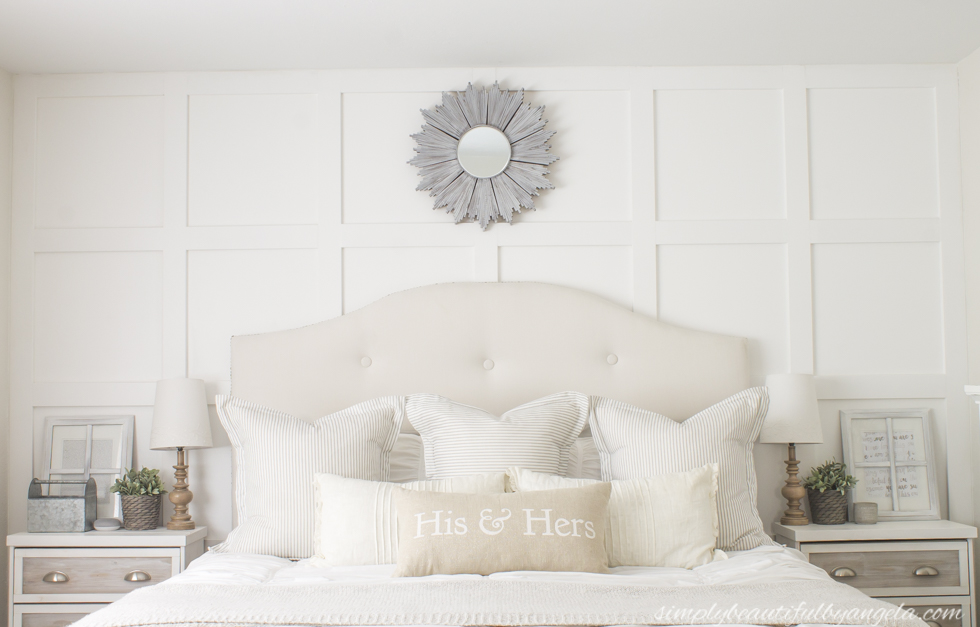
I installed board and batten in a grid style on the back wall (tutorial here) and painted the remaining ones with SW Basalt Powder. All that is really left to do in here is the floors.
Master Bathroom
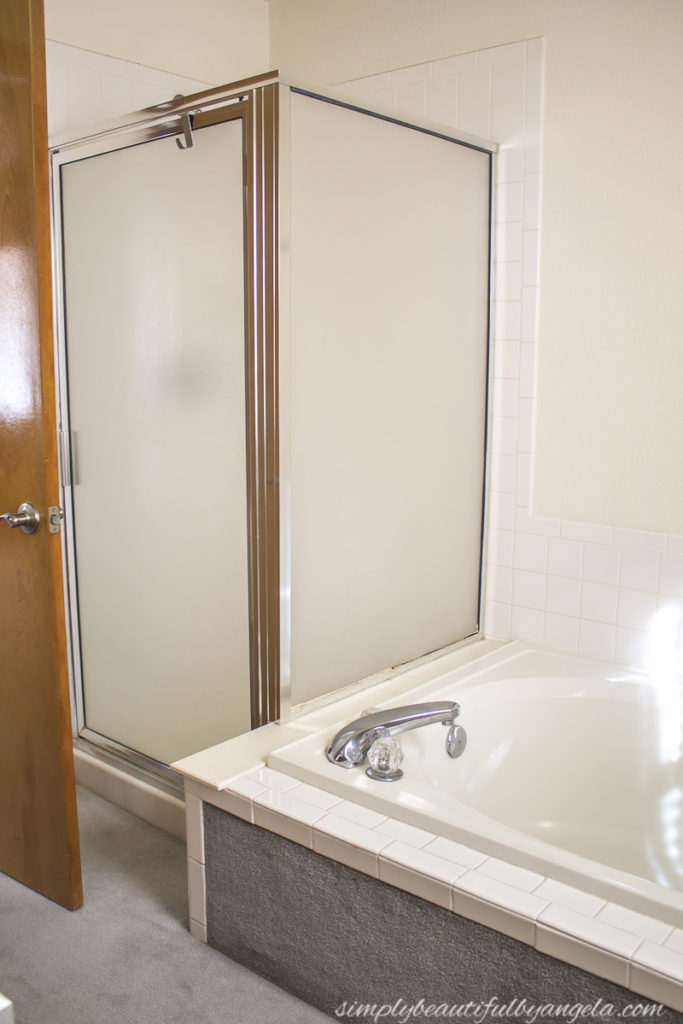
Our master bathroom was super dated and will eventually need a full gut.
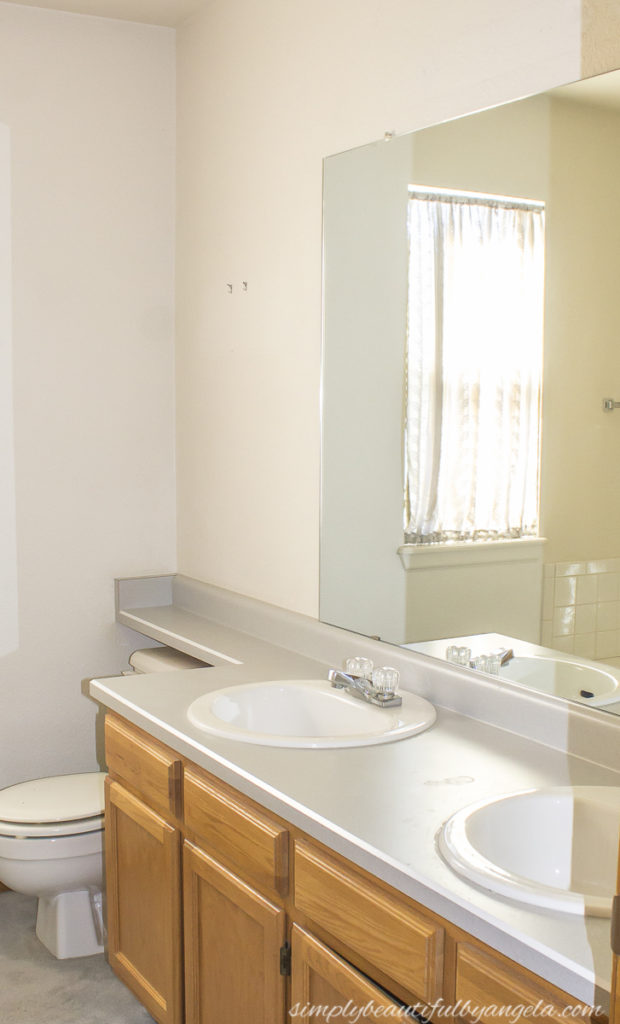
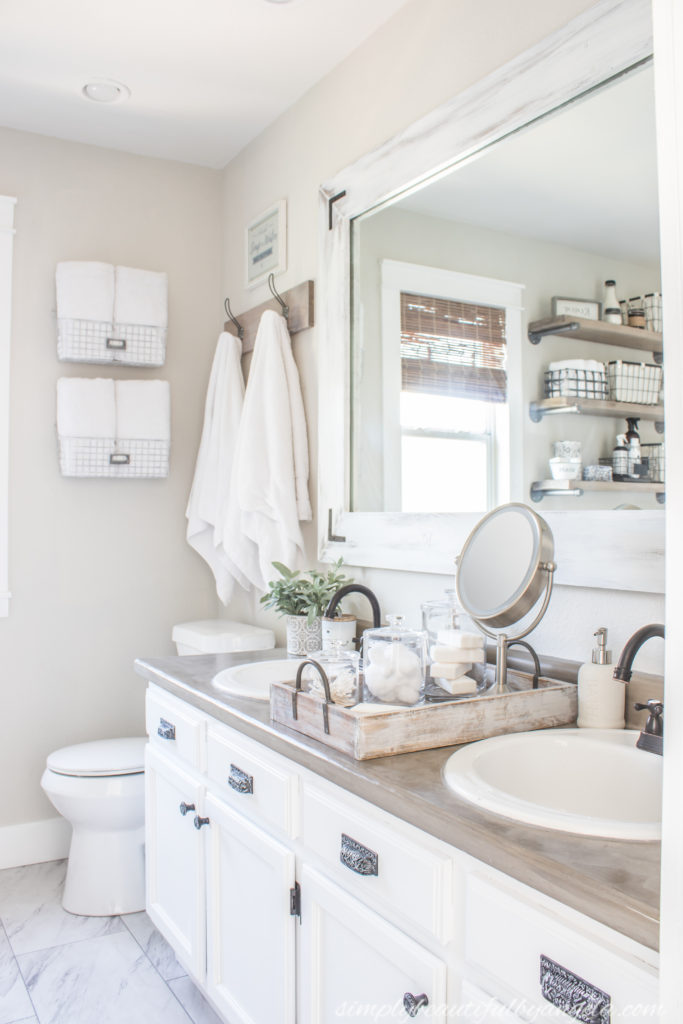
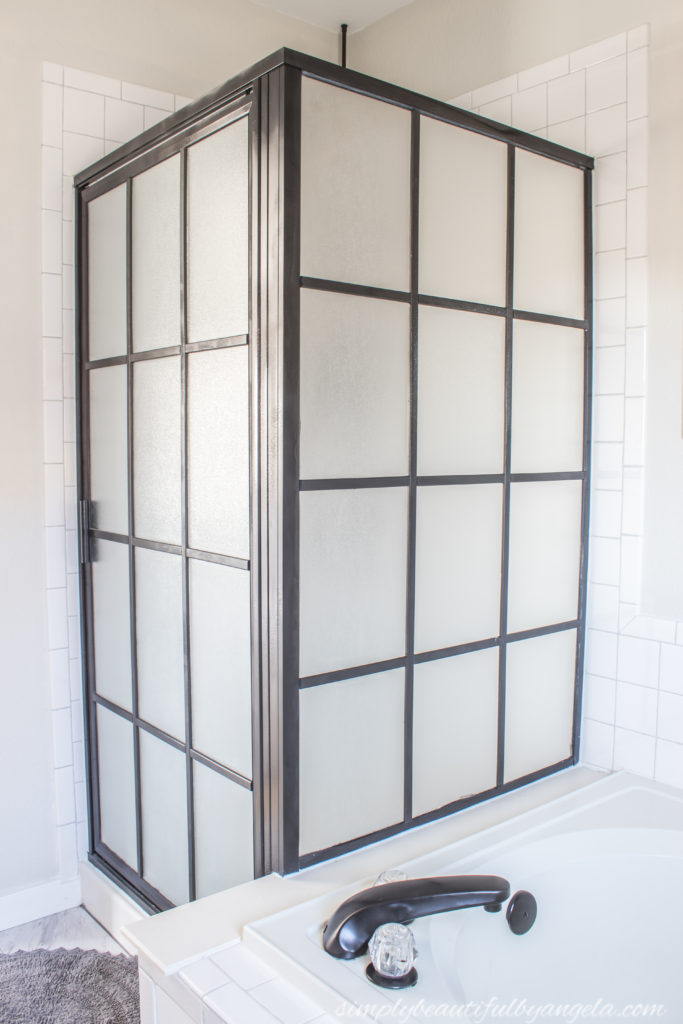
Up until this past spring we lived with it as is until we could budget for the big reno. But I decided that I couldn’t stand it any longer, so I gave it a budget makeover for the One Room Challenge! You can catch the full reveal here.
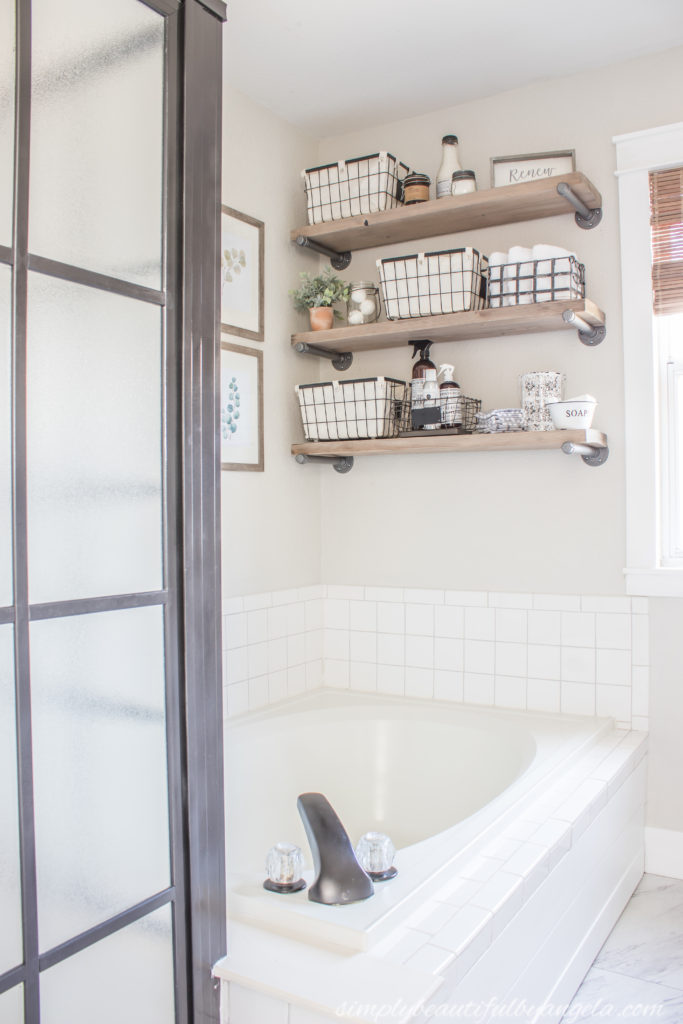
My favorite transformation in this space is without a doubt, the shower makeover!
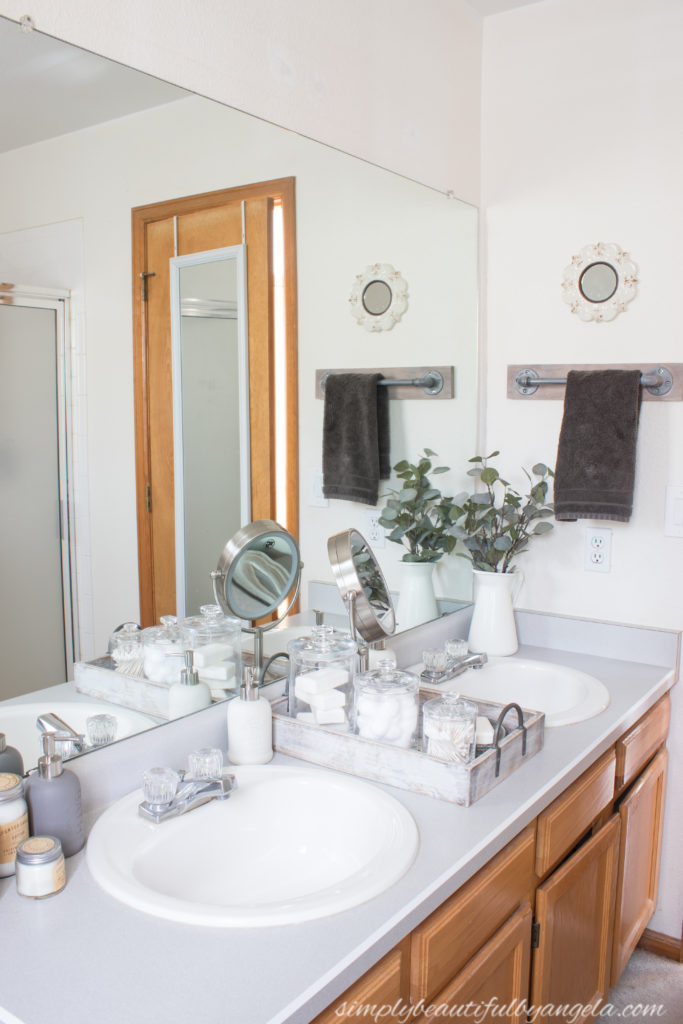
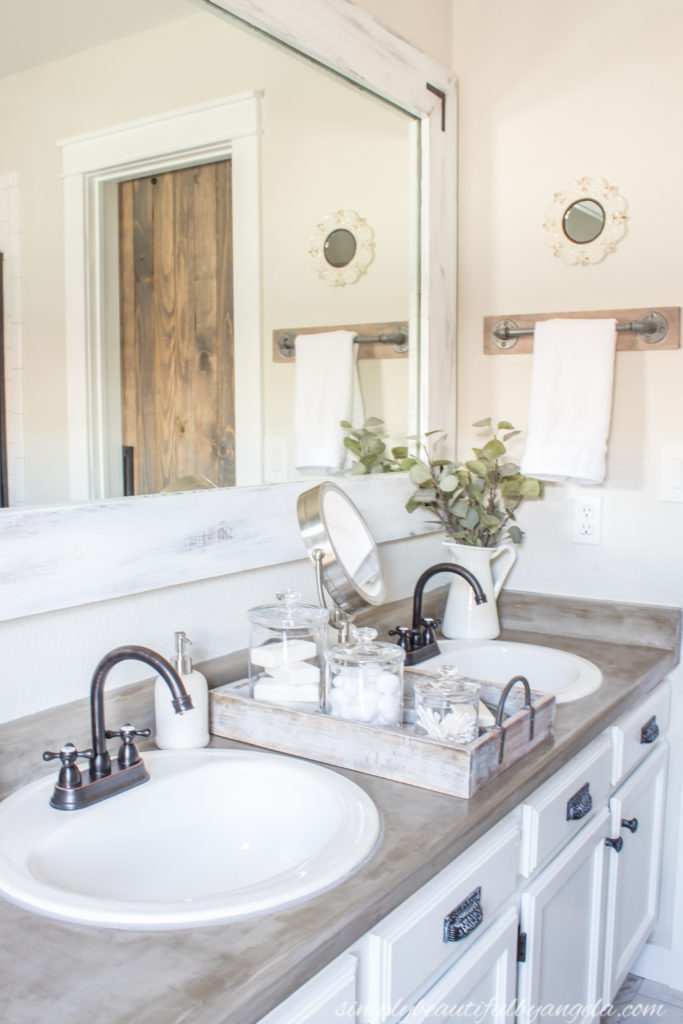
And a close second is the vanity. I simply painted the cabinets, did DIY concrete countertops and framed the existing mirror to give it a whole new look.
Upstairs Hallway
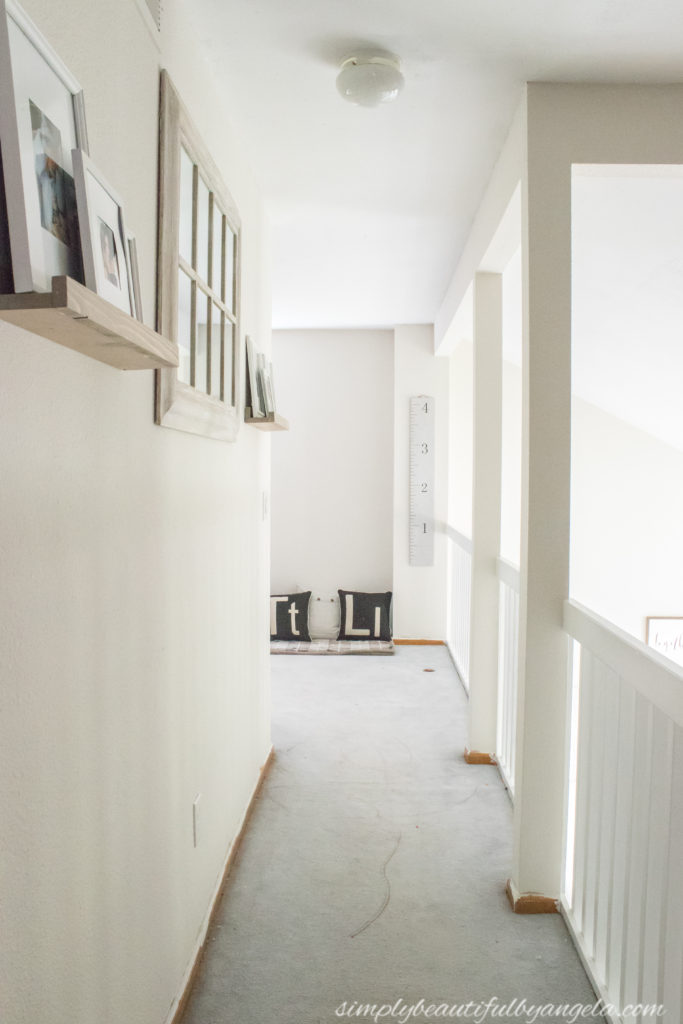
The upstairs hallway leads from the master bedroom to the playroom.
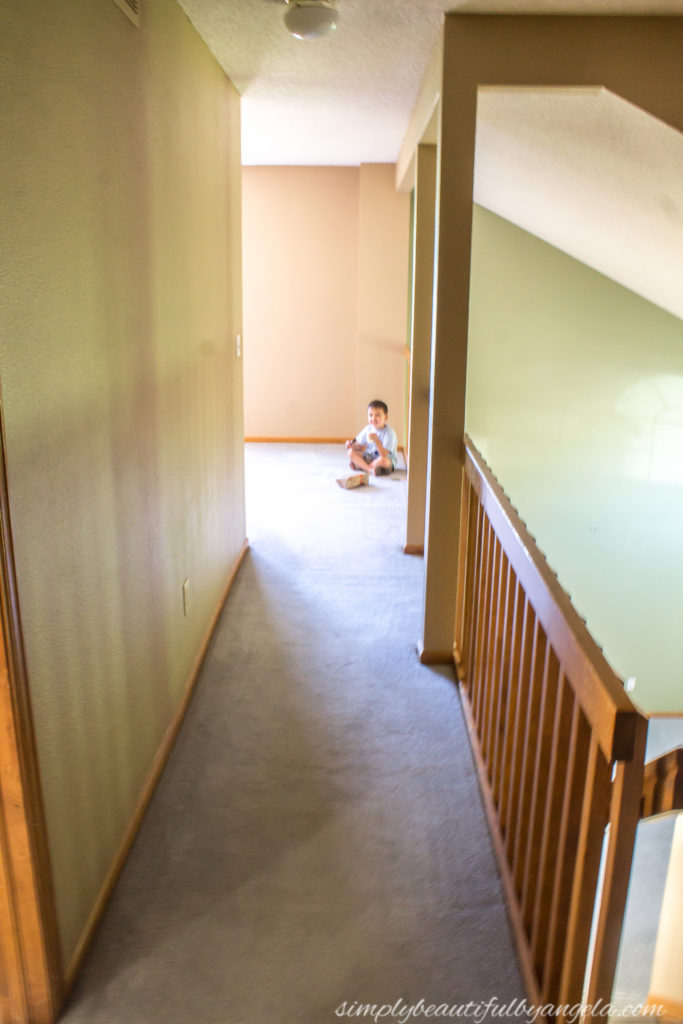
So far I’ve painted the banister white and the walls Basalt Powder, but I envision that it will be even brighter once I install board and batten along the wall. Lucas also decided to decorate the carpet with some marker train tracks that will be sadly missed when we install the hardwoods.
Playroom
The second that I saw that the loft area had a wall of shelves, I immediately envisioned it as the perfect place to store toys. I was soooo excited to make it the most organized and fun playroom ever!
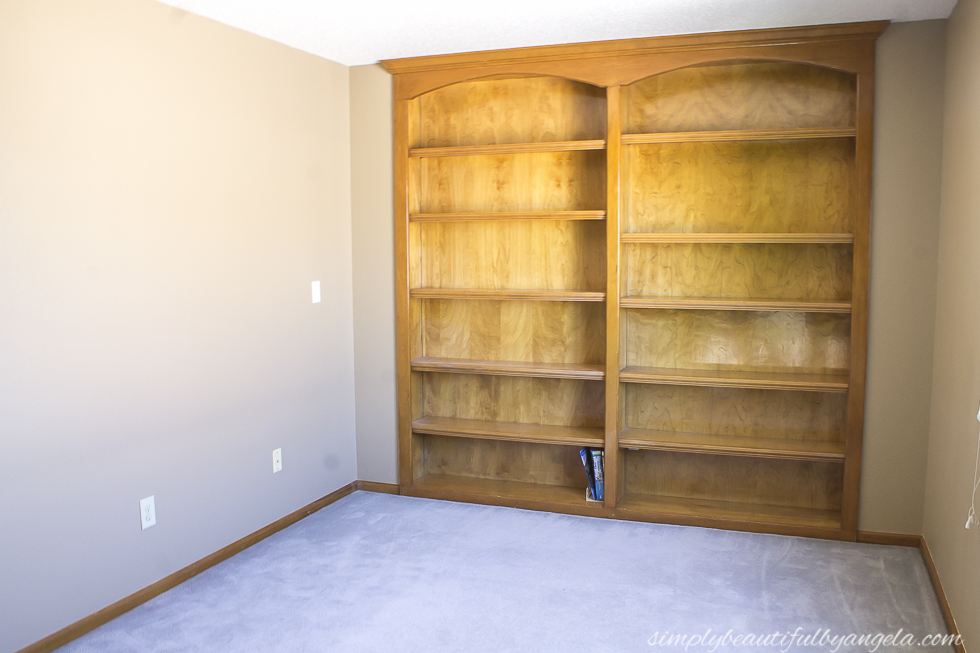
But nothing too exciting has happened in here yet other than wall paint and a whooooole lot of toys added.
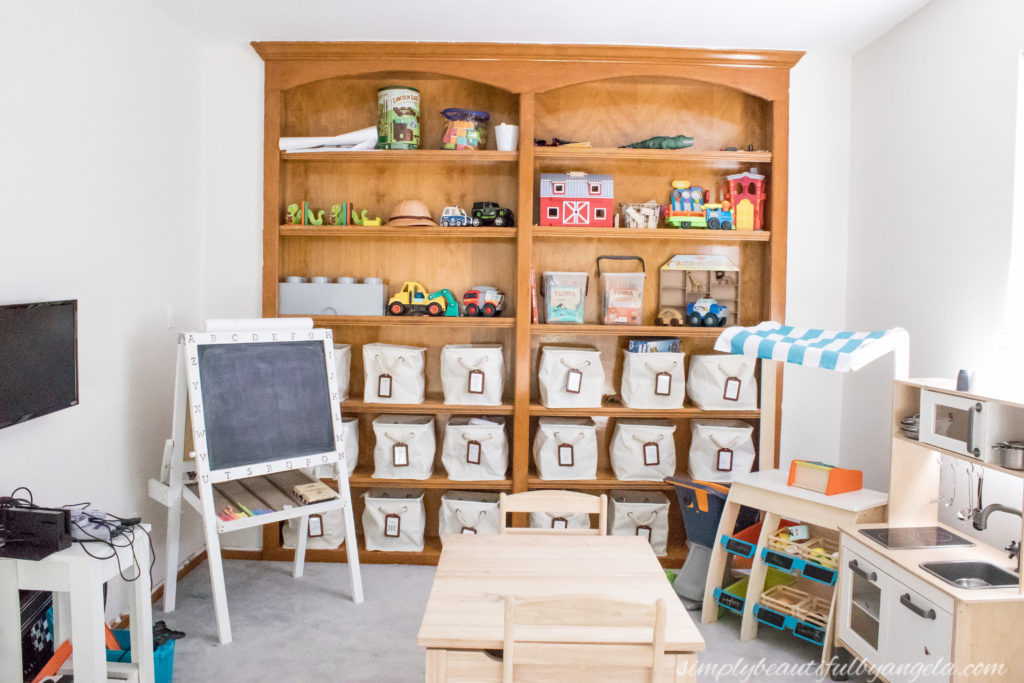
I have big plans for this space though and it will most likely be the candidate for the fall One Room Challenge. Besides the hardwoods and board and batten, I also will be painting the bookshelves and want to do an alphabet gallery wall around the television.
Boys’s Bathroom
Moving on to the boys bathroom:
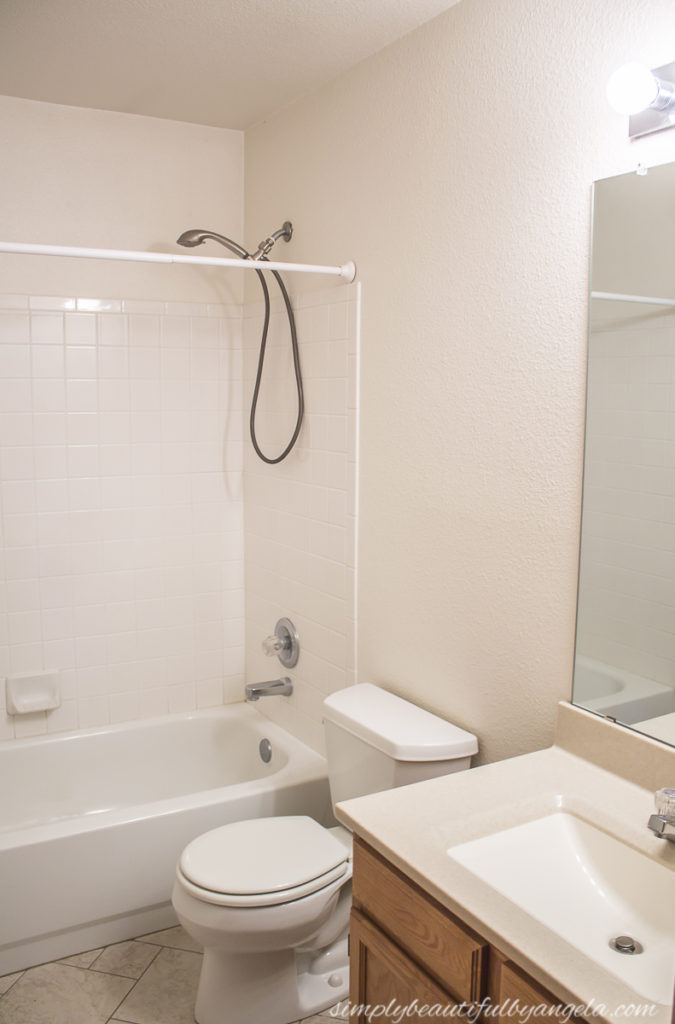
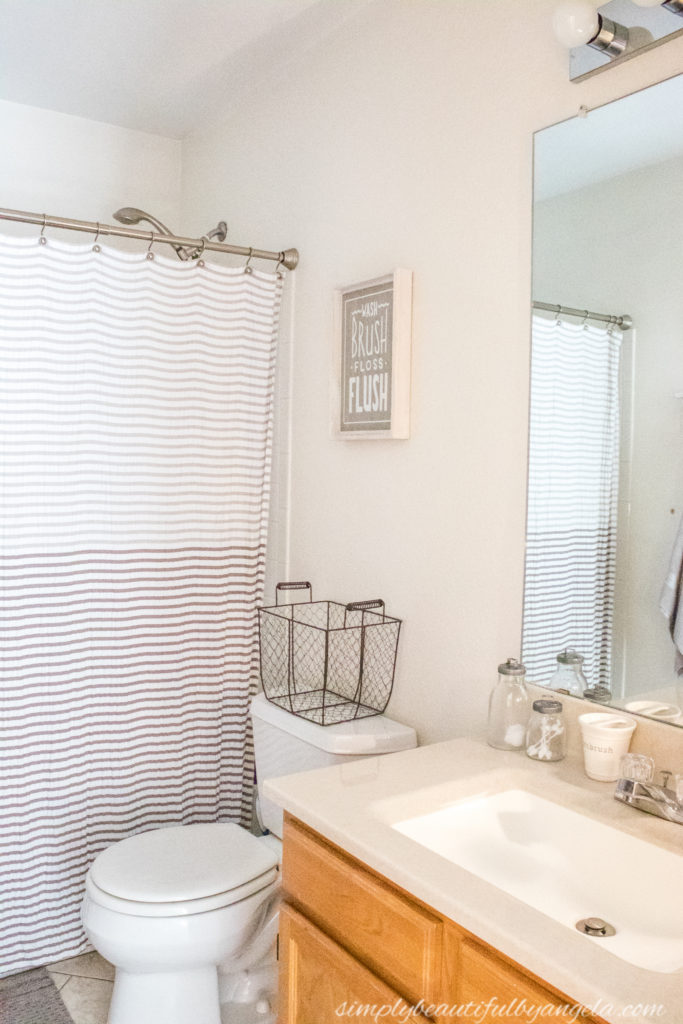
Yep–nothing done in here yet, not even wall paint. I did manage to get their towel rack from the old house hung up though, so at least there’s that!
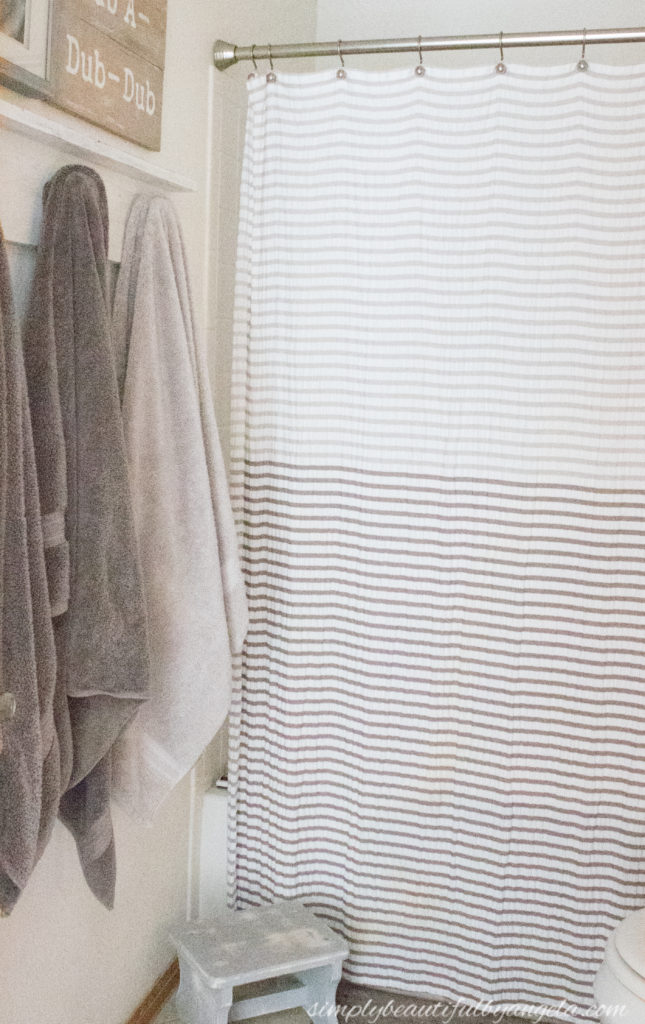
Eventually it will get a fun makeover with new tile, a new vanity and a wall treatment of some sort. But honestly it’s probably on the very bottom of the priority list right now.
Tristan’s Room
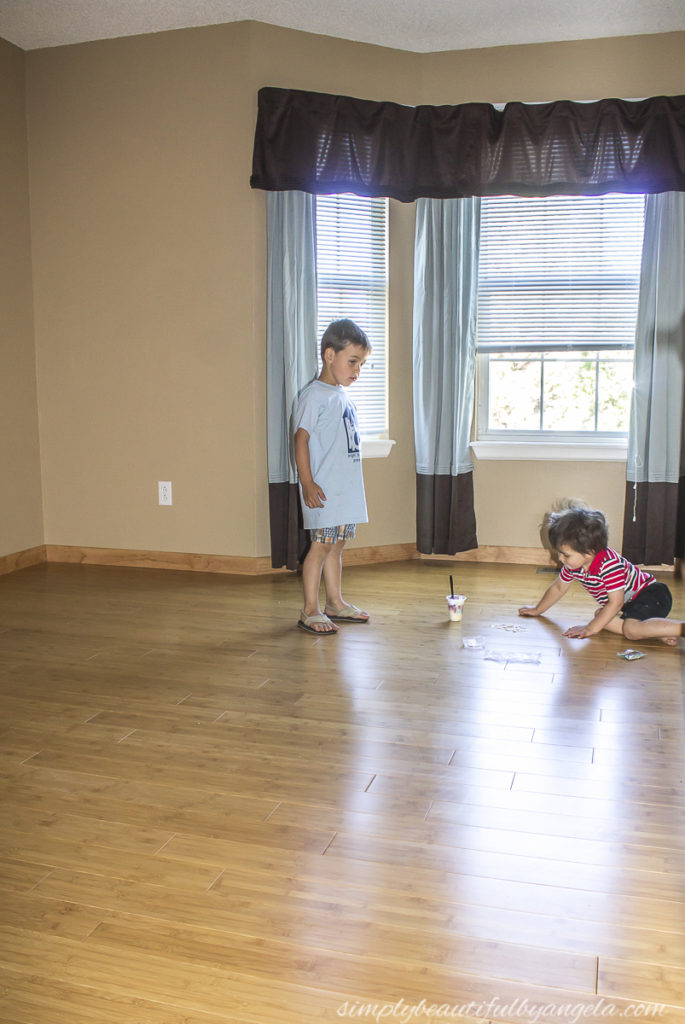
Both of the boys have nice large bedrooms compared to the old house and the bay window that you see from the exterior is split between the two. This is how it looked prior to moving in:
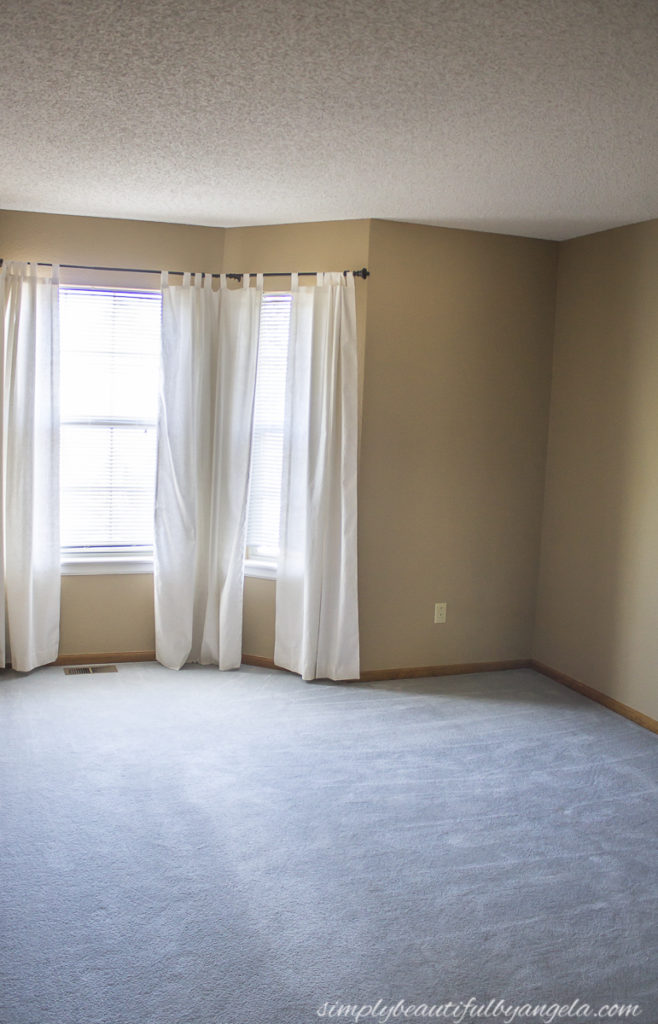
And today!
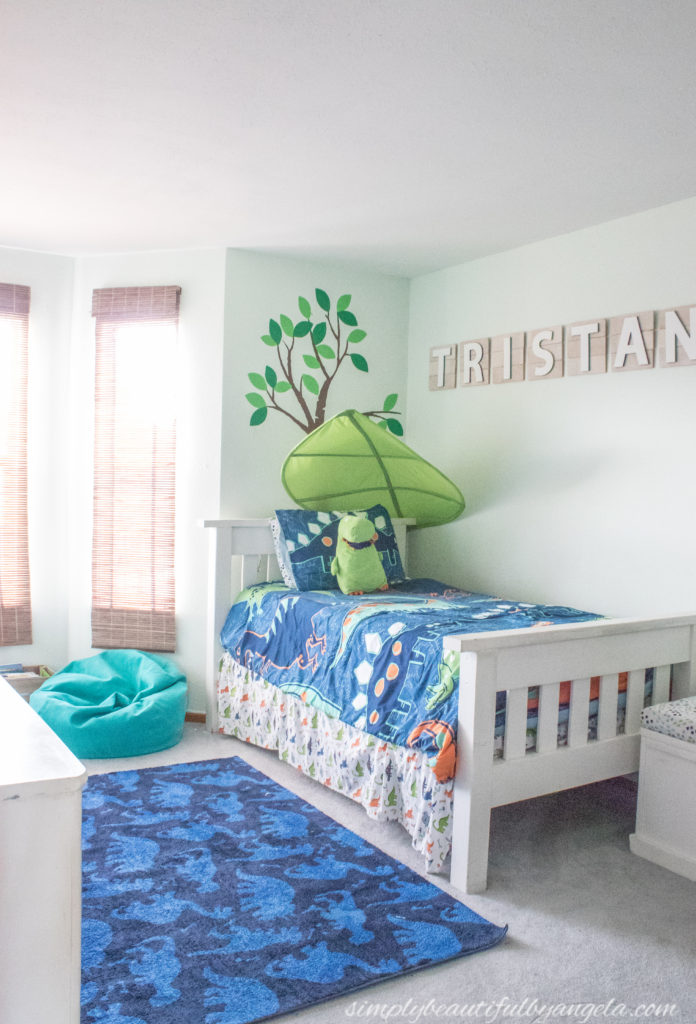
His dinosaur theme from the old house carried over with us, although now that he’s about to be a big first grader he’s been asking for a new room–specifically race cars. So stay tuned for that!
Lucas’ Room
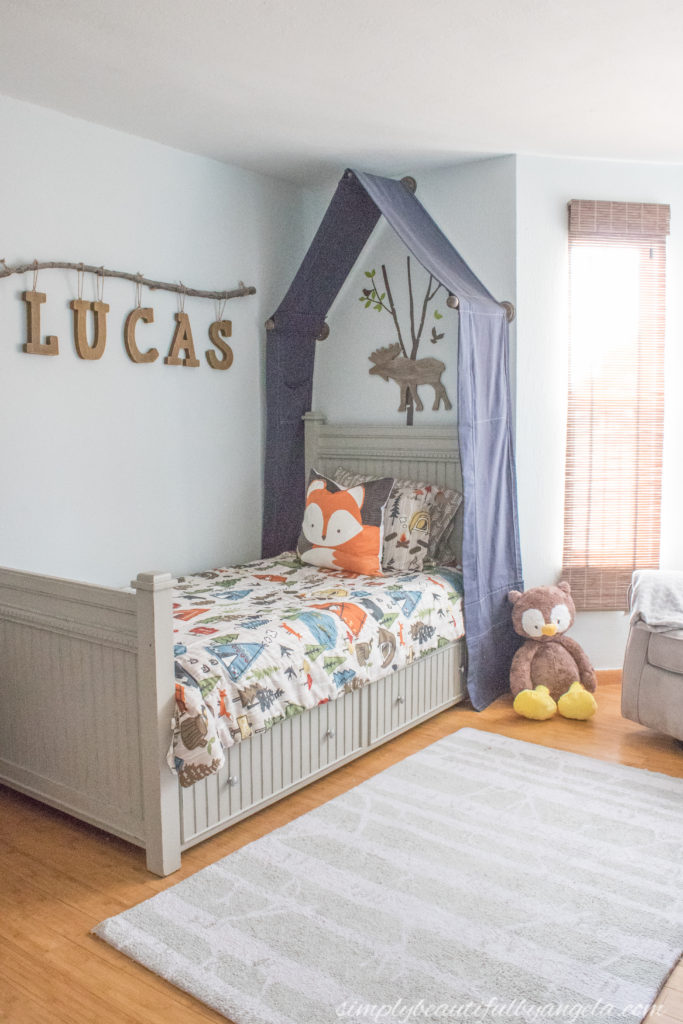
Lucas’s room has some really nice bamboo flooring, but since I want all of the rooms to match, it will have to come up.
His woodland theme also carried over. He recently has been requesting for a zoo theme since he is utterly obsessed with the zoo, but hopefully he can continue to enjoy this one for a few more years because I love it so much!
Whew. Quite a lot for one year, right? Especially when you both have full time jobs! It’s finally starting to feel like home and little by little is becoming ours.
Thanks for stopping by today, I’ll be back next week with my friends for this month’s Thrift Store Challenge!
(Affiliate links may be provided for convenience. For more info, see my full disclosure here.)
Linking up to these awesome parties!
Wow! Do you sleep at all?! LOL. I can not believe all the changes you’ve made in a year; it looks amazing.
LOL hardly!! Thank you so much 🙂
Hey, Angela! Congrats on one year in your home! You’ve done a LOT in such a short time! I don’t think we’ve seen you at the new Tuesday Turn About link party… Hope you’ll share a few of your posts… We close tonight at 12pm CST. (love your bathroom shower!)
Thank you so much Julie!! I’ll add it to my list right now 🙂
Beautiful home! Could I ask what hardwood flooring you choose?
Thank you so much Tiffany! Yes it’s called French Oak Seacliff by Malibu from HomeDepot.com 🙂
Isn’t it so motivating to see how far you have come with your house in a year! It looks amazing and you should be so proud (hubby too). Thanks for sharing with us at #HomeMattersParty
Thank you so much Donna, that means a ton!
Congratulations Angela! Wow! What an incredible transformation in such a short time! It looks amazing!
Thank you so much Lynne!! 🙂
I have new respect for your family, working full-time and renovating the home you’re living in. We’re getting new floors (replacing ceramic tile with luxury, vinyl plank), and getting the entire house painted. We hired professionals but lived through ceramic tile demo – OMG! – and its going to be another few weeks before the painters can come.
It’s hard living out of boxes in the garage, and sleeping on mattresses on the floor. It’s certainly not fun! I could not imagine doing that ourselves after a full day of work. The kids are troopers and thinks its all super cool, but the husband and I are ready for a vacation!
You should be very proud of all you accomplished in a year! Well done!
Thank you so much for your kind words, they mean so much! Yes it is definitely tough but we make sure to set aside plenty of family time and fun activities so that we don’t go completely crazy haha! Good luck on your renovations!! 🙂
Angela, goodness, you are a force to be reckoned with! What an amazing amount of improvements you accomplished in one year. Everything looks wonderful, it’s hard to decided which DIY is my favorite!
Visiting from Grandmas House Link Party and pinning 🙂
Thank you so much Rachelle lol!!
You did an amazing job on your remodel! I love seeing all your fun finishes. Have a wonderful weekend!
Ashley
Thank you so much Ashley!
Good morning, I just found your blog and all I can say is WOW!! You have great taste and vision. We moved into a 1970’s house just 18 months ago and have managed to complete many projects in that time. Some were planned…paint the ugly pea green cabinets IMMEDIATELY and some projects were not…hello leaky roof….you just got moved up the priority list. Sometimes in our desire to “finish” the house, we forget how much we have accomplished and that’s where before and after pictures help. Thanks for sharing from a new follower!!
Thank you so much Tracey!! I’m so glad to hear that you understand the joys of owning a fixer upper and can relate 😀 Yes, I completely agree–before and after pictures serve perfect motivation for us!