After spending 4 years transforming our previous home people thought we had totally lost it when we announced that we would be selling and buying a new home. Even more so when we mentioned that it was stuck in the 90’s and that every square foot was in desperate need of updating!
However, we decided to purchase this house because it sits in a cute little culd-e-sac, backs to beautiful open space and has a better layout overall for our family.
This picture of the exterior was taken during the inspection:
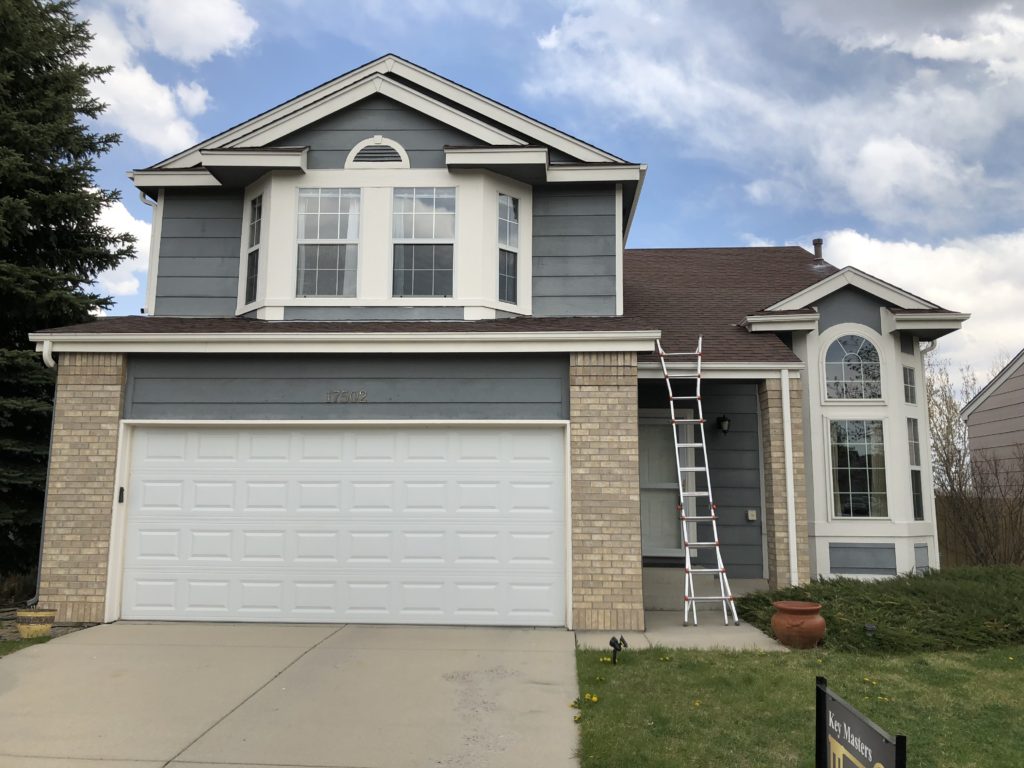
We picked out new paint colors shortly after moving in and I ripped out those untamed juniper bushes, and this is how it looks today!
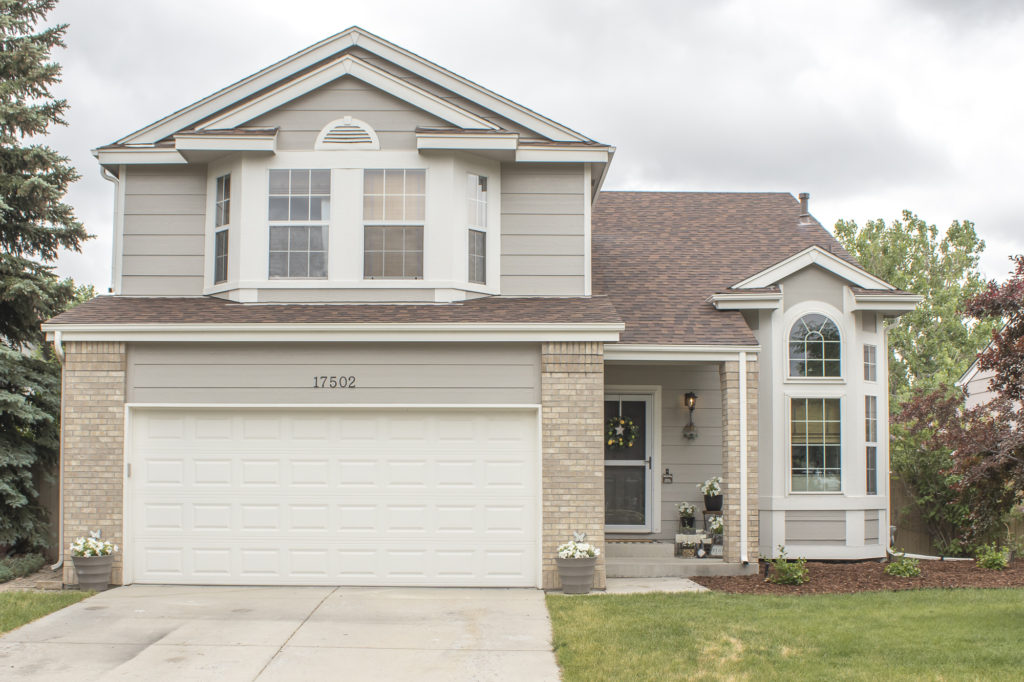
Over the last several years we have slowly worked on making this home ours one project at a time. It hasn’t been easy, my friends! This house has already tested our patience more times than we can count. I have always kept our experience with our previous home in the back of my mind to help me remember that it’s possible to get where we want to be. When we reflect back on the journey, we appreciate our house that much more.
I will try to update this page as often as I can with the progress made on each room and will link to posts at the bottom of the images.
Front Room
This room is probably my favorite in the entire house. It’s either referred to as the front room or the “pretty room” since it’s not used as often as our living room. This is where we host our family Christmas and is also where I go to relax when the boys are in the living room watching something obnoxious!
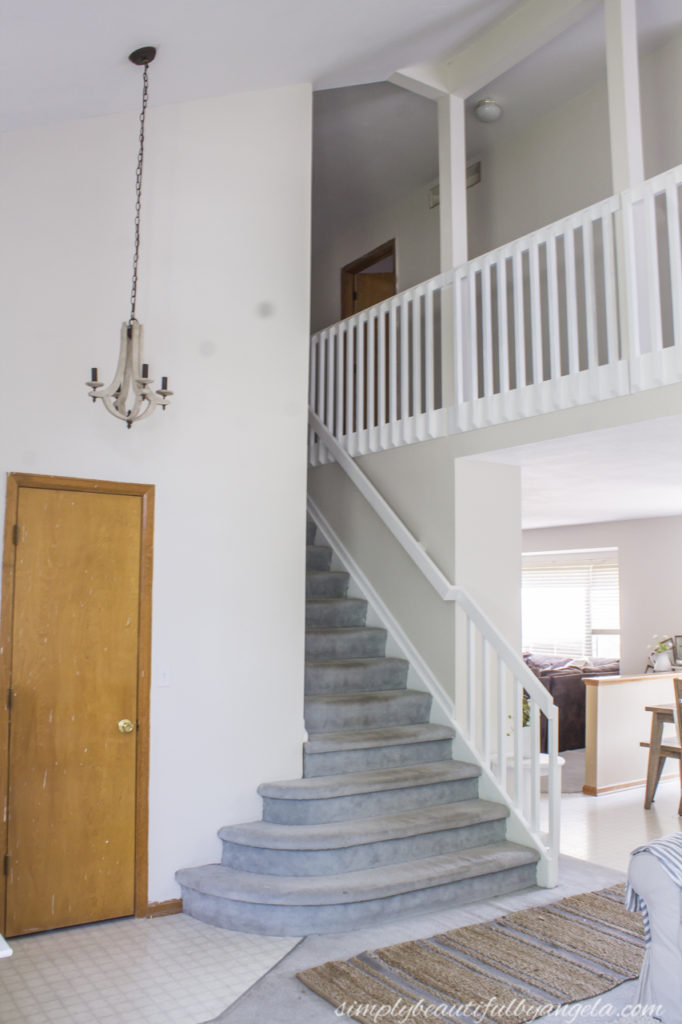
The bay window lets so much light in and makes the whole space feel airy and bright. However, it wasn’t always my favorite space! When we first moved in, the avocado green walls weren’t working too well for this neutral loving girl and the orange wood banister and me also weren’t seeing eye to eye.
(Before)
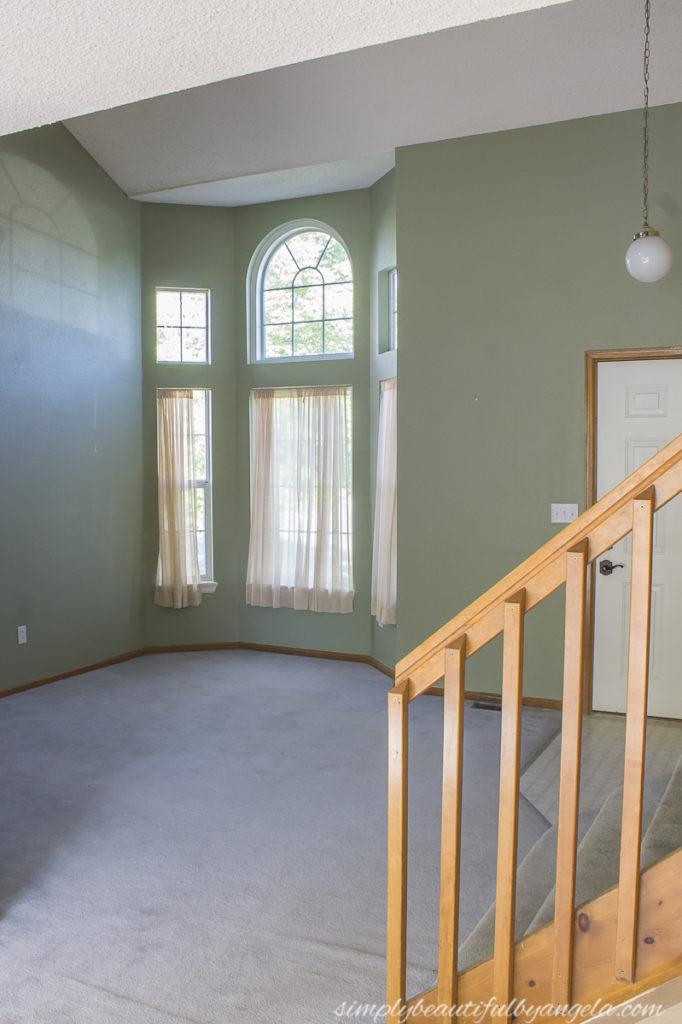
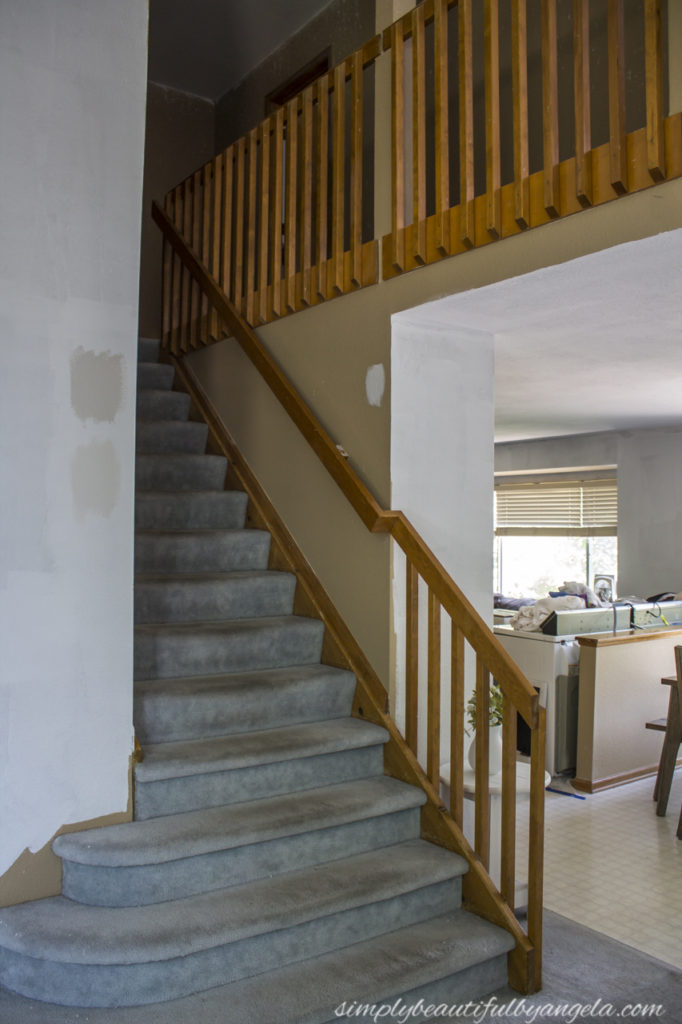
(2 Months After Move In)
I painted the walls with Sherwin Williams Basalt Powder and it instantly brightened up the space so much. I also painted the banister which was a very tedious but oh so worth it task, and updated the light fixture. They were small and quick updates that made it feel better already.
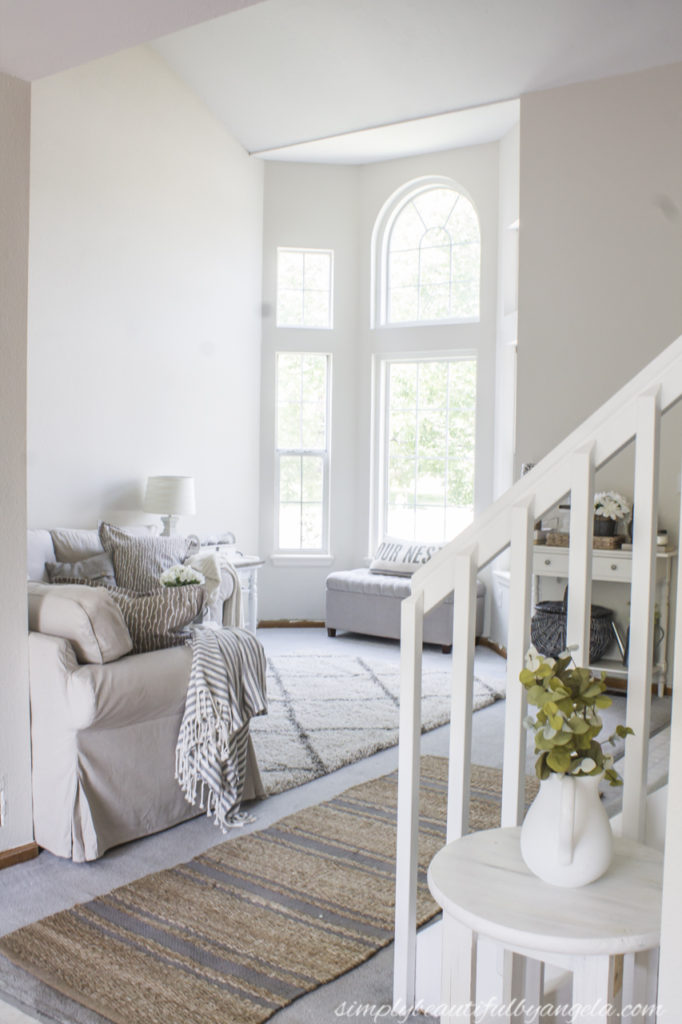
(Today)
We eventually ripped up the old, dated carpet and installed engineered hardwood flooring throughout the whole main level. We also decided to chop off the awkward rounded steps and replaced all of the treads with solid oak. In addition to a new closet door, I also installed board and batten and craftsman style window trim.
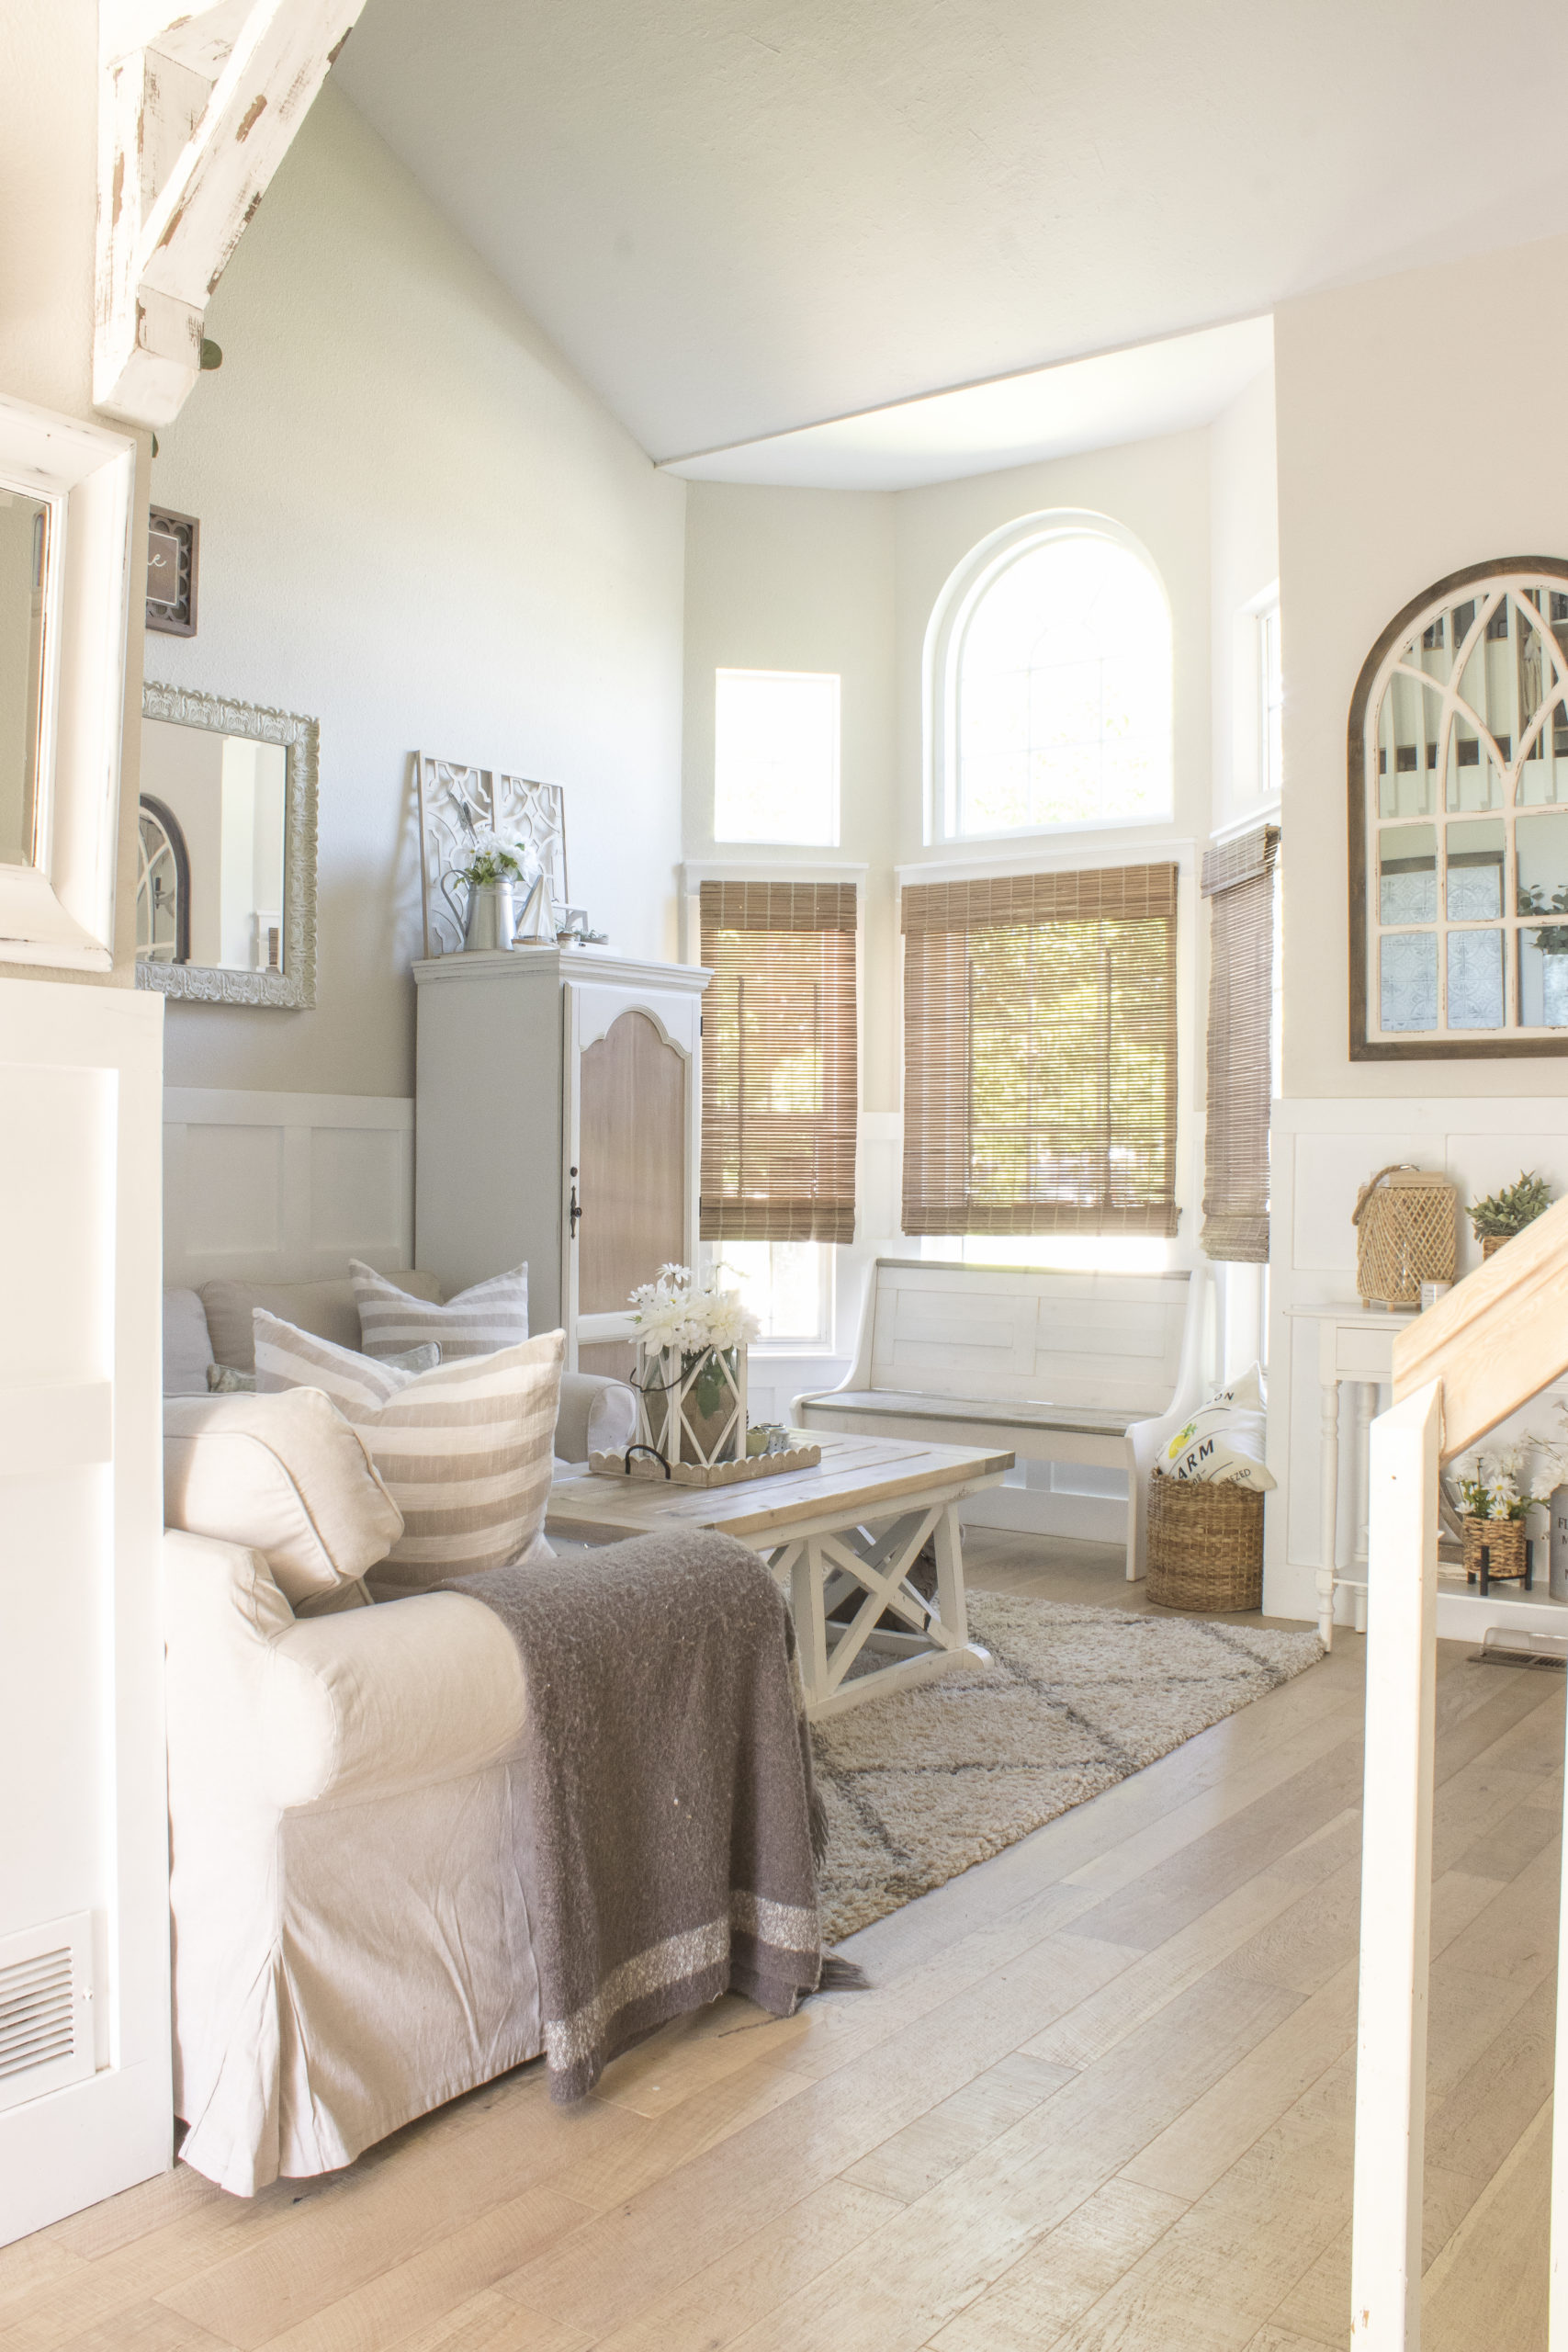
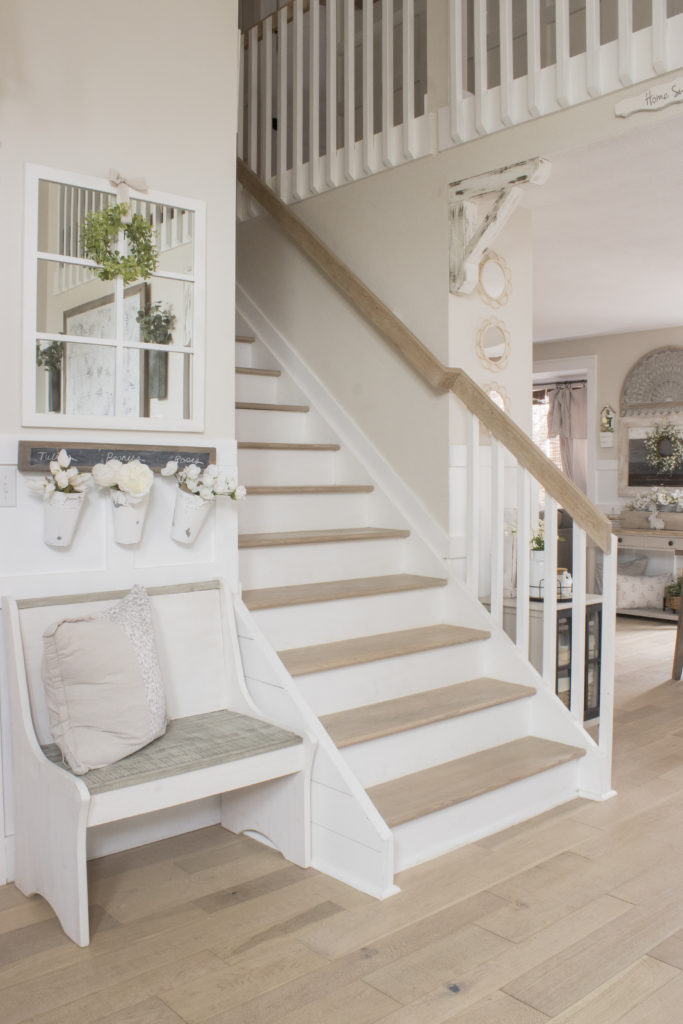
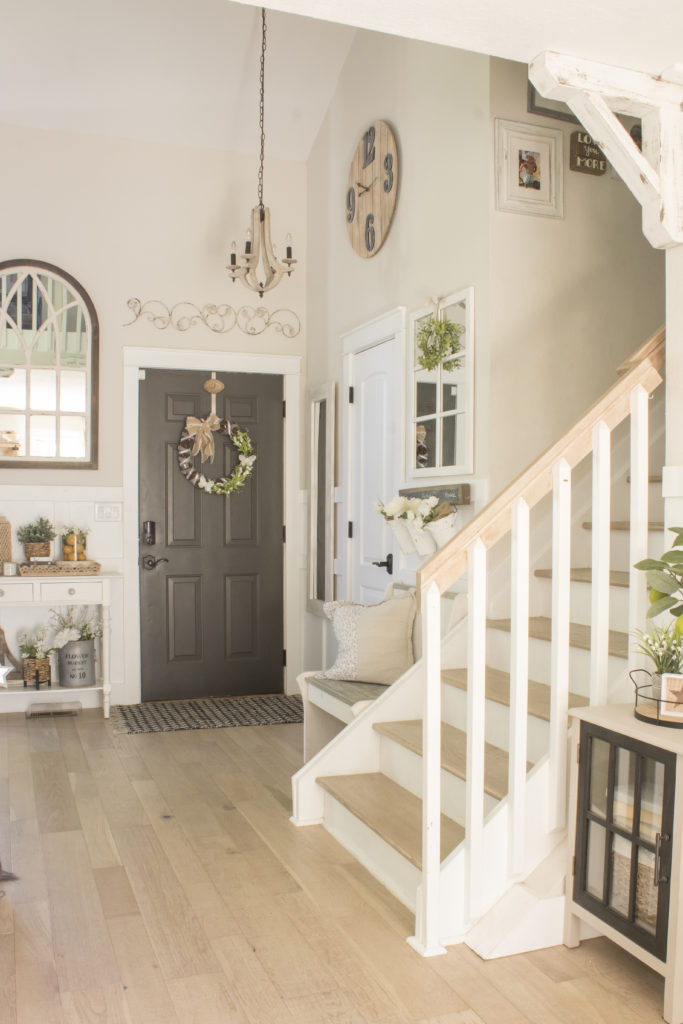
RELATED POSTS: Board and Batten in the Front Room | Installing A Slab Door + A Front Door Makeover | Staircase Banister Makeover | Installing New Treads and Risers: The Progress!
Kitchen
Our kitchen is probably the most transformed space in the entire house. It was very dated with orange toned oak cabinets and blue laminate countertops–very Denver Broncos-ish! It was also equipped with all original appliances. I have to hand it to appliances from the 90s–they were made to last!
(Before)
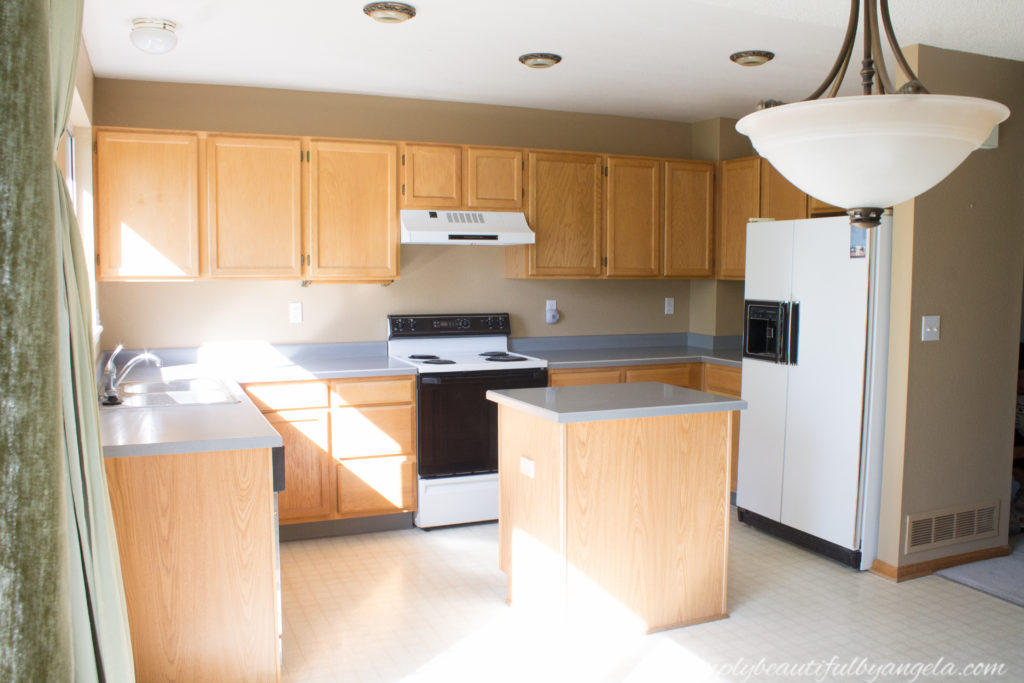
(2 Months After Move In)
We immediately upgraded the appliances, but that was about it while we brainstormed and saved for the makeover.
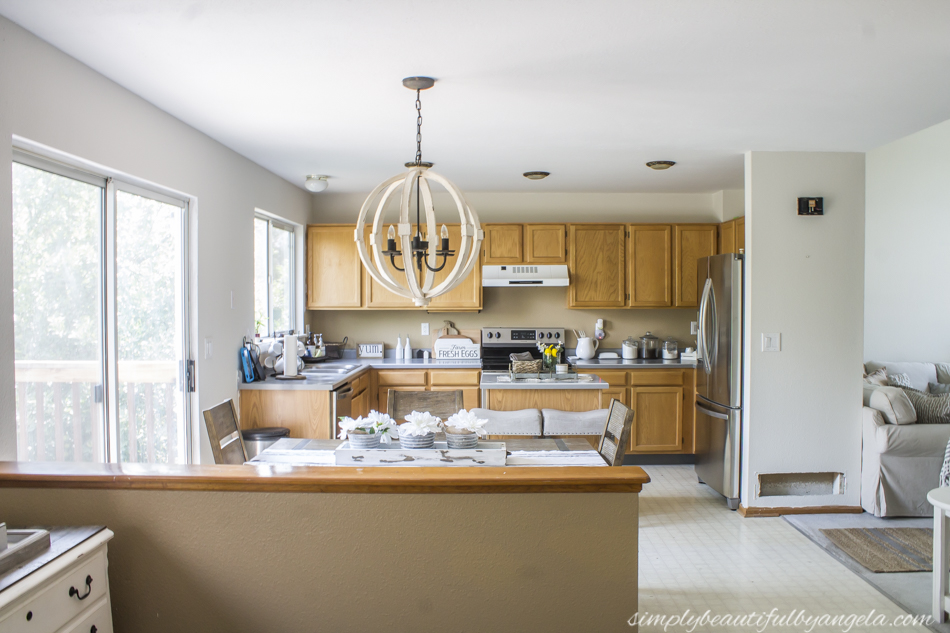
(Today)
I gave the whole space its first official makeover for the 2019 One Room Challenge, and then gave it a little refresh for the 2022 One Room Challenge. There have been so many updates in here that it would be too long to list them all! The things that made the biggest impact are the painted the cabinets, quartz countertops, upper cabinet boxes, range hood cover, farmhouse sink and tiled backsplash. Everything in here (except the counters) was a DIY project.
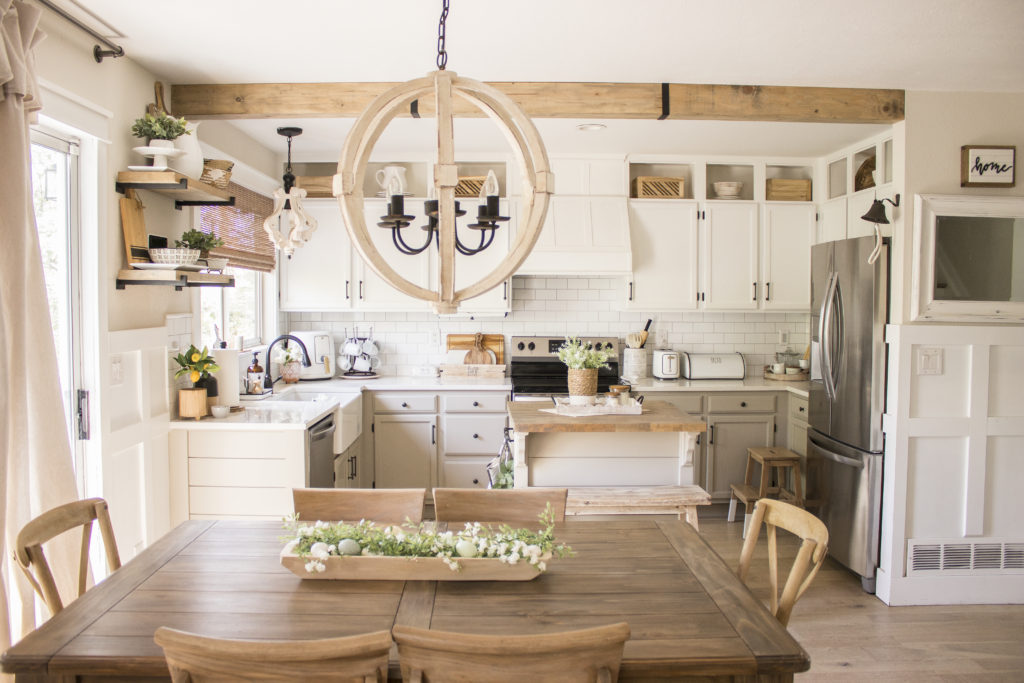
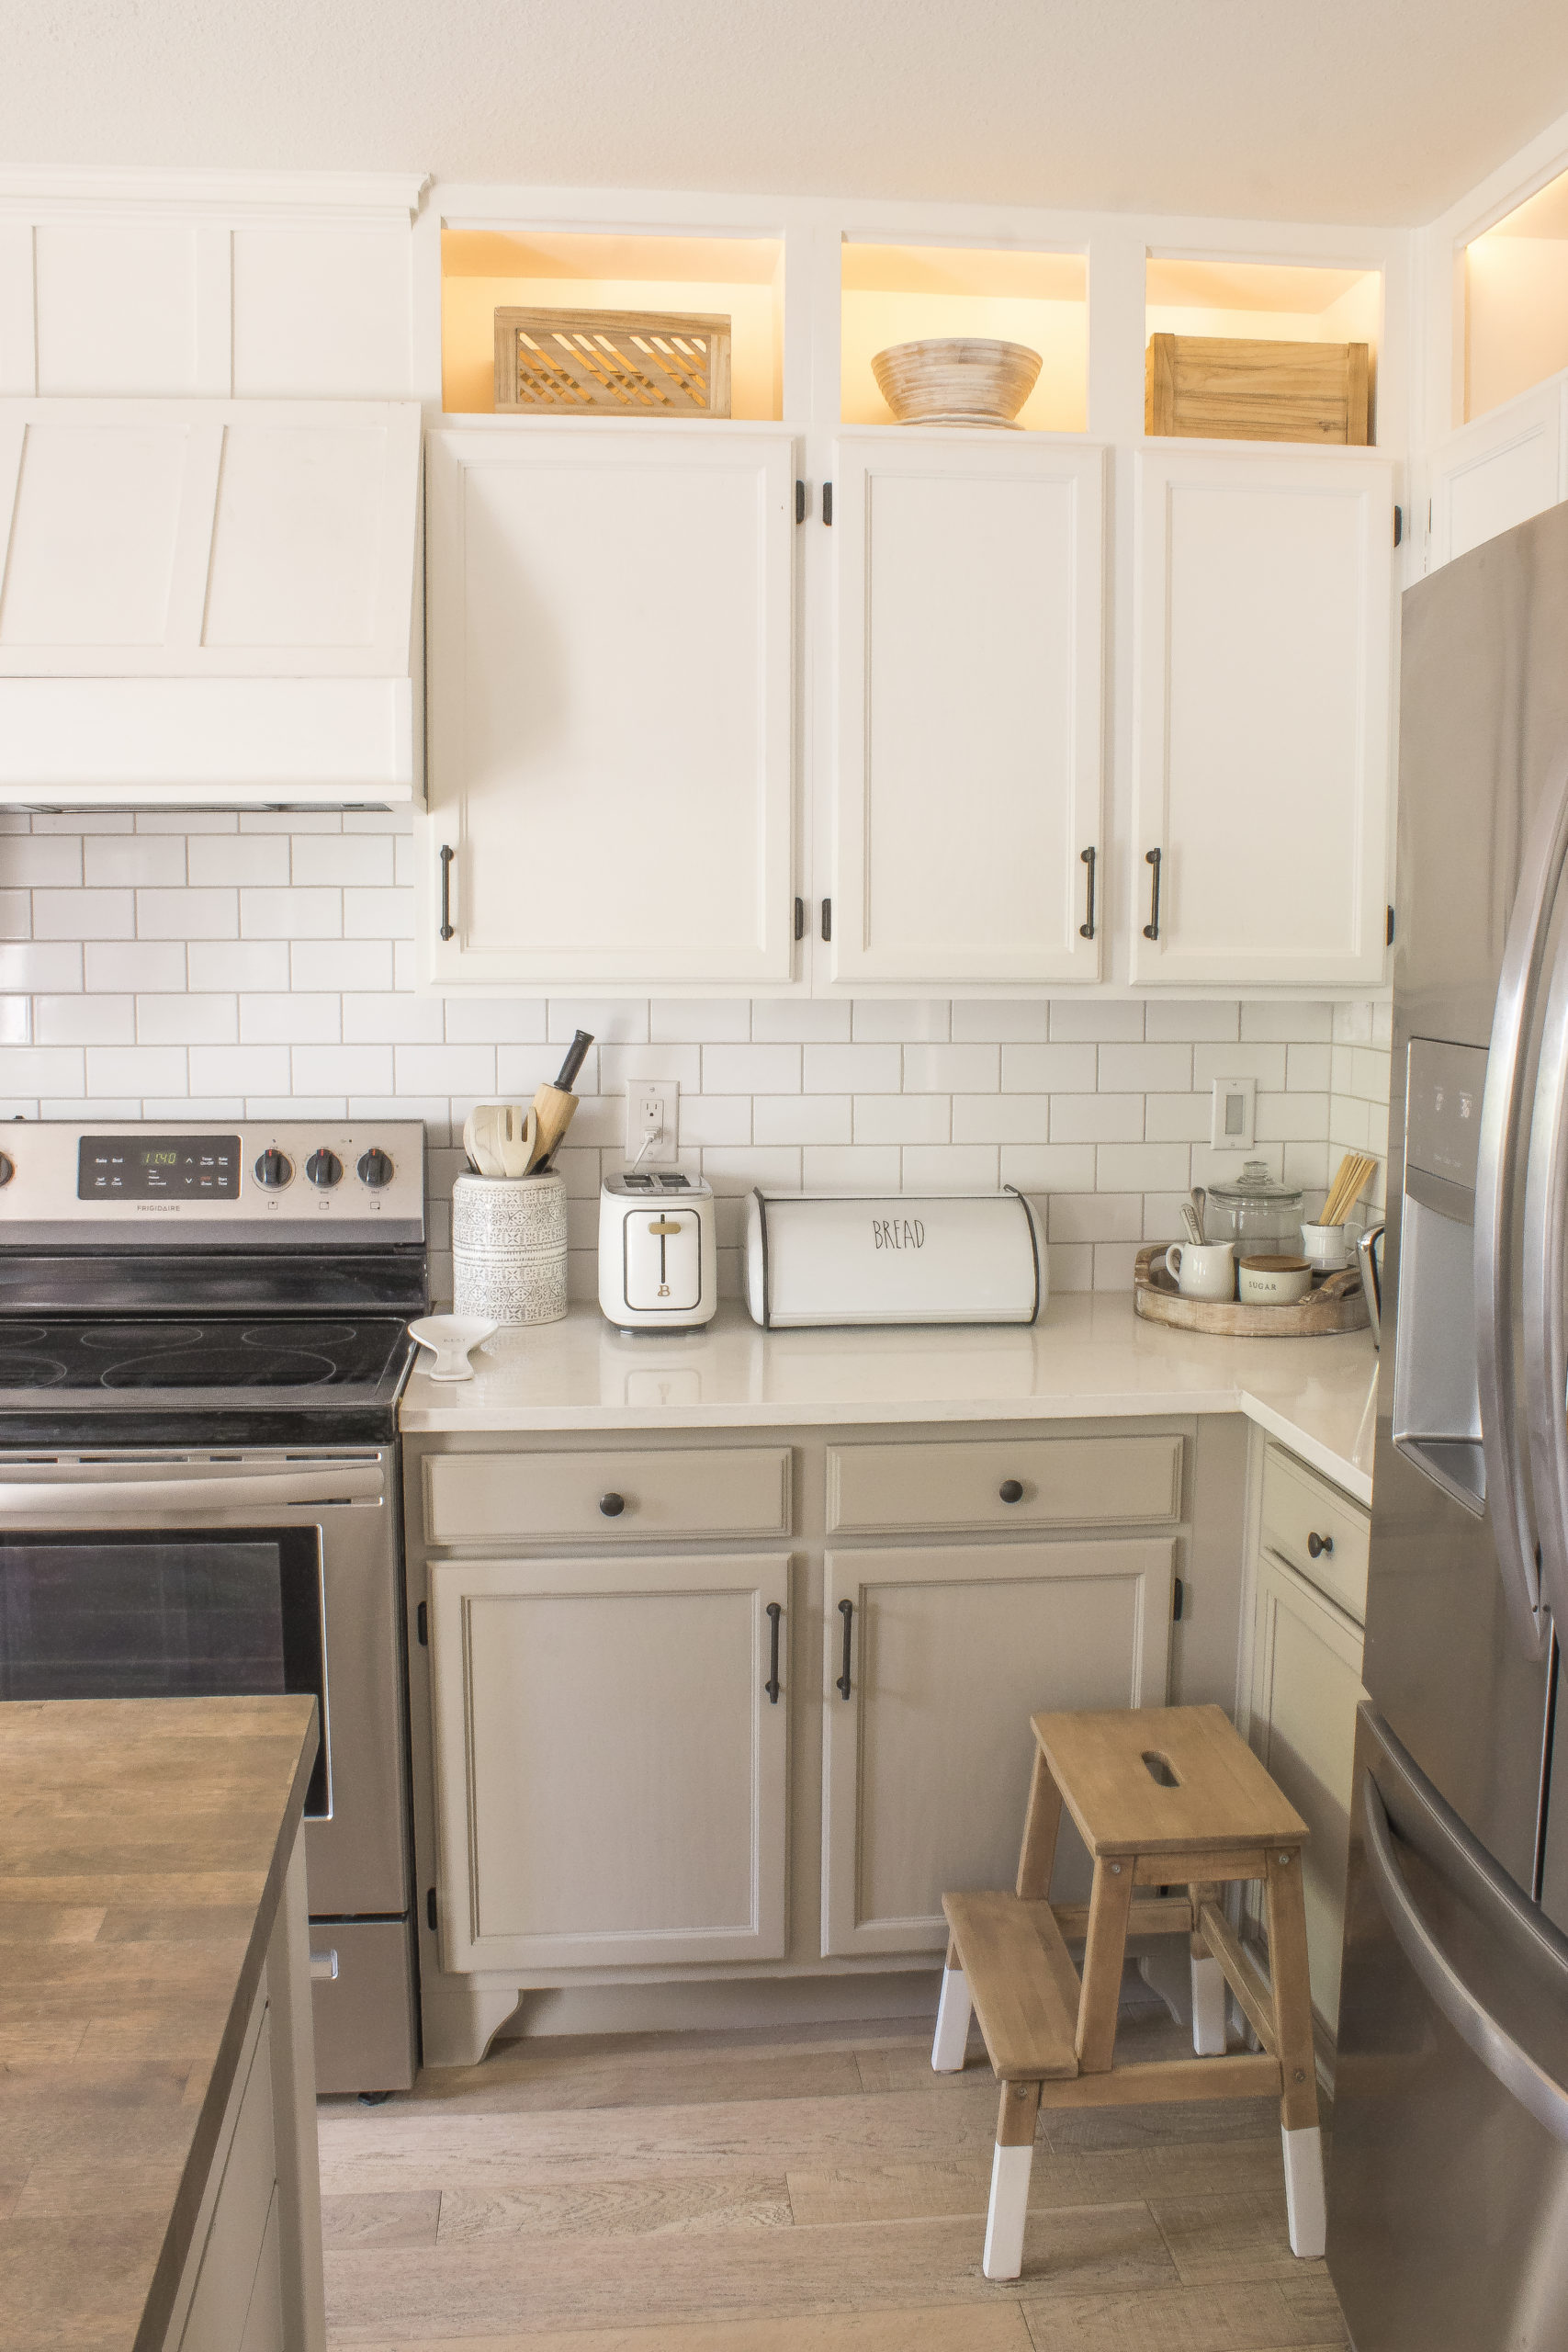
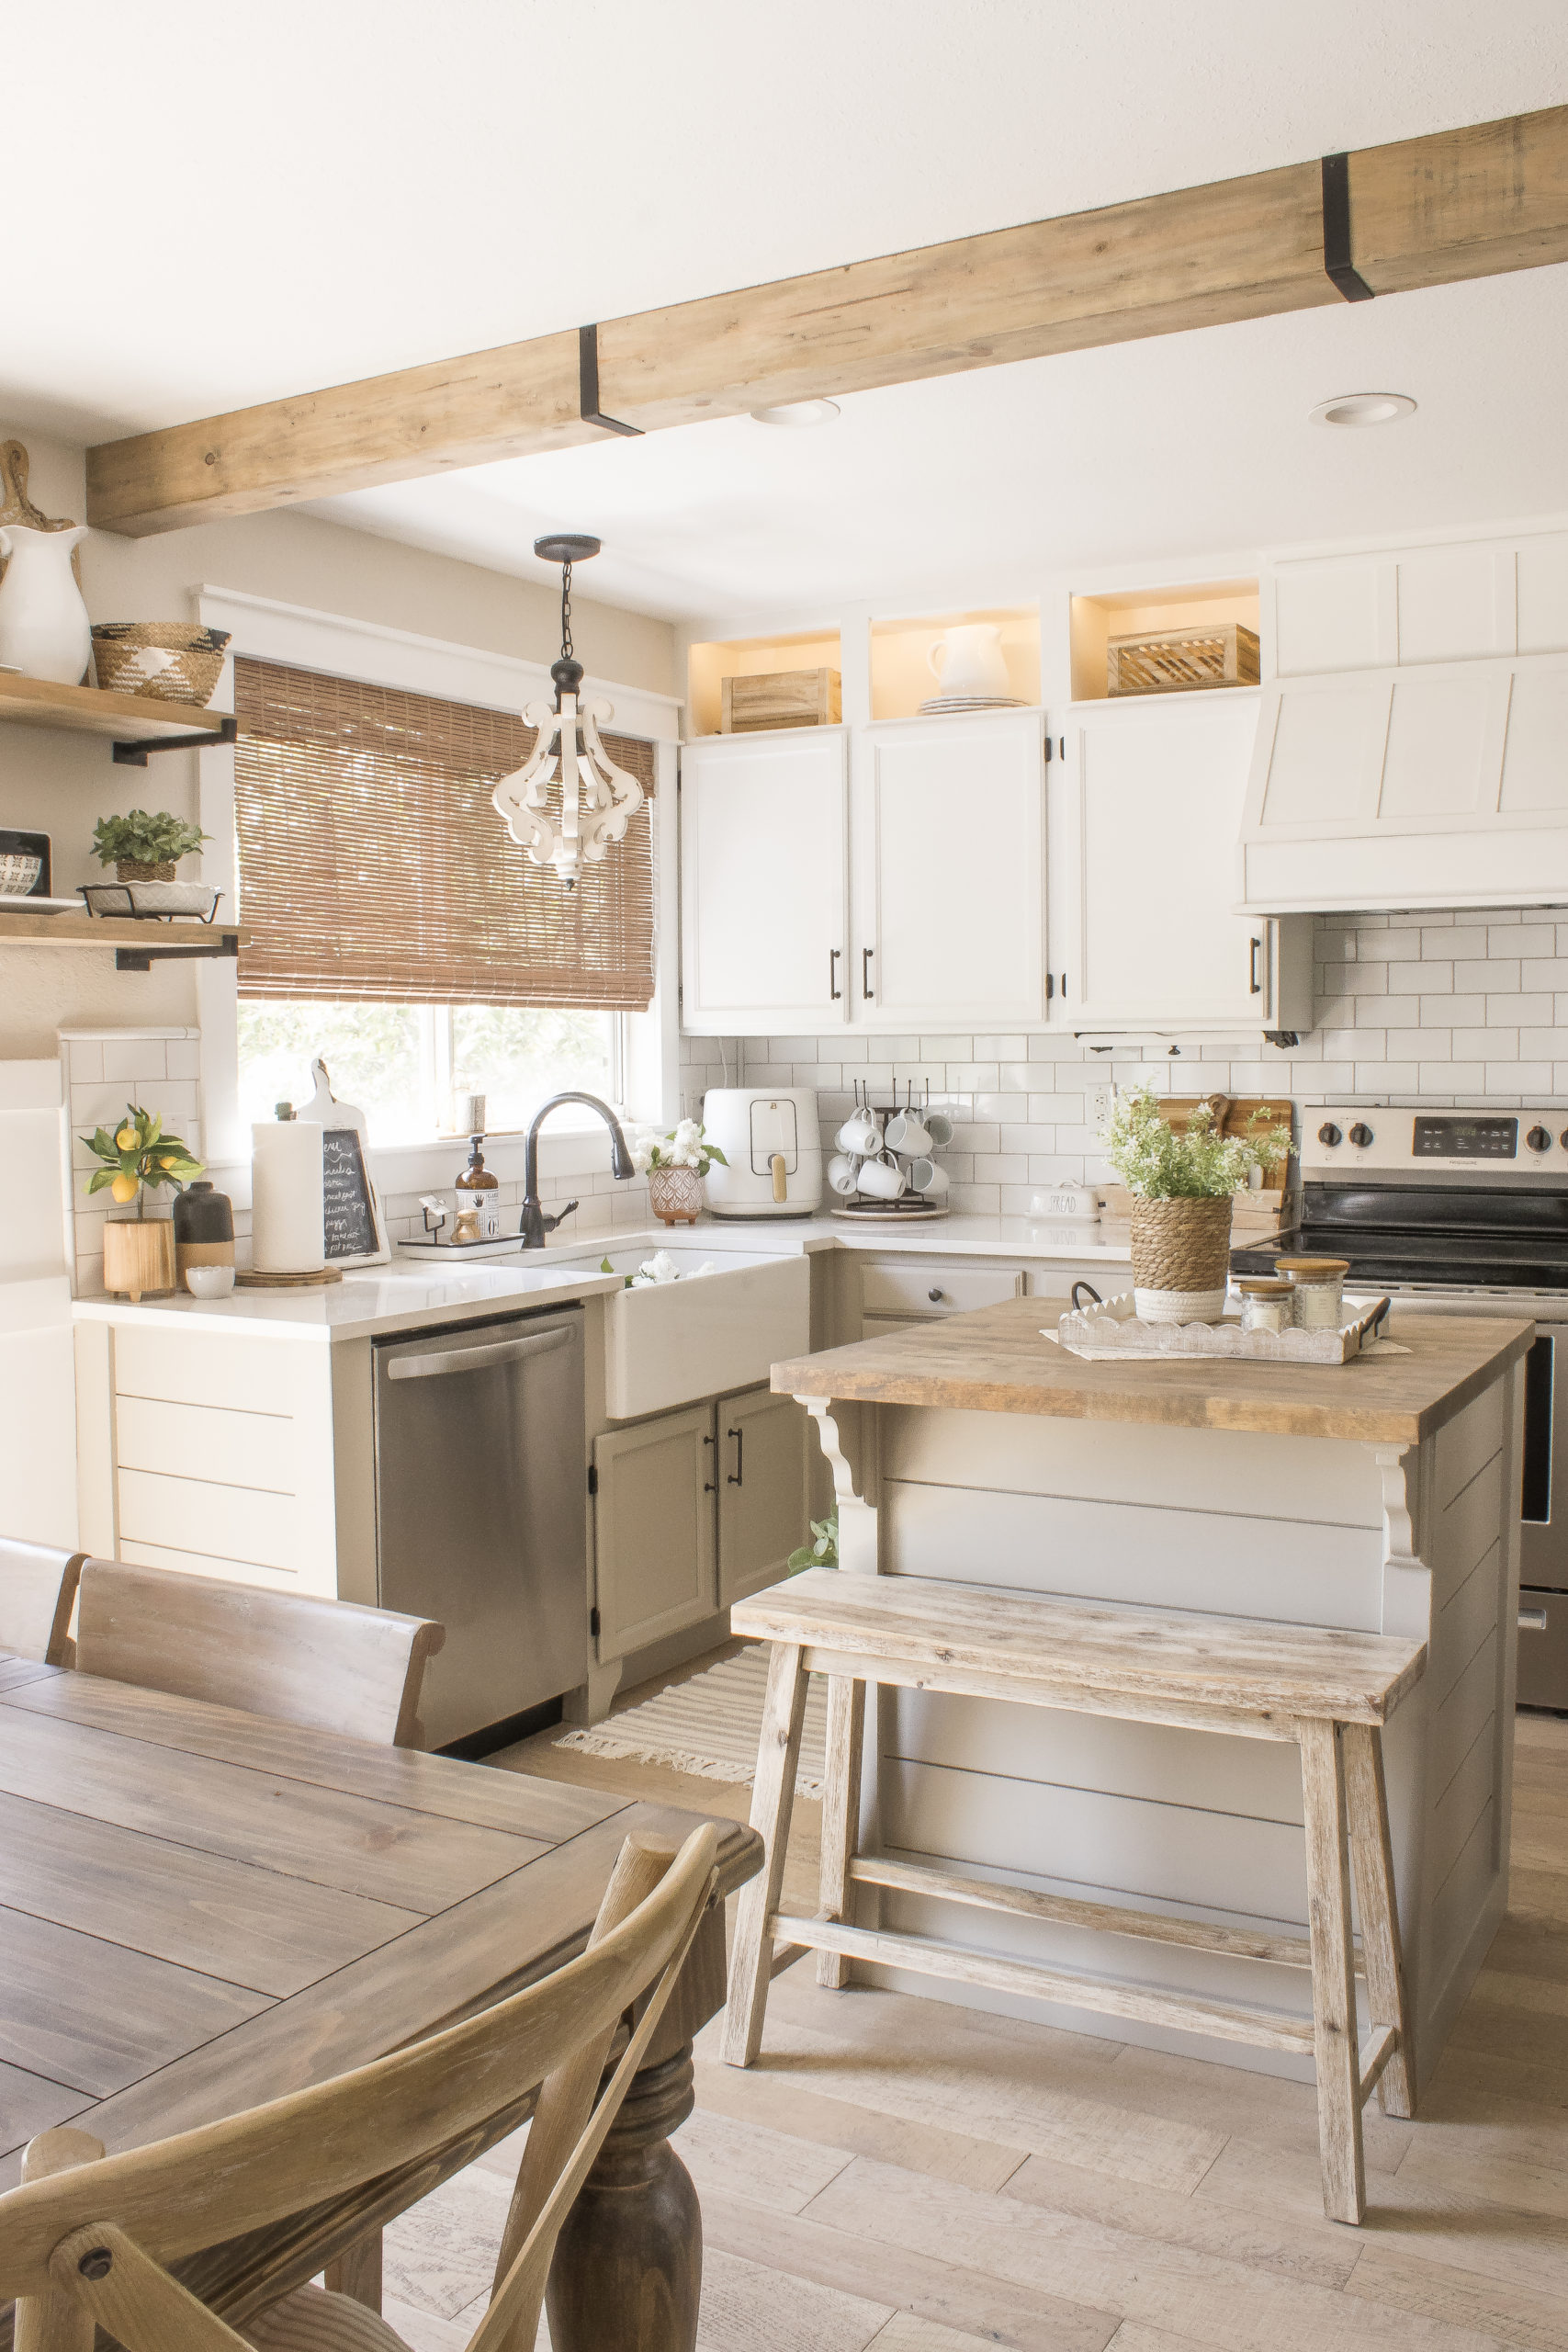
RELATED POSTS: 2019 Makeover | 2022 Makeover | DIY Farmhouse Sink Installation | Painting the Kitchen Cabinets | Kitchen Island Makeover | DIY Range Hood Cover With Storage | DIY Wood Ceiling Beam | DIY Upper Cabinet Boxes
Living Room
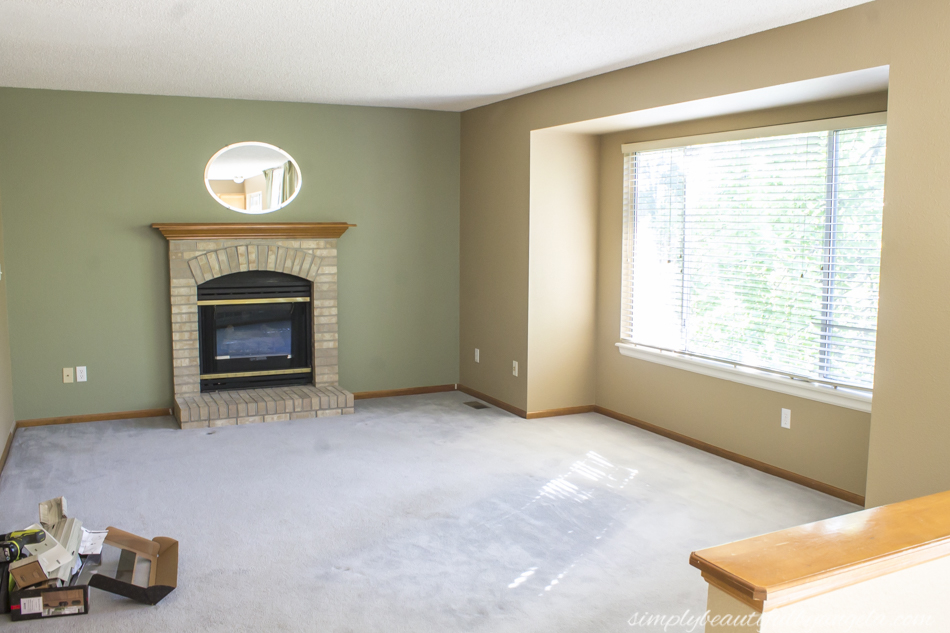
(Before)
Our living room had such potential to be a gorgeous space! The large inset window has a view of the open space behind us, and the room is very long and spacious. The paint choices and dated fireplace weren’t doing it any justice.
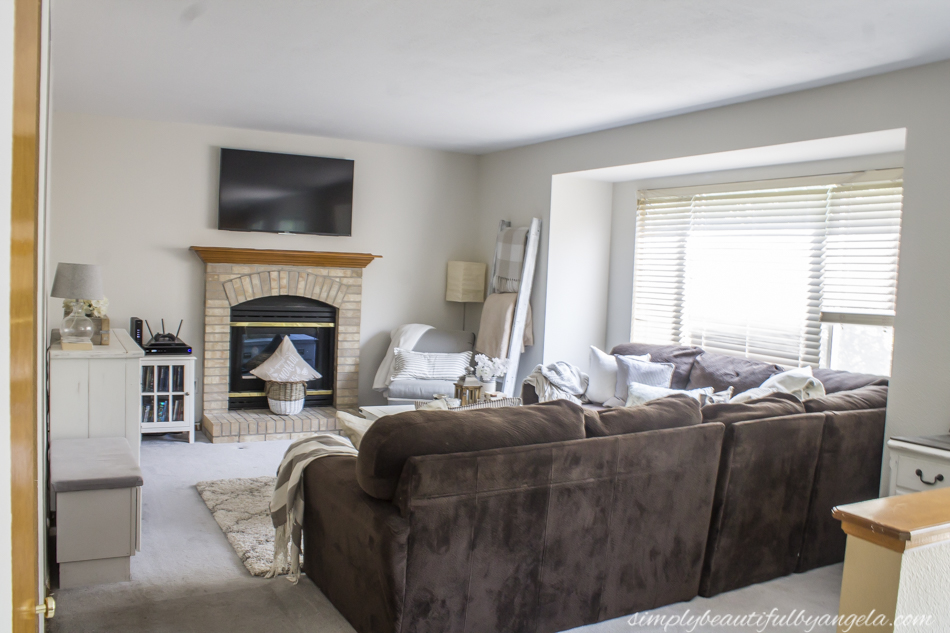
(2 Months After Move In)
Simply painting the walls made a nice difference in here because it at least made it feel a bit more open.
(Today)
I finally got around to tackling it last year for the 2021 One Room Challenge. Between the shiplap, board and batten, and “new” fireplace and built-ins, this feels like an entirely different space, and I am so in love with this room.
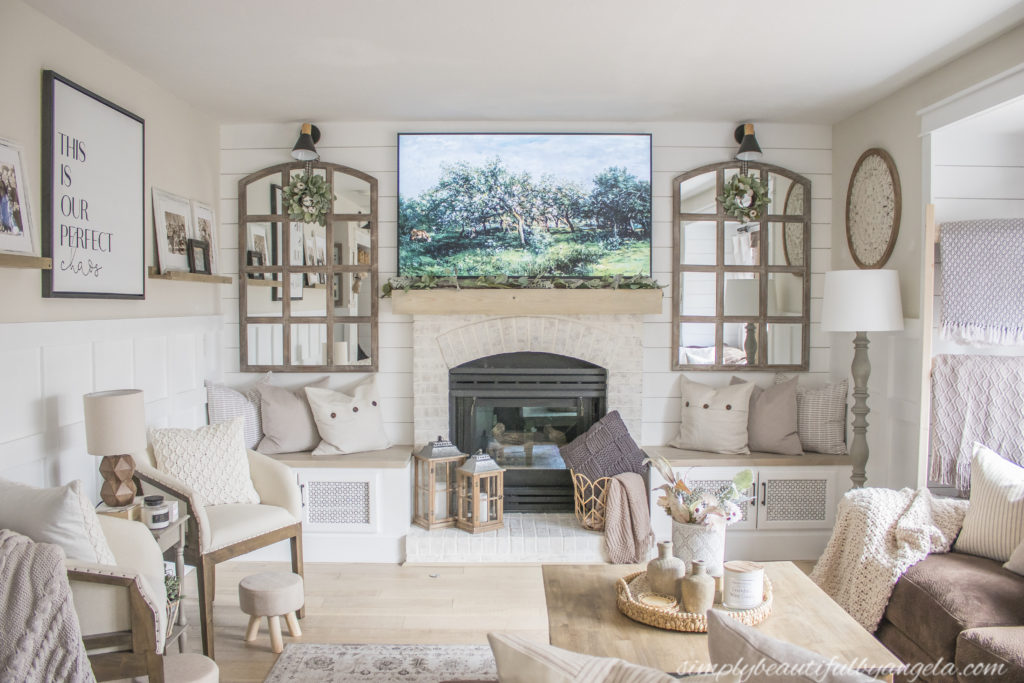
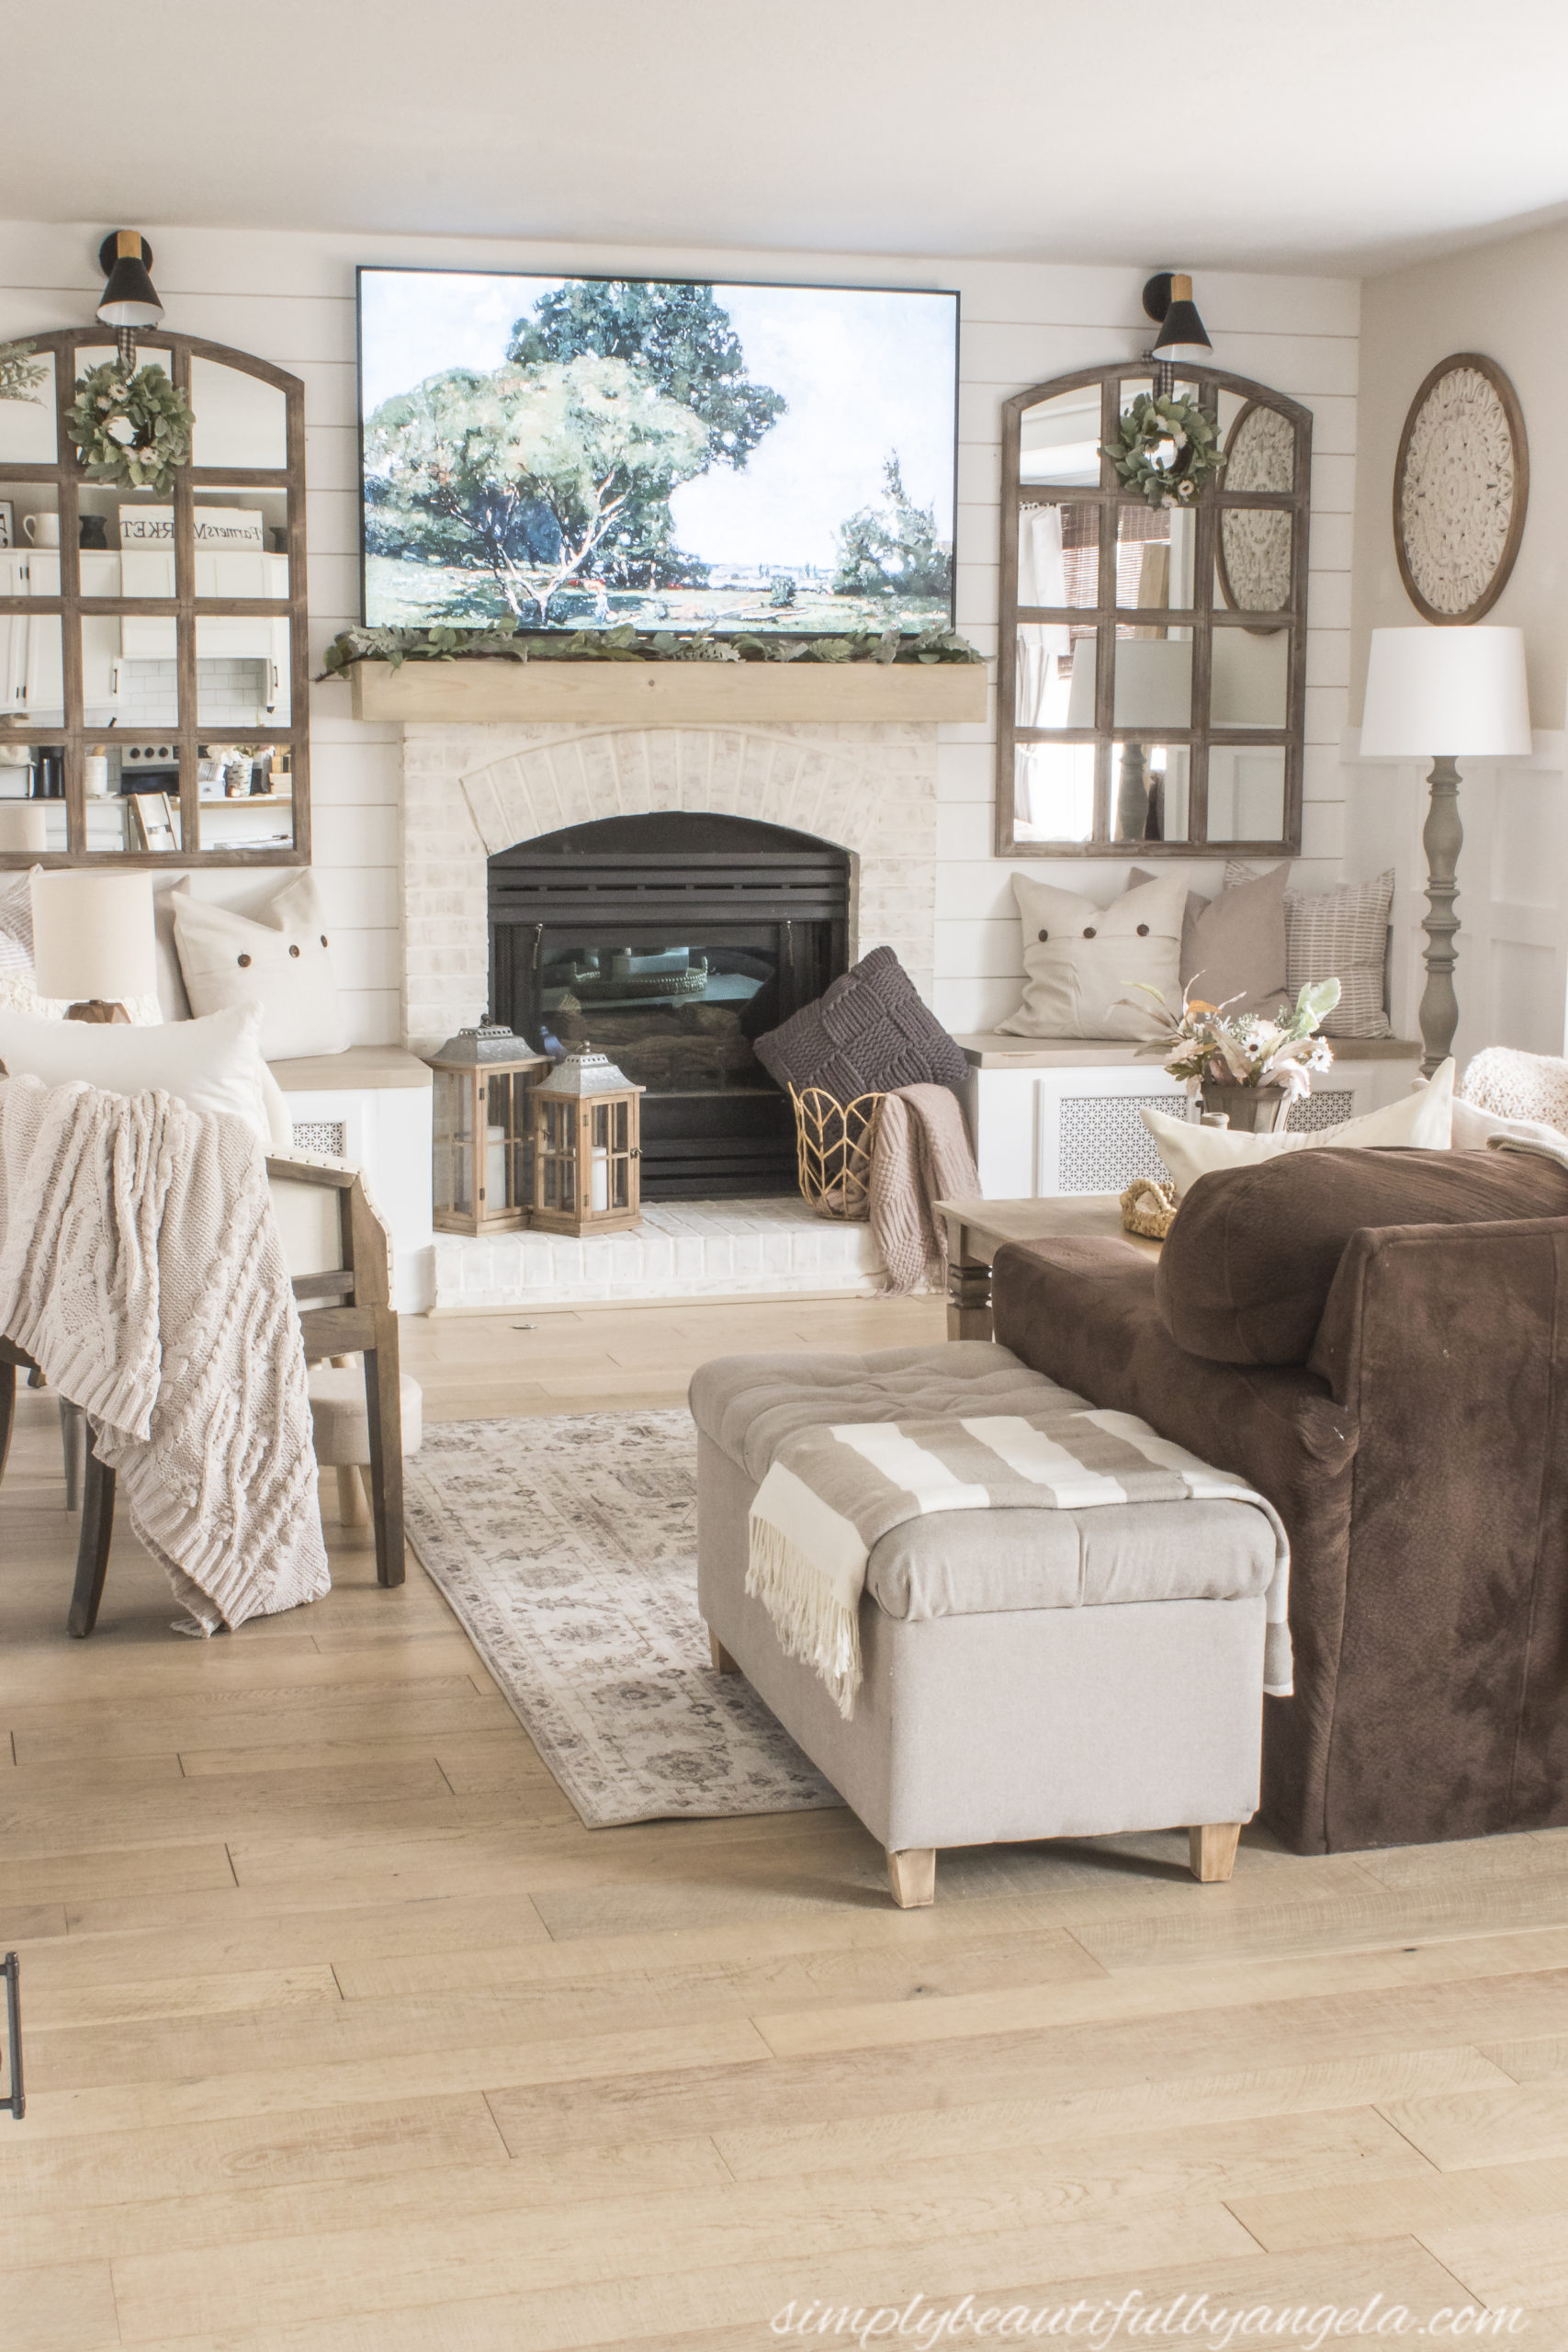
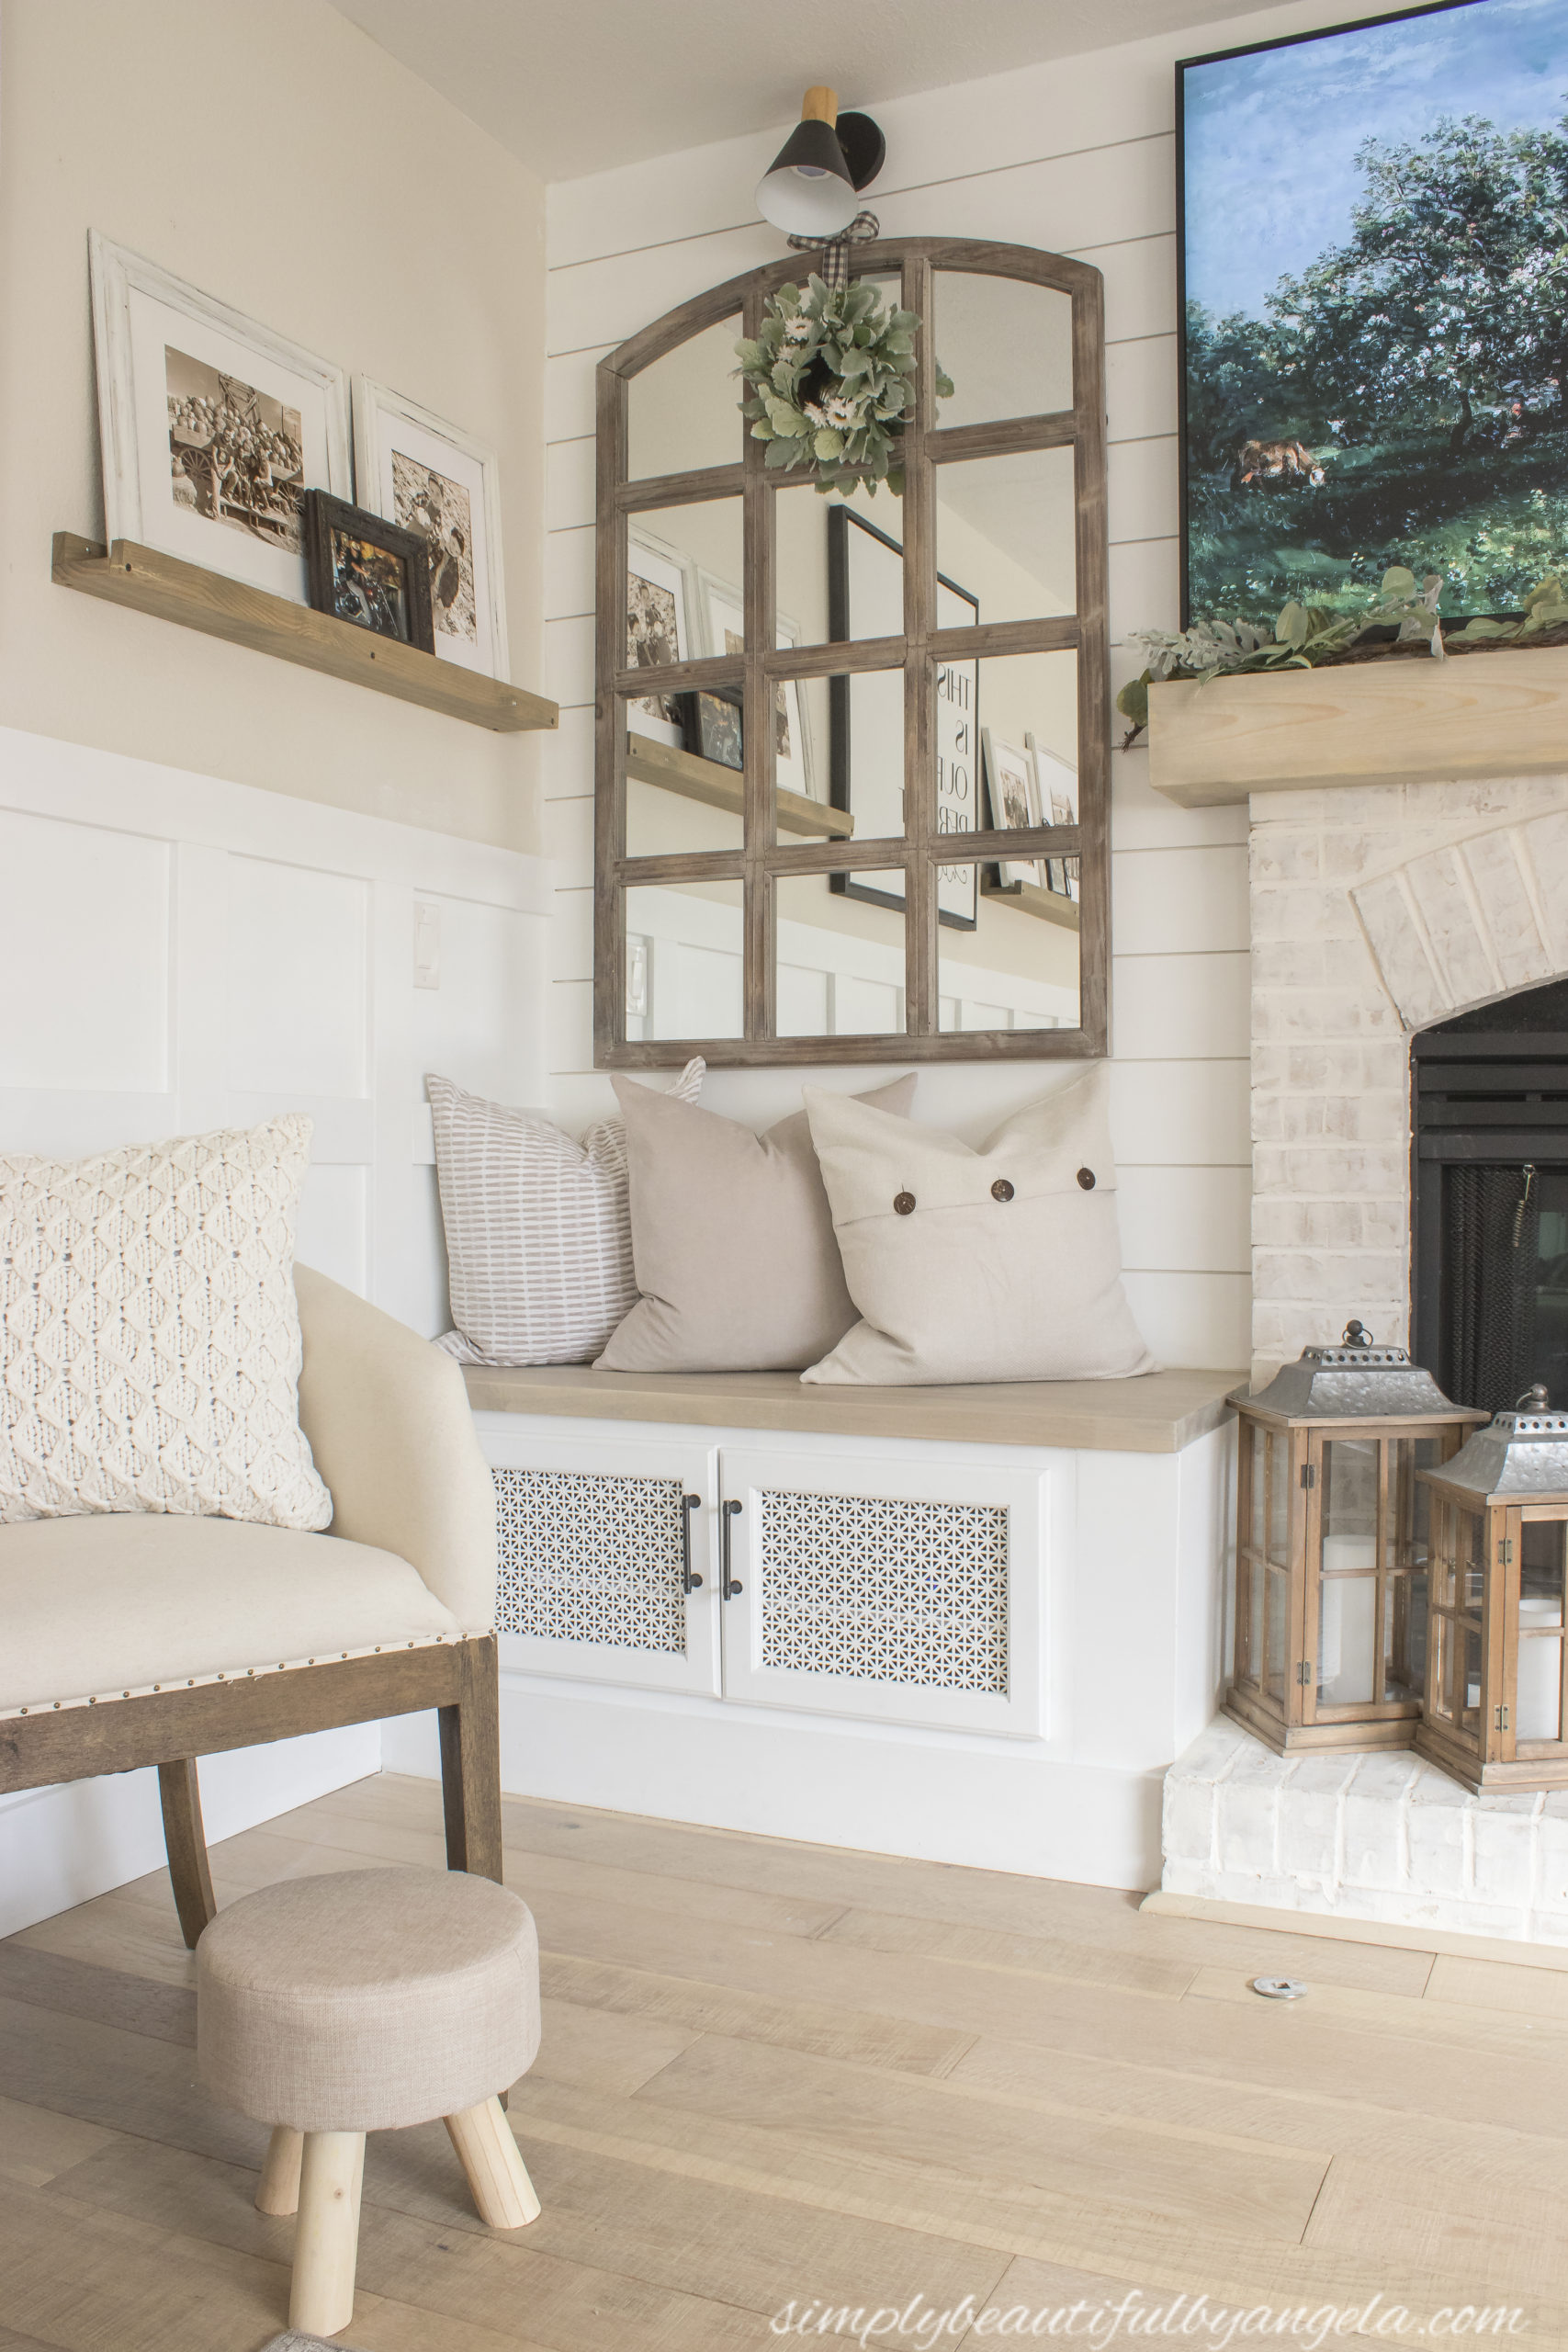
RELATED POSTS: Boho Farmhouse Living Room Makeover | DIY Fireplace Beam Mantel | DIY German Schmear on Brick Fireplace | DIY Fireplace Built-Ins Using Kitchen Cabinets
Back Hallway
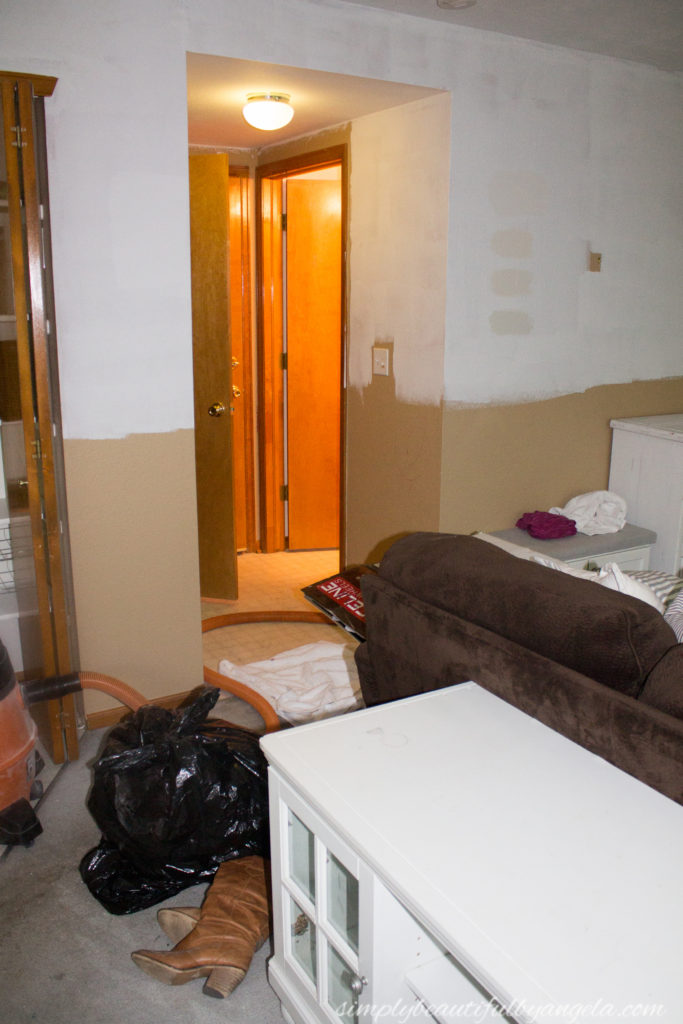
(Before)
Well, isn’t this a fun before picture! Half primed walls, my random boots that I was getting ready to put in the donation pile, and most importantly towels and a shop vac cleaning up the washing machine mess that had literally just flooded everywhere.
(Today)
I need to take a wider-angle picture, but hopefully this give you an idea! We replaced the bathroom door but found that garage entry doors are pricey because of their safety qualifications. So, we simply added some plywood to make it look like a 3 panel door. We also replaced the light fixture and installed board and batten.
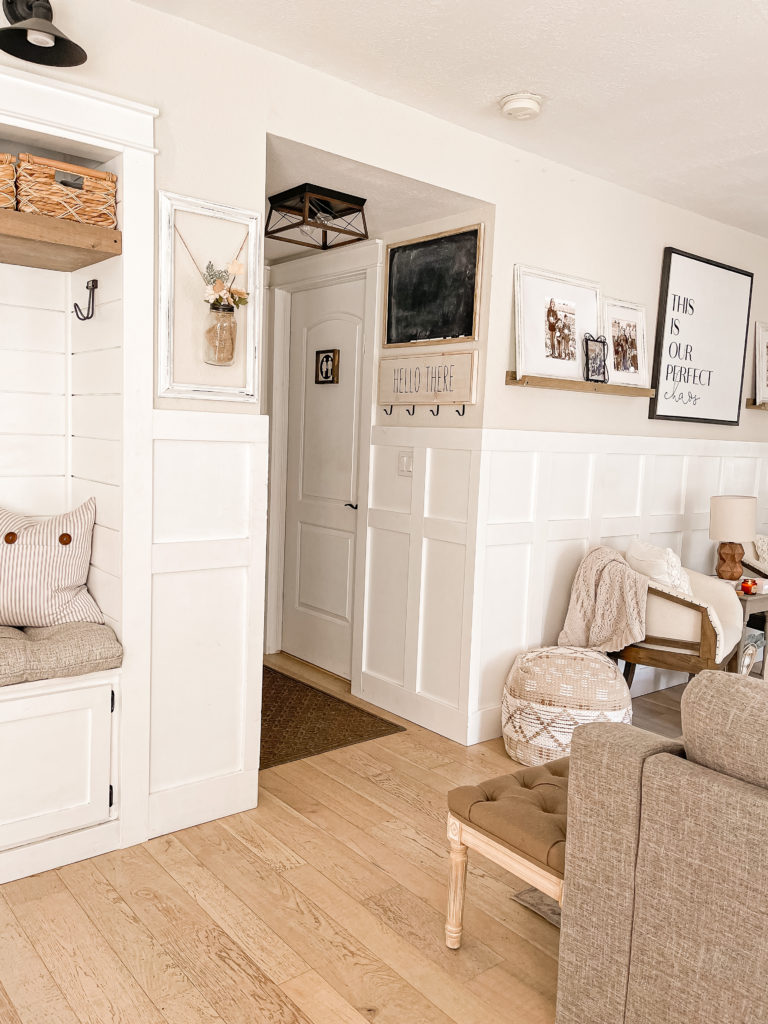
RELATED POSTS: Flat Panel Door Budget Makeover
Mudroom Nook
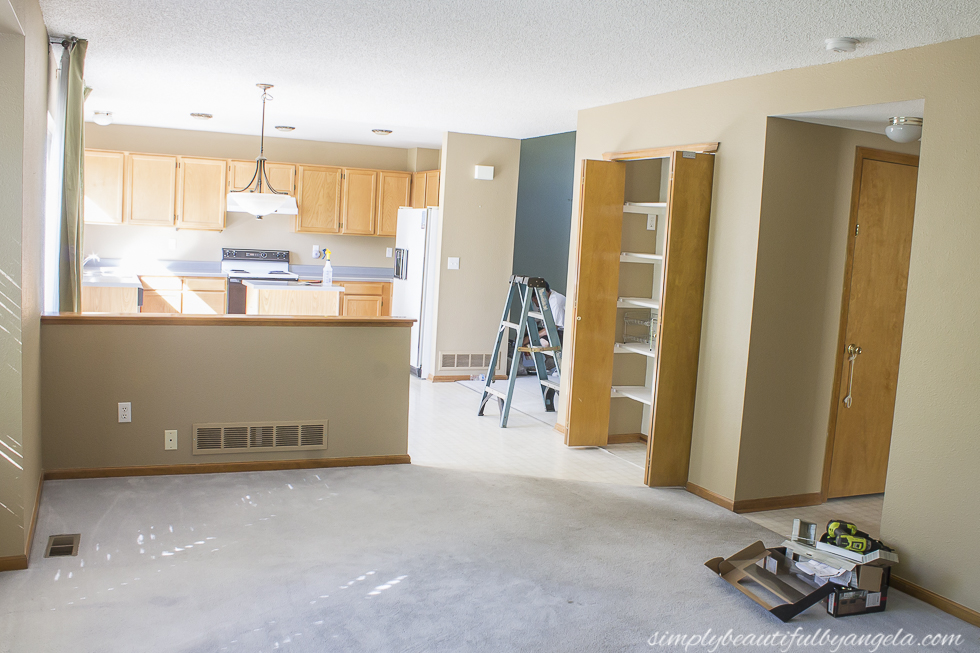
(Before)
This view shows that we used to have a panty along that wall on the right. It made no sense to us to have the pantry so far away from the kitchen, so we actually ended up using a couple of the cabinets in the kitchen for food storage.
(1 Year After Move In)
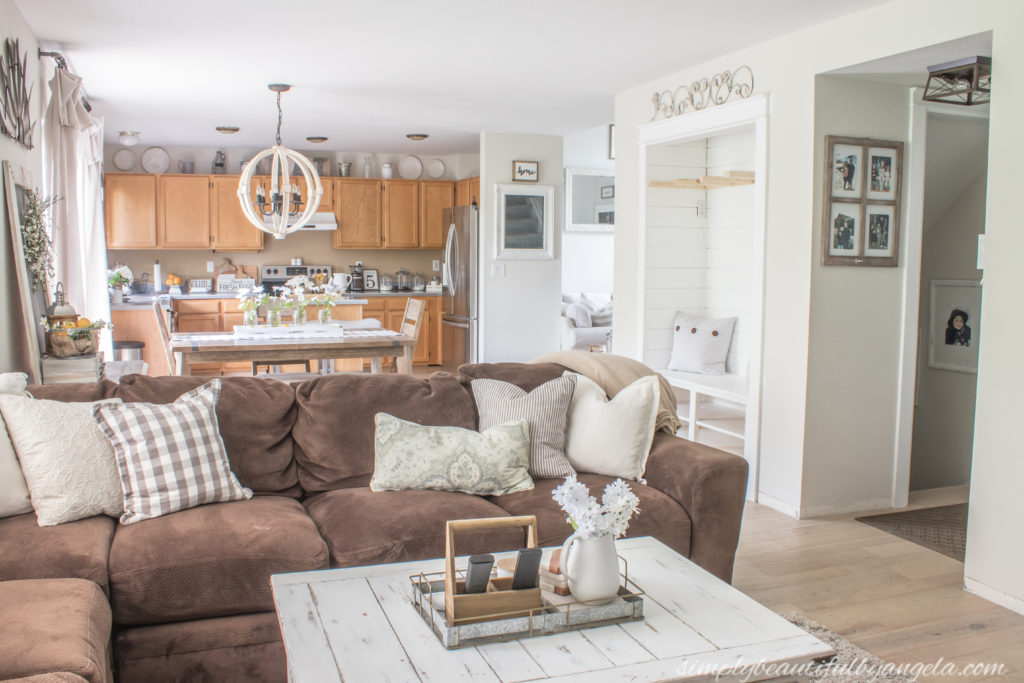
I ripped all of the shelving out and we began building a nook that could serve as a little mudroom area for us.
(Today)
It serves our family so much better with its new purpose!

RELATED POSTS: Pantry Turned Mudroom Nook
Powder Room
(Before)
The powder room was pretty bland, and I envisioned what I wanted this space to look like right away. Since we had other projects higher on the priority list, I had not intended to start on this space as soon as we did.
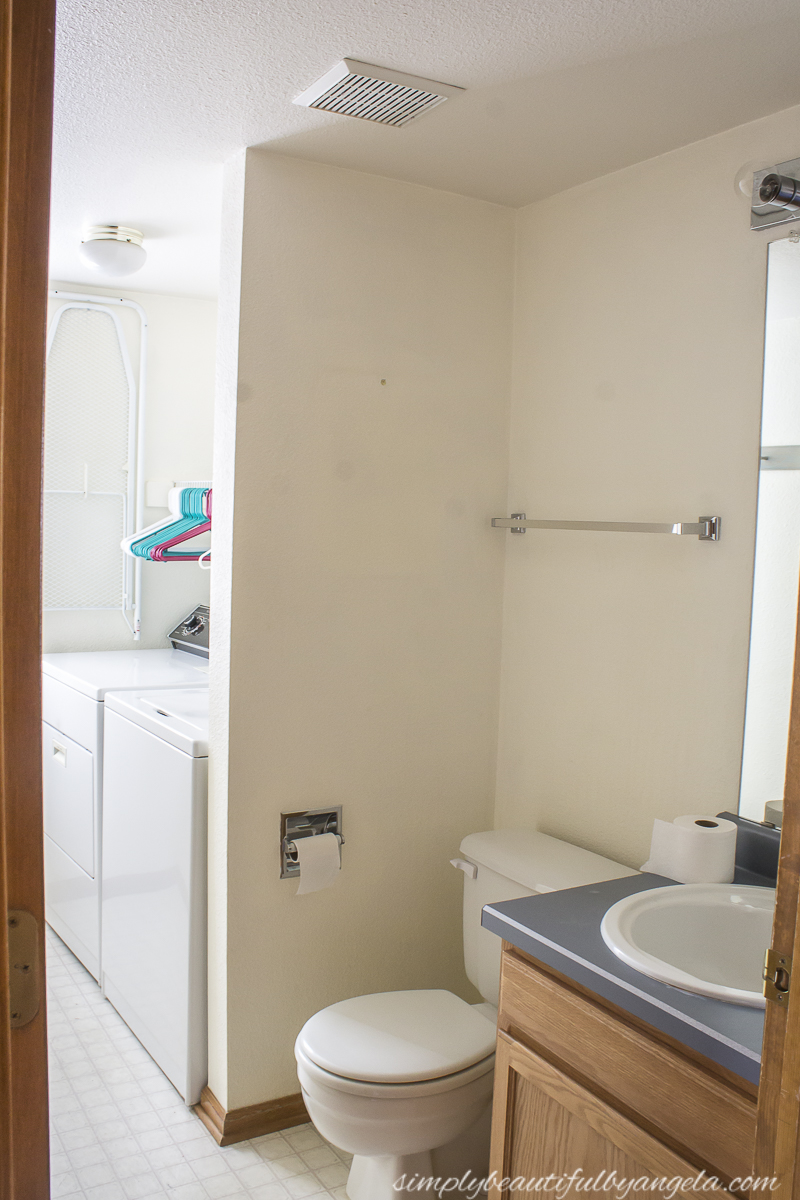
The unfortunate washing machine flood mentioned above kind of put of put a wrench in our plans! The whole space ended up needing to be gutted by the restoration company.
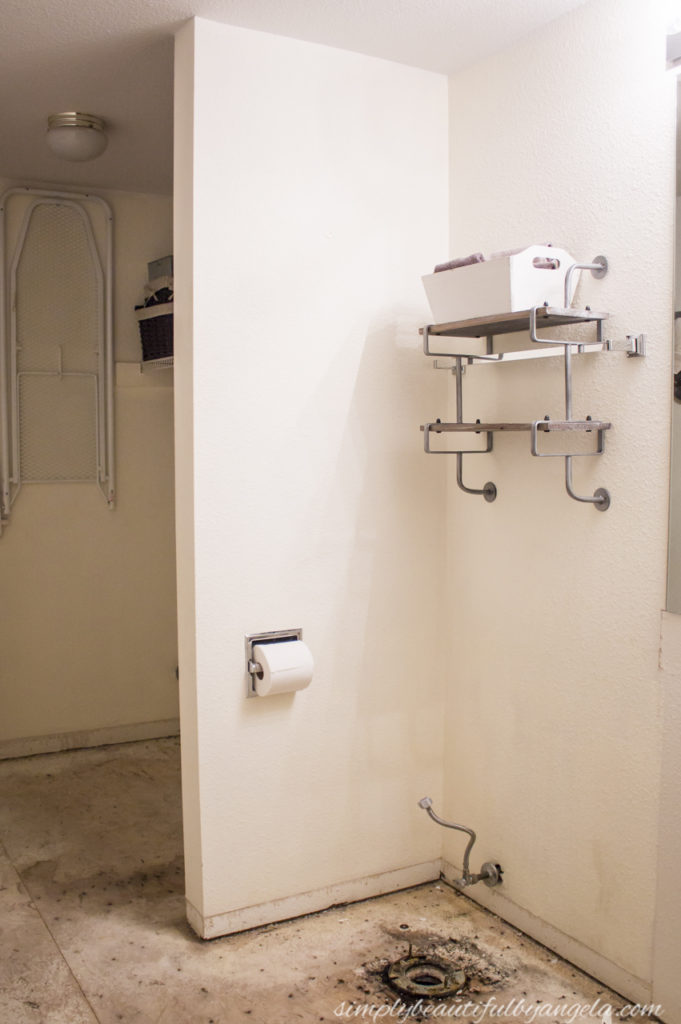
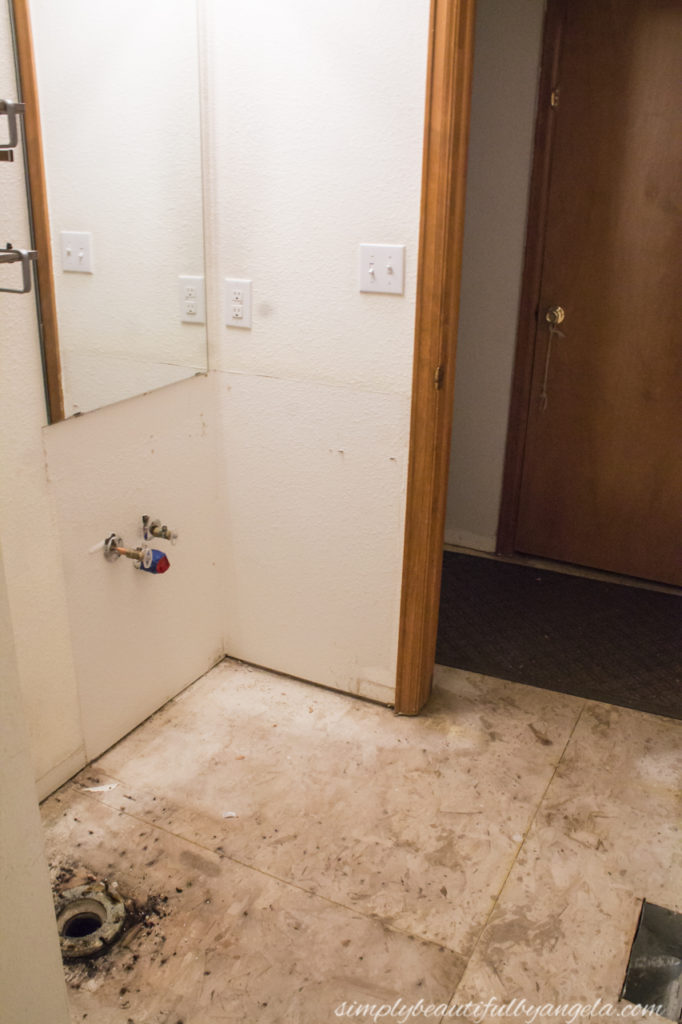
(Today)
The silver lining was that the remodel got bumped up and completed much sooner than planned!
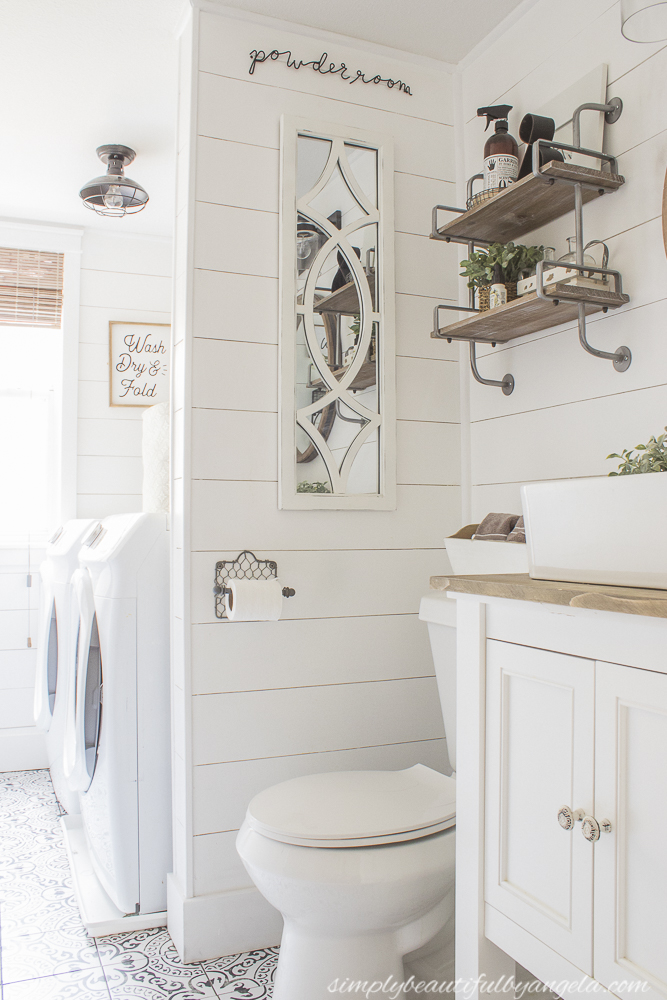
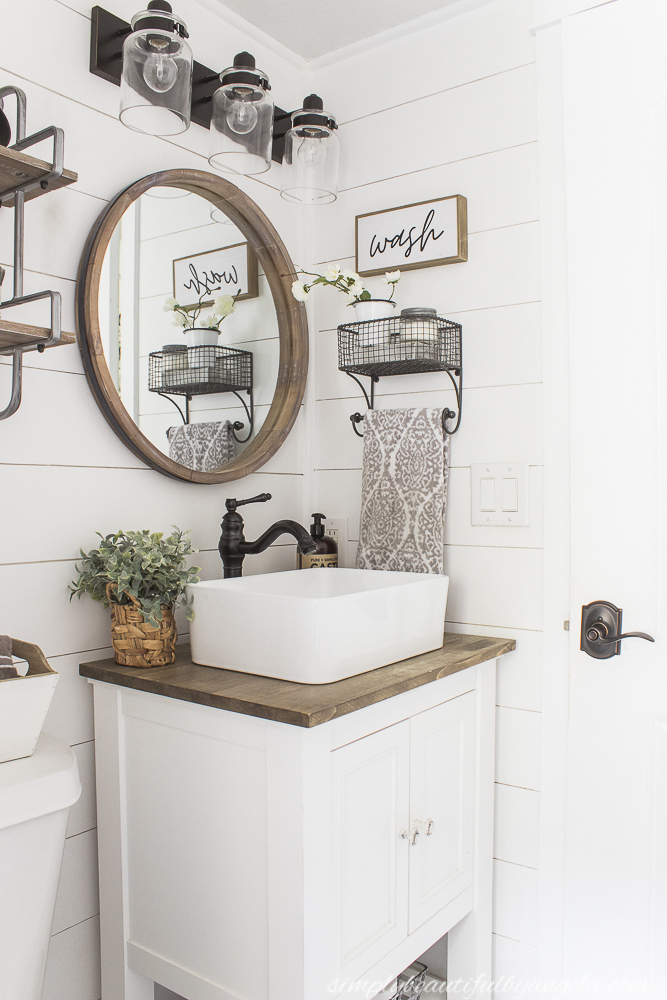
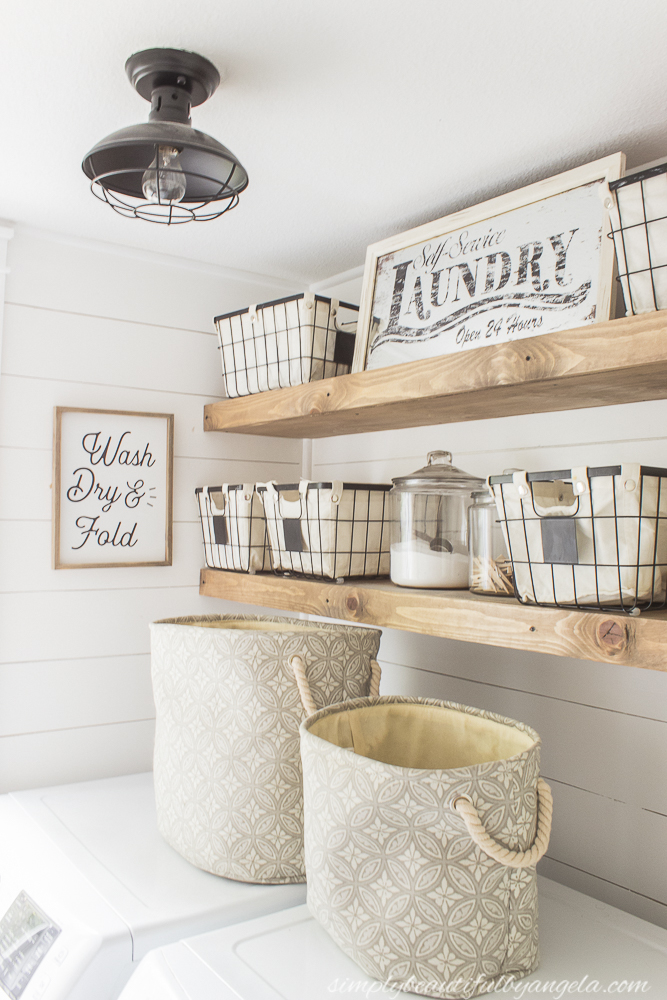
RELATED POSTS: The Powder Room Reveal | New Tile in the Powder Room | How to Install a Vanity & Vessel Sink Combo | DIY Craftsman Window Trim | DIY Rustic Farmhouse Laundry Room Shelves | Pretty Organization in the Laundry Room |
Master Bedroom
(Before)
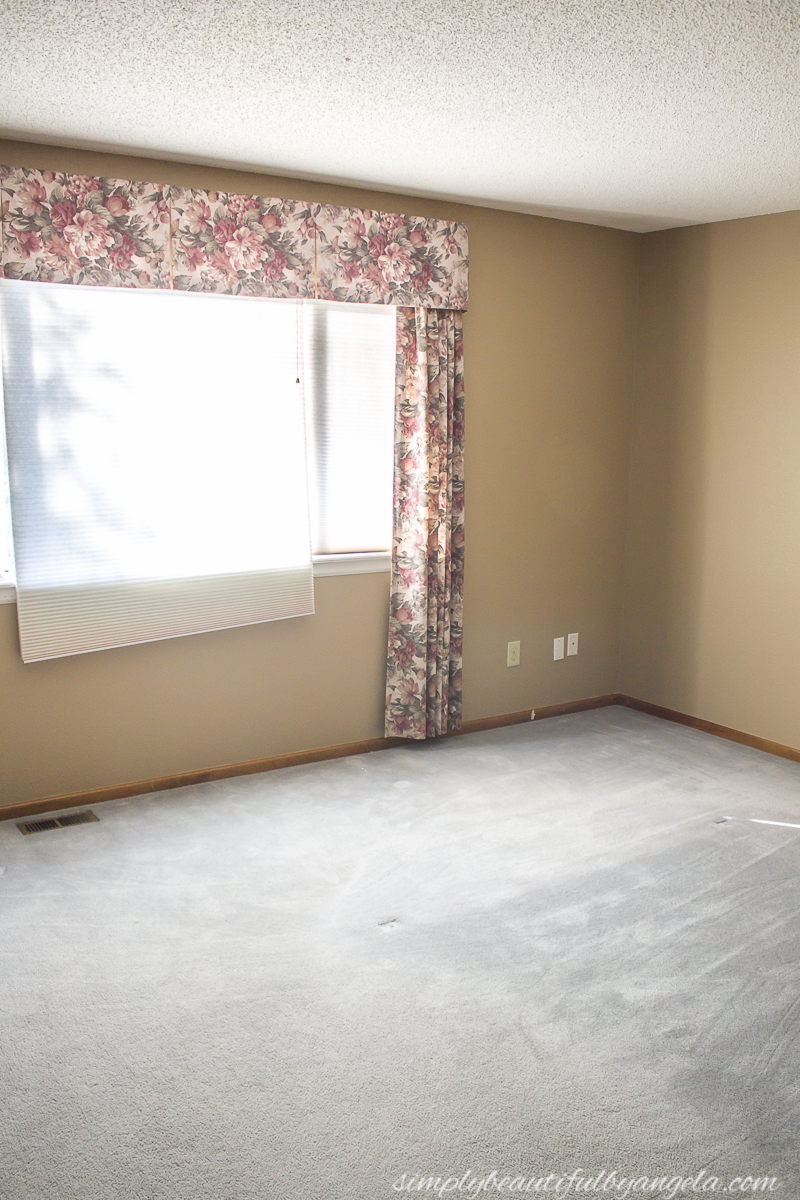
Our bedroom went with the rest of the house in terms of paint color, popcorn ceiling and dirty carpet. This is supposed to be our retreat and none of this was going to work!
(After 1 Year)
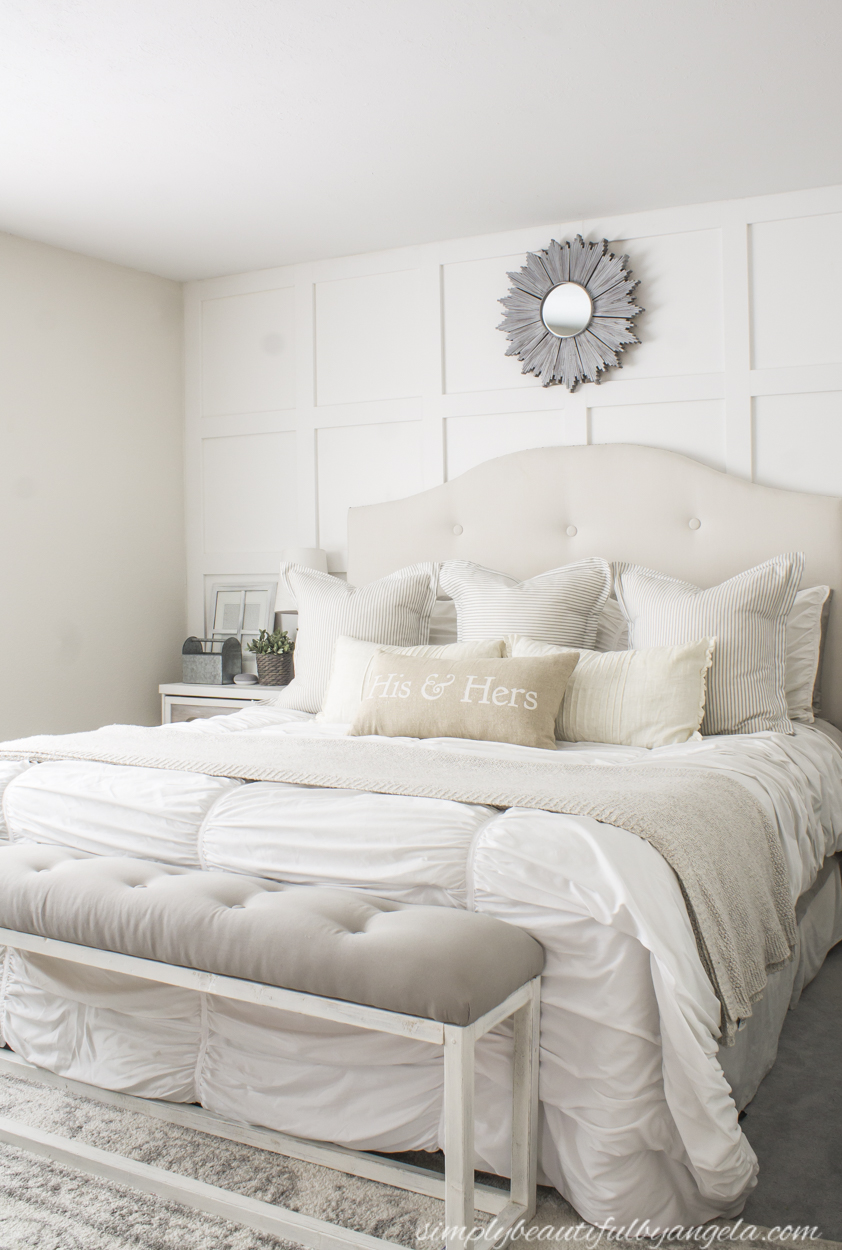
I repainted almost immediately and installed a board and batten grid wall behind the bed just like we had at our old house.
(Today)
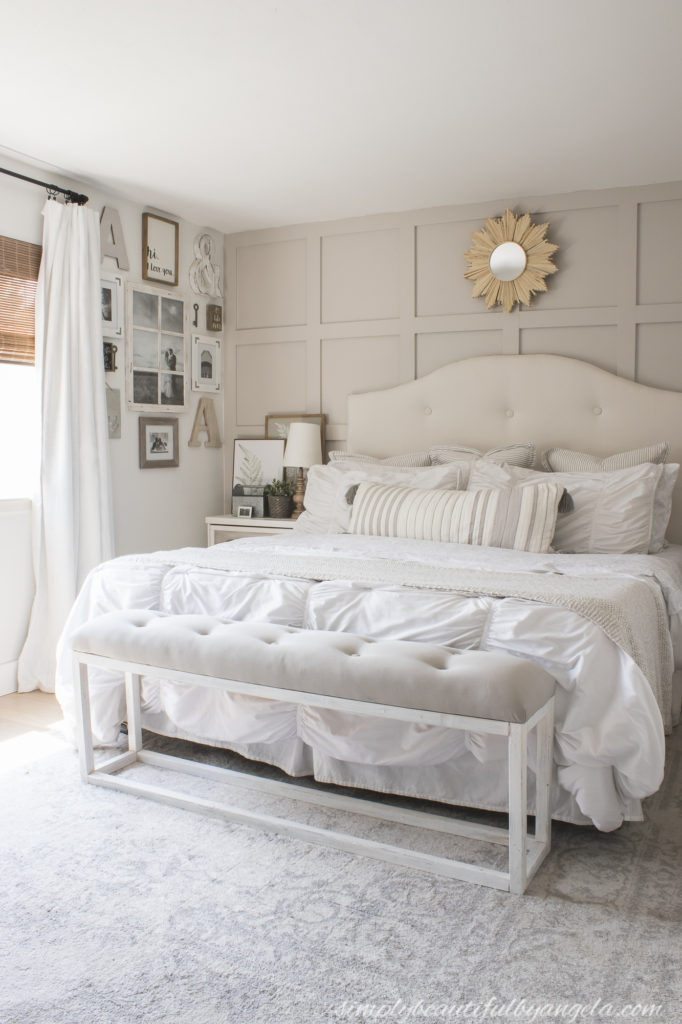
I got bored with the white and decided to repaint, and I also switched up a few of the accents and this room now finally feels like “us”
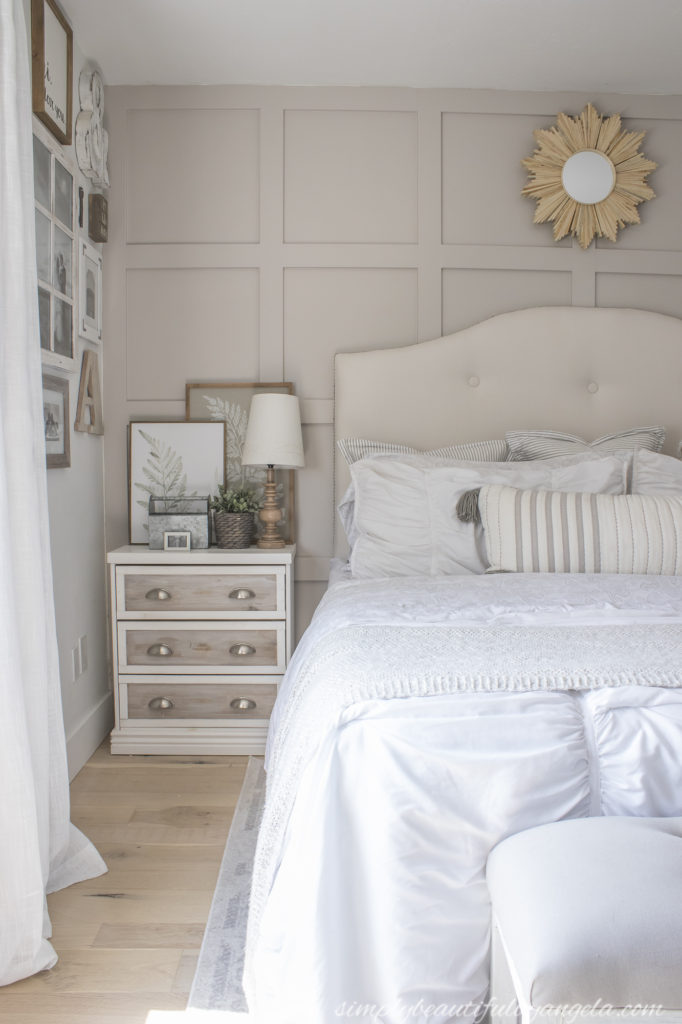
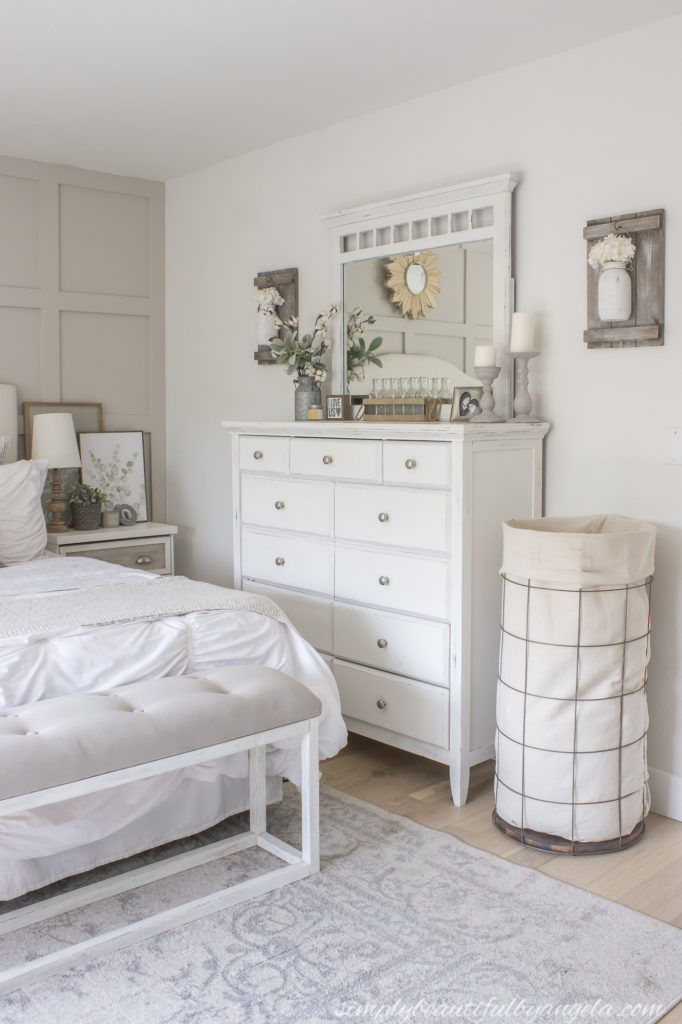
RELATED POSTS: Board and Batten Grid Feature Wall | New DIY End of Bed Bench | New Paint in the Master Bedroom
Master Bathroom
(Before)
Our bathroom made me cringe more than any other area of our house. I know that carpeted bathrooms used to be popular, but with how much water this carpet received over the years, it definitely had to go!
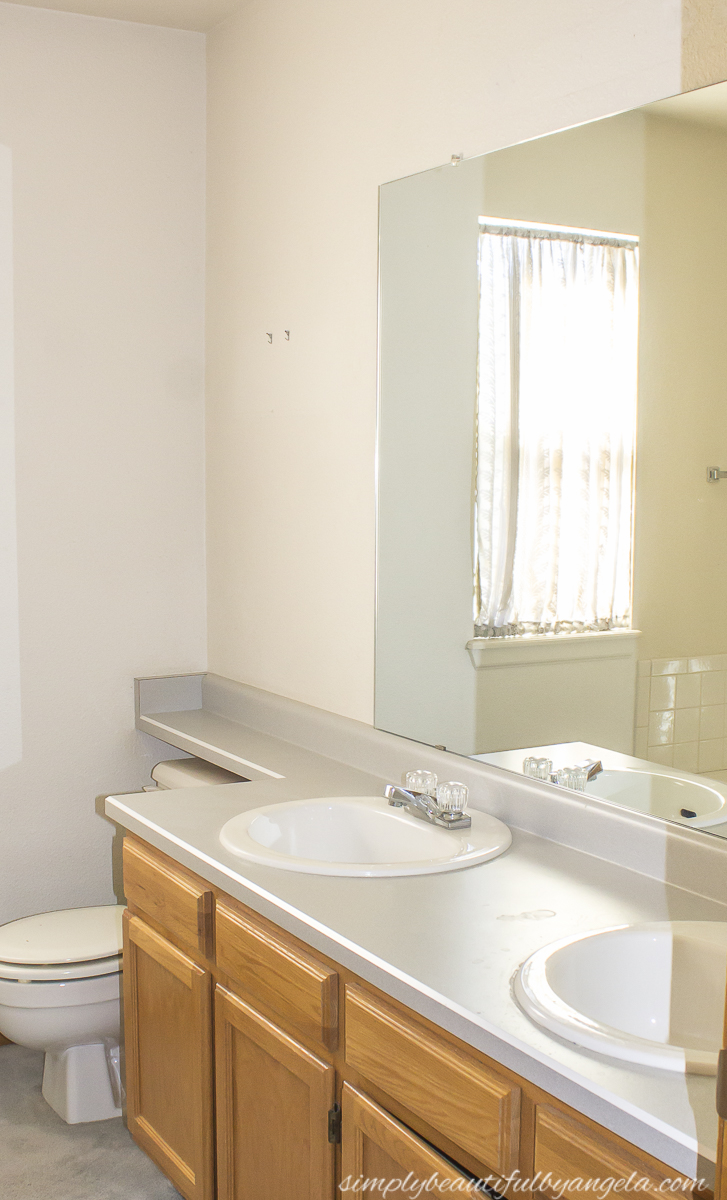
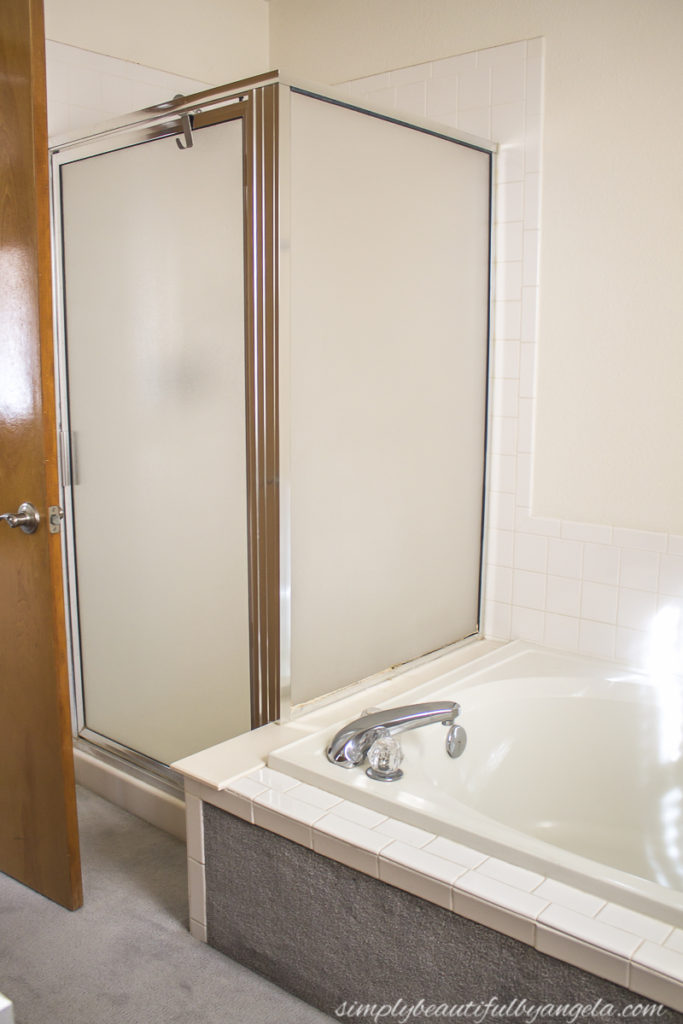
It really needs a full gut, but we aren’t sure when we will have the budget for it. So in the meantime, I decided to participate in the 2019 One Room Challenge to give it a budget refresh. All of the updates were DIYs and were very budget friendly.
(Today)
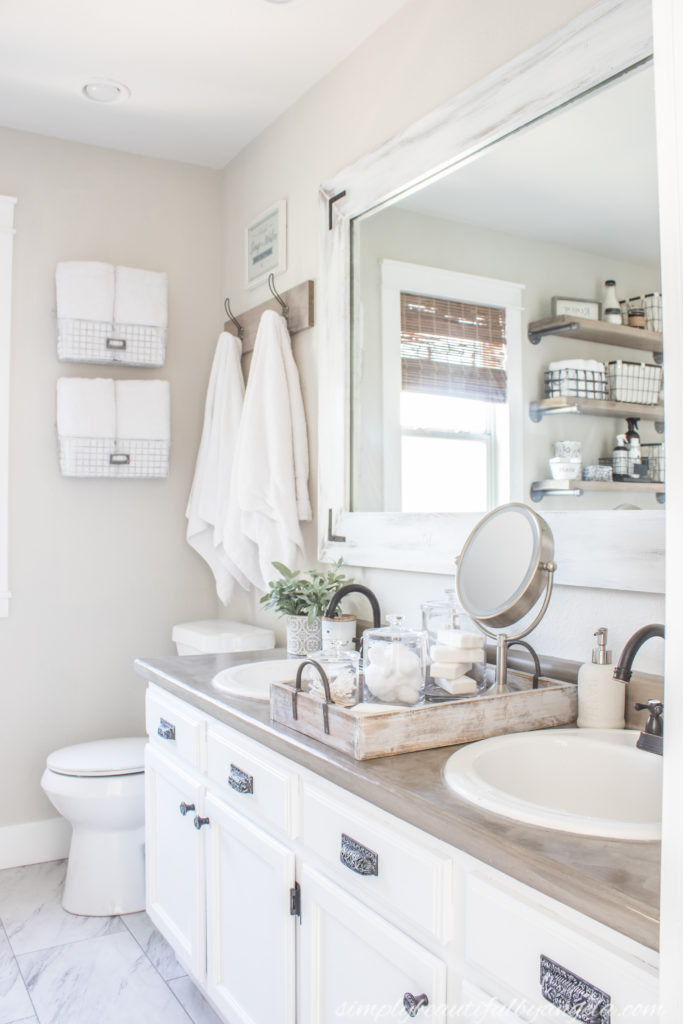
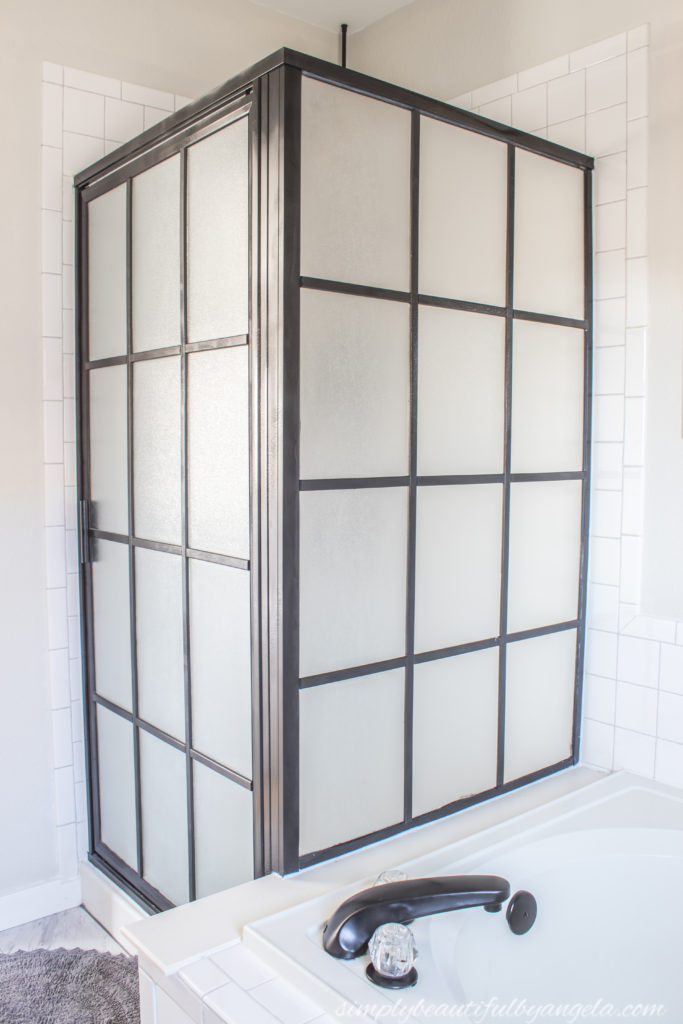
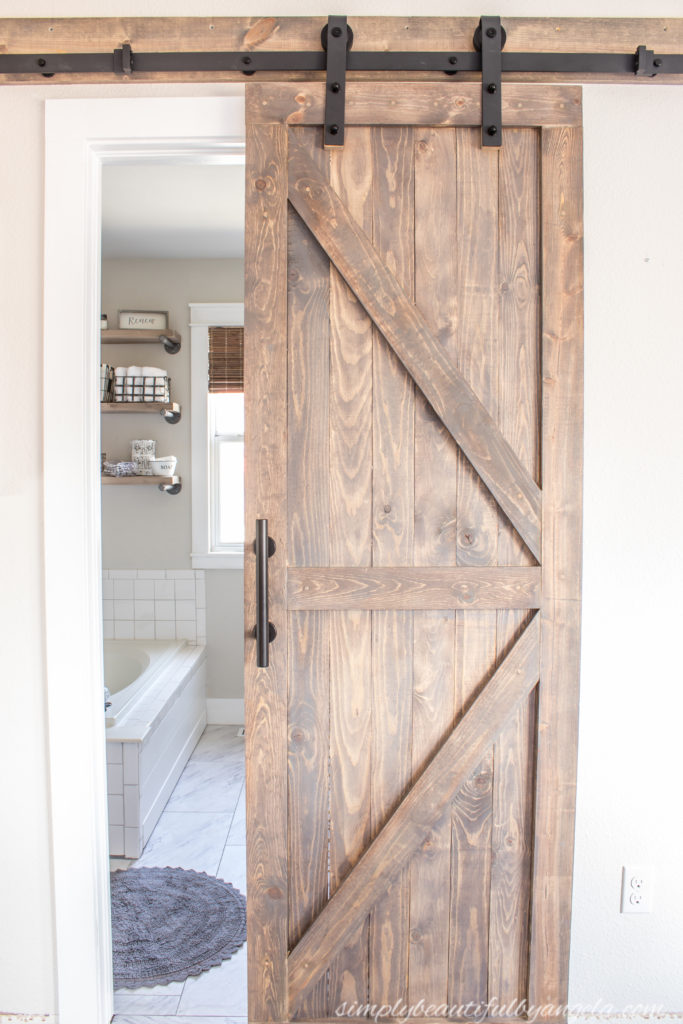
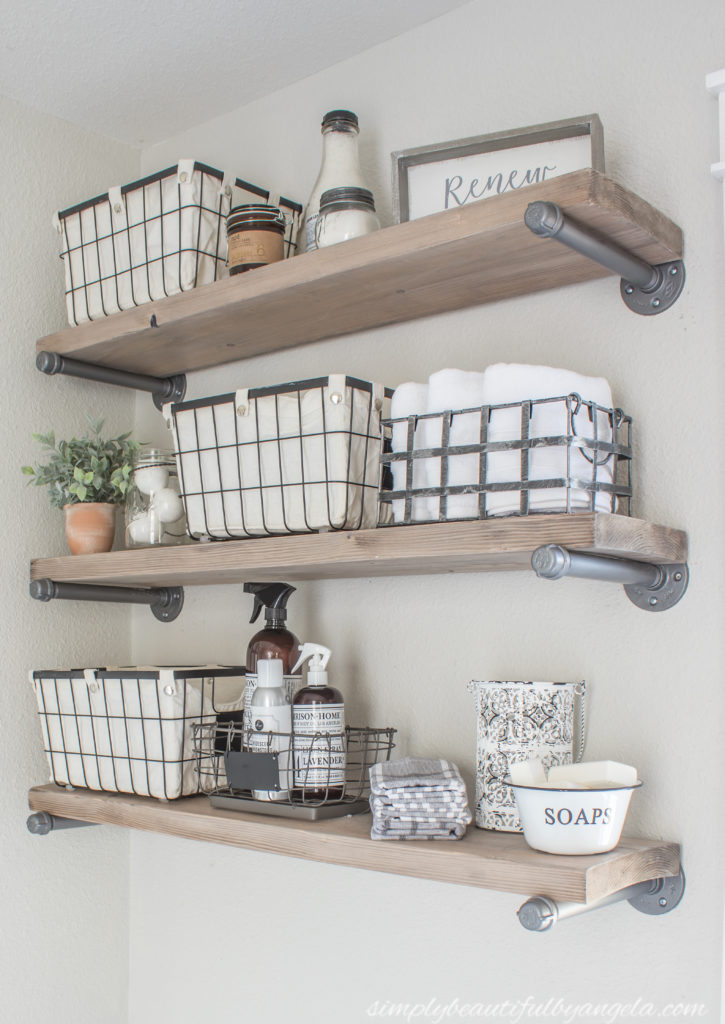
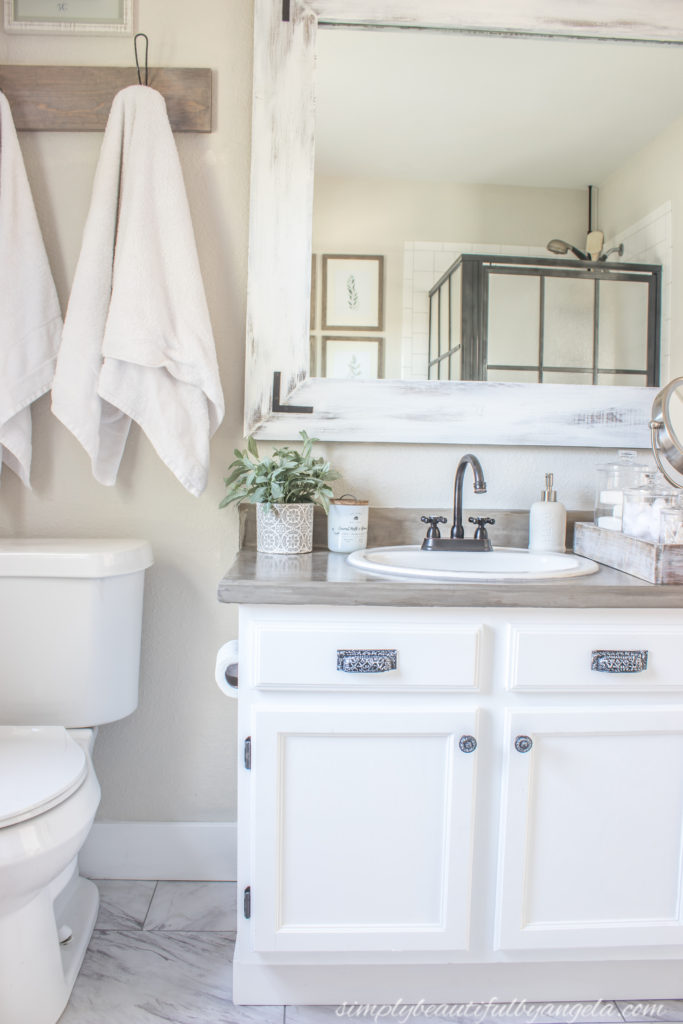
RELATED POSTS: Industrial Farmhouse Bathroom Makeover | Outdated Shower Industrial Style Makeover | DIY Concrete Countertops | Industrial Pipe Shelves | Grouted Vinyl Floor Tile Installation
Tristan’s Room
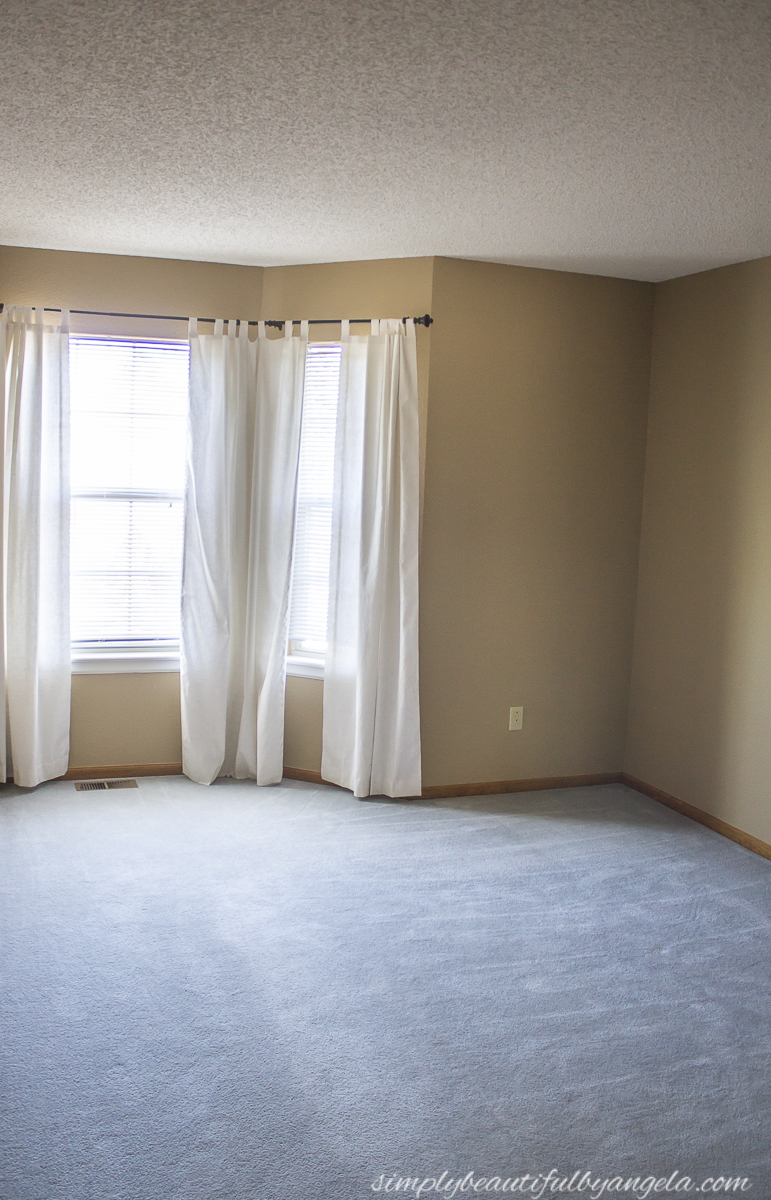
(Before)
Tristan’s room was just a smaller version of ours essentially, nothing much to see here!
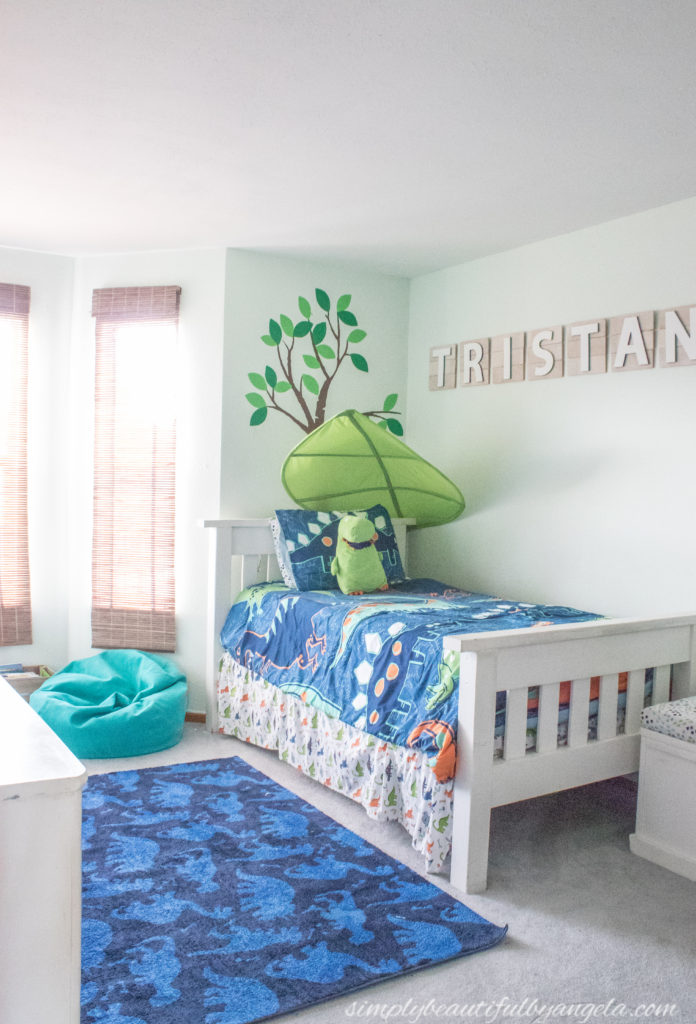
(After 1 Year)
The dinosaur theme from the old house carried over with us and he enjoyed it for a few more years before needing a “bigger boy” room.
(Today)
I gave his room a makeover for the 2021 One Room Challenge and since he’s a big gamer he requested a game themed room.
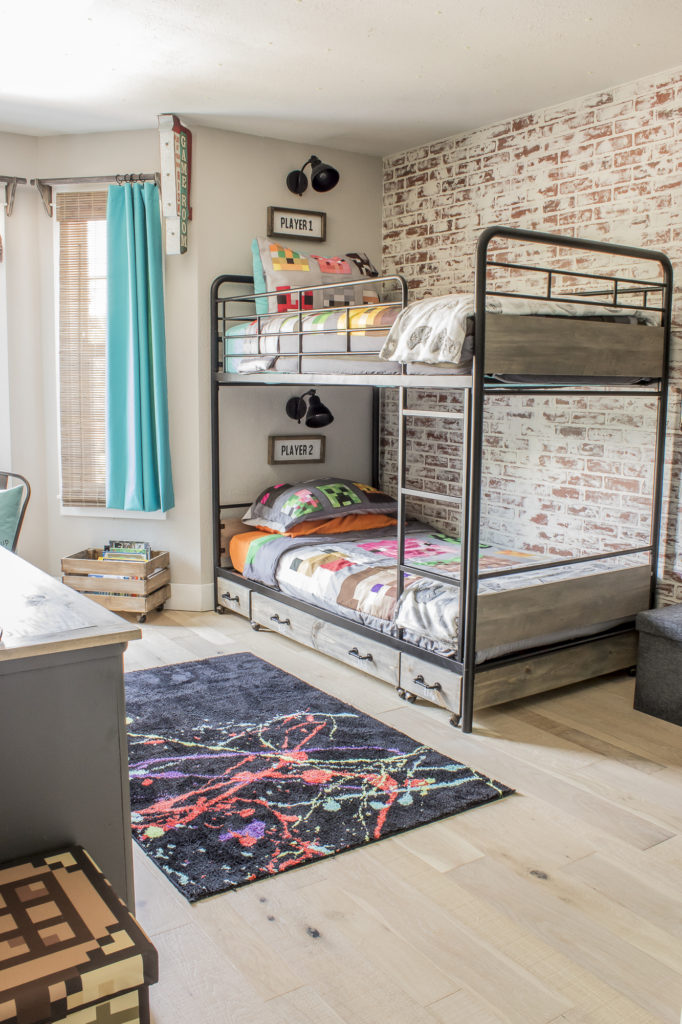
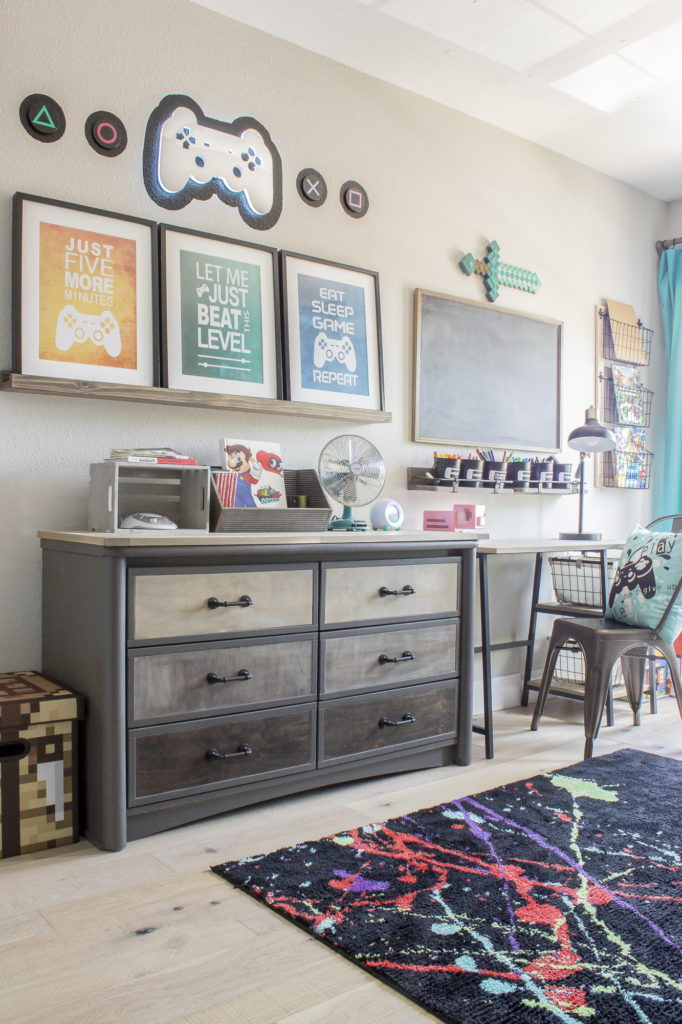
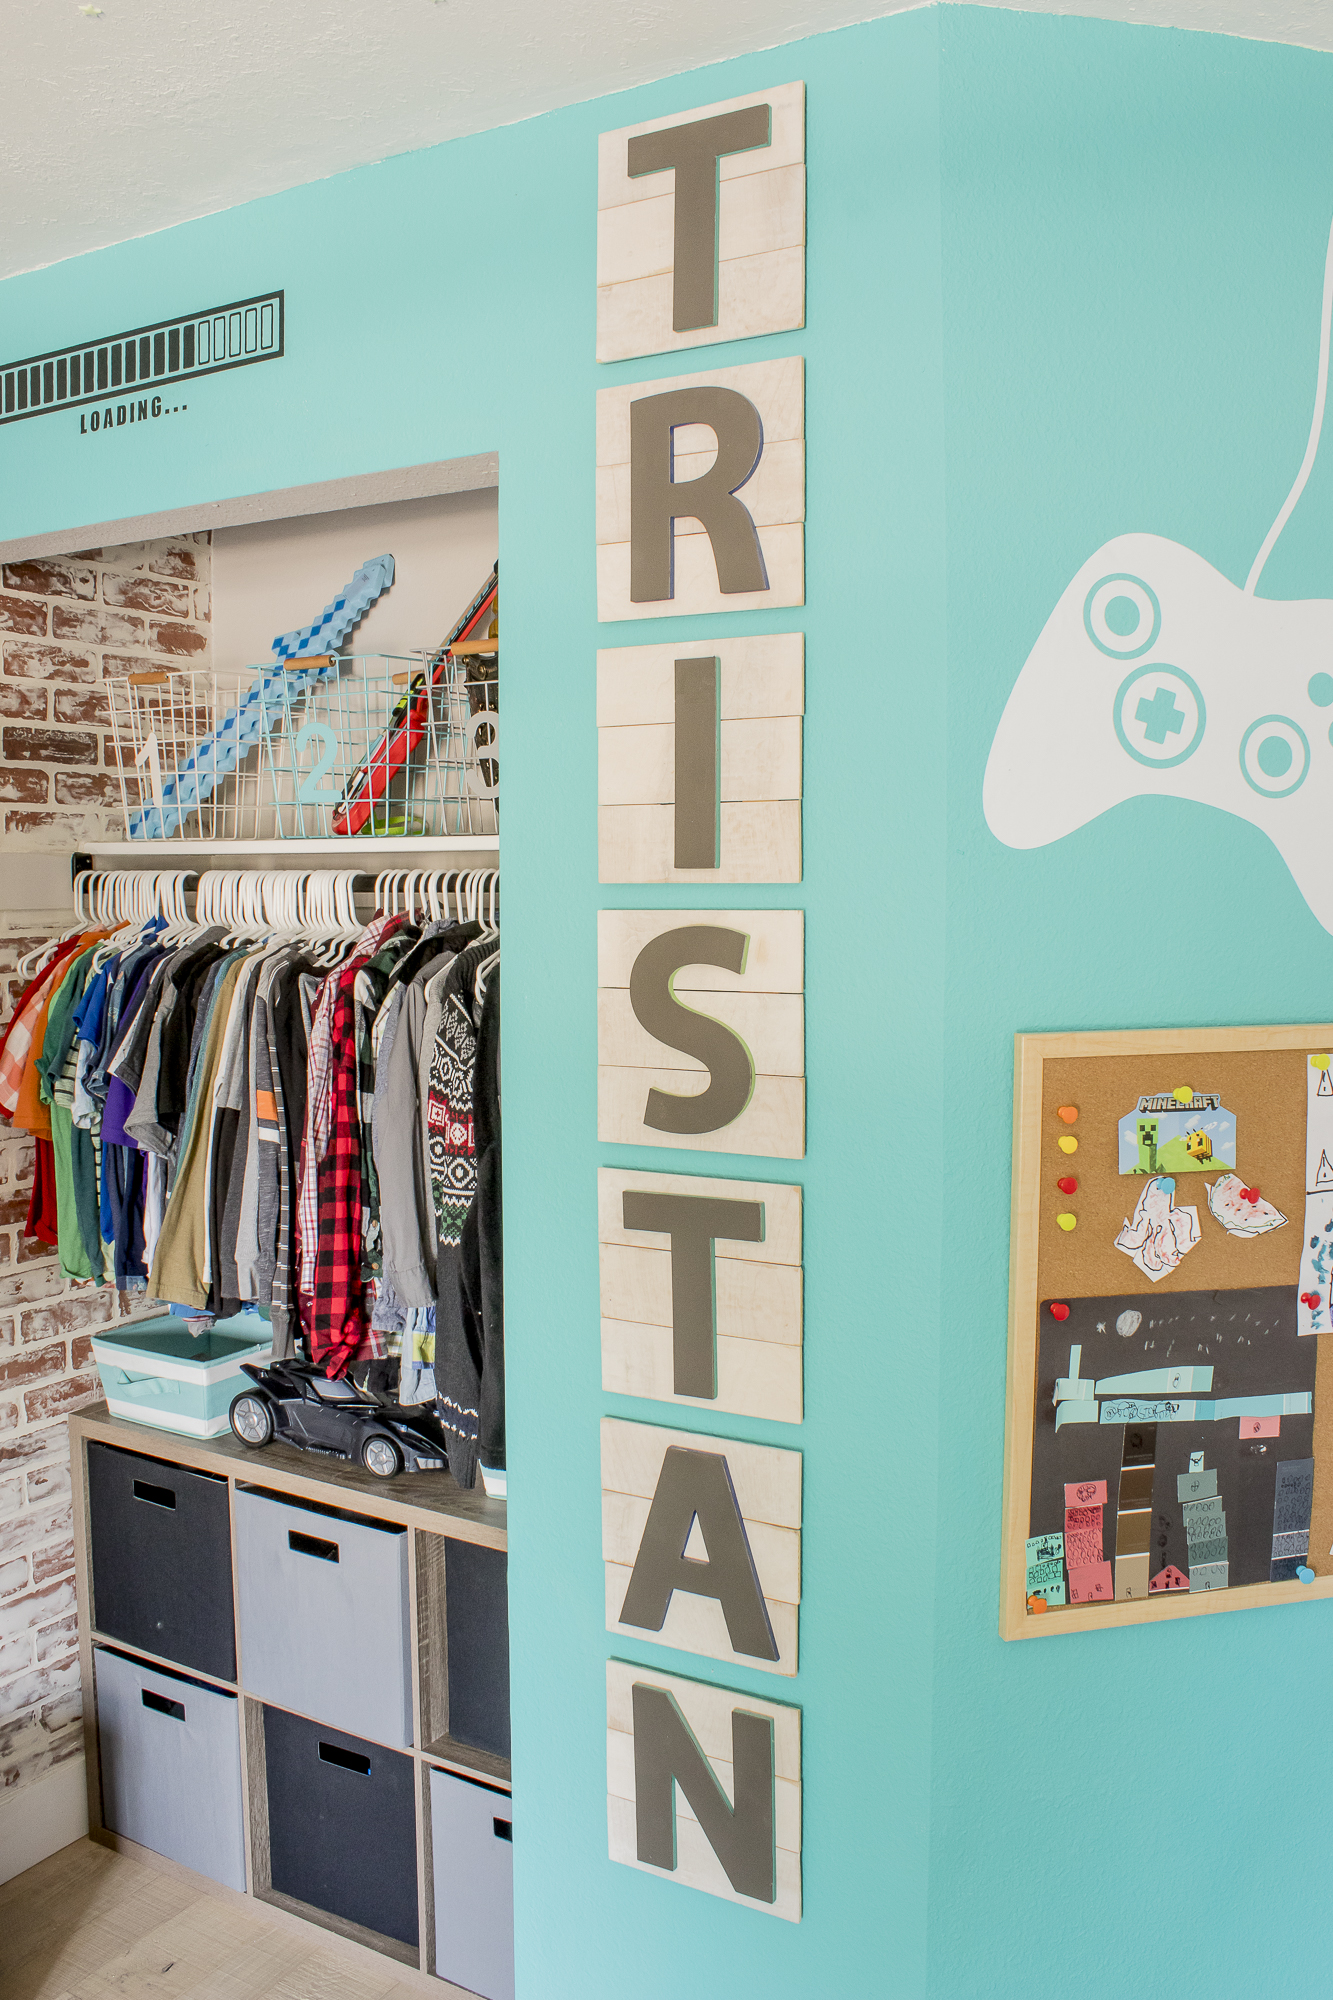
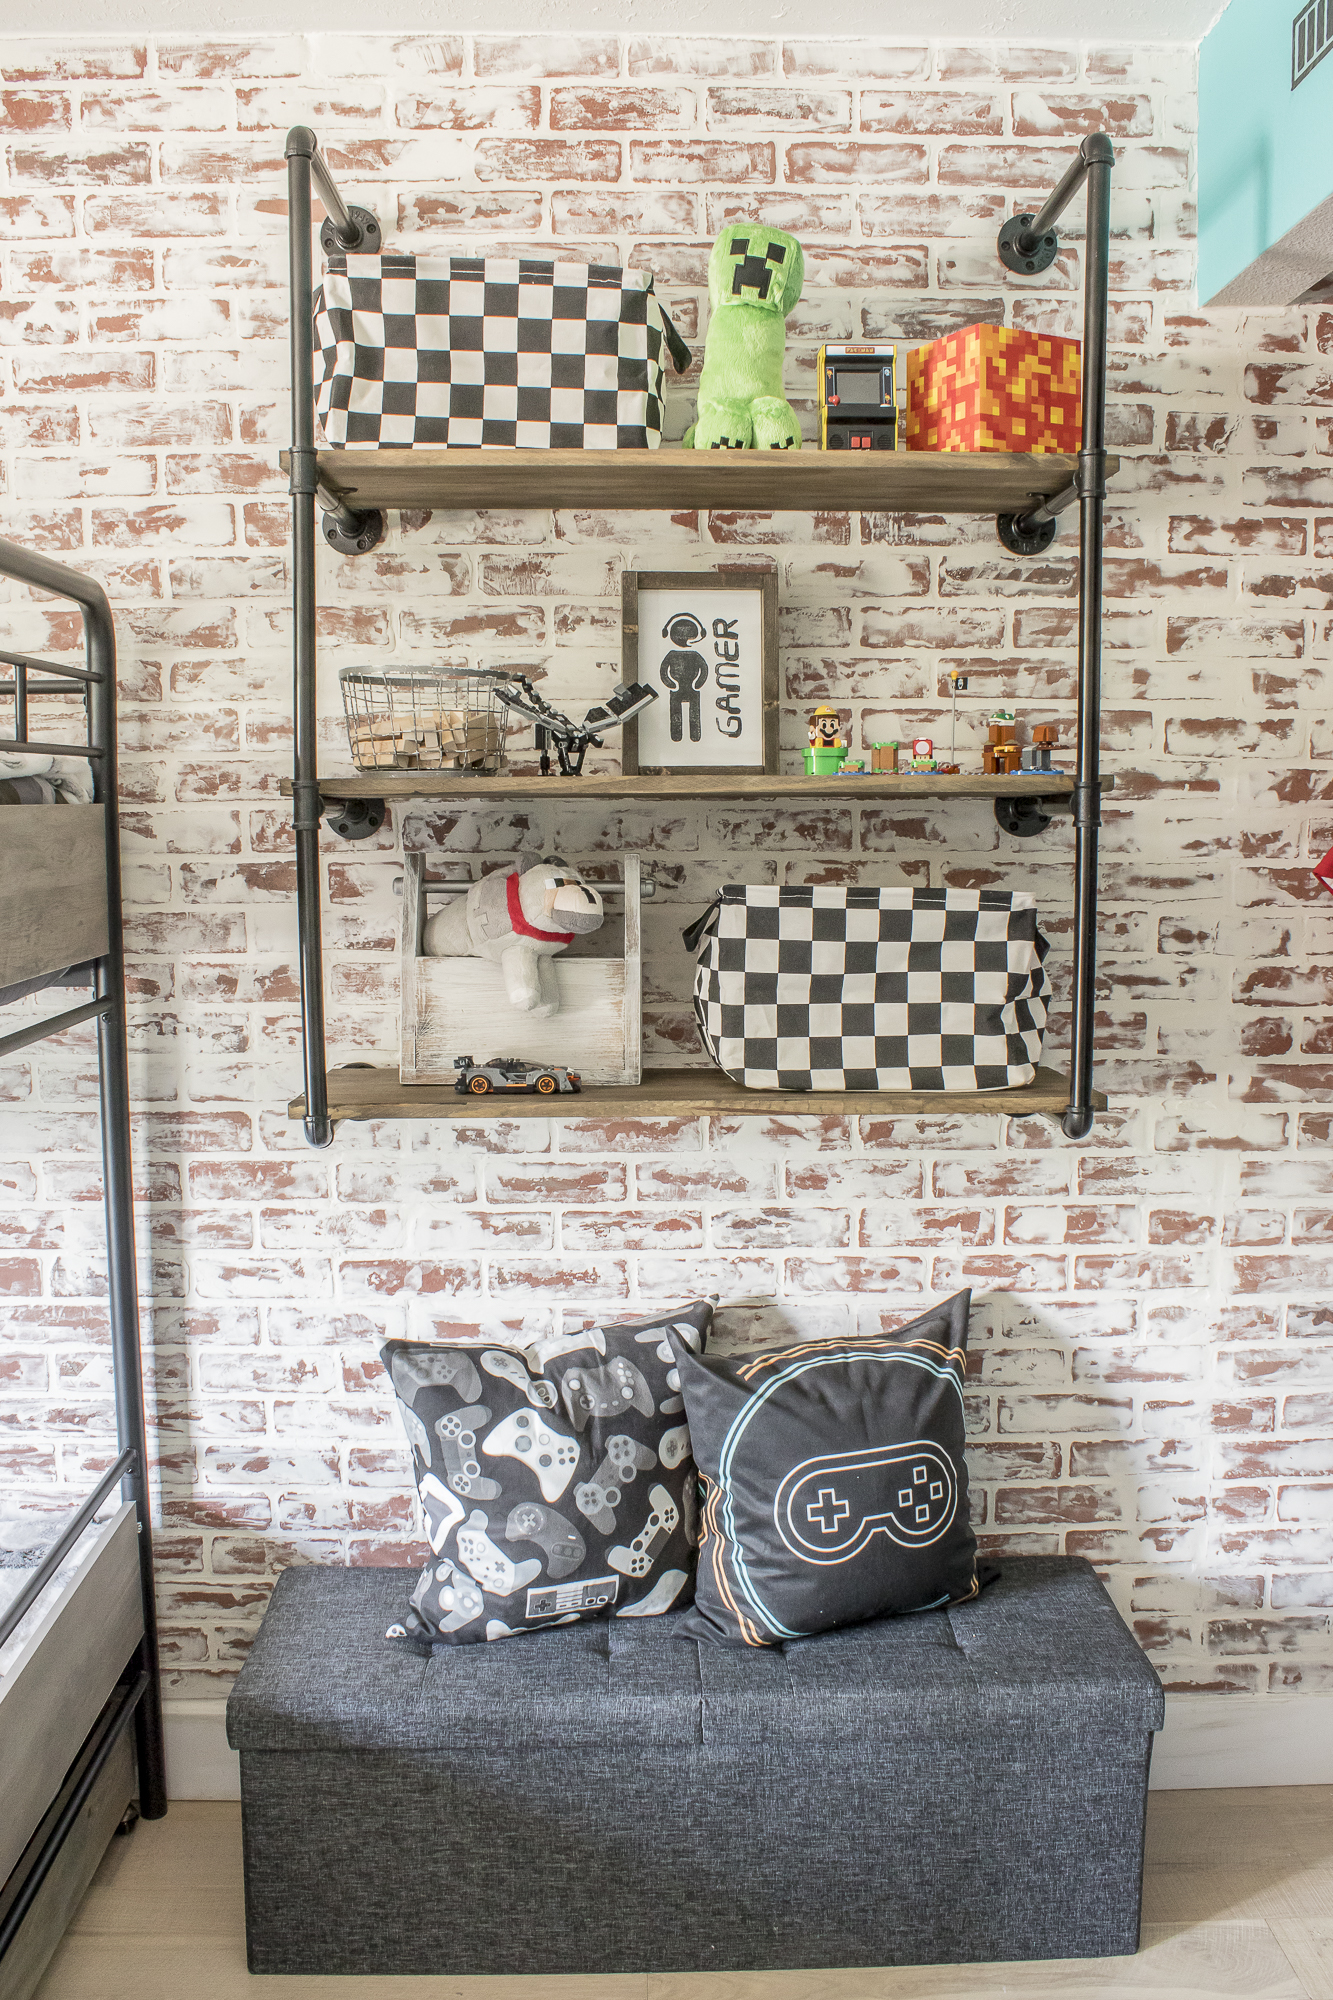
RELATED POSTS: Gamer Theme Bedroom Makeover | DIY Faux Brick Accent Wall | DIY Under Bed Rolling Storage Boxes
Lucas’ Room
(Before)
Lucas’ room had some nice bamboo flooring in it, so I salvaged it the best that I could when we replaced all of the upstairs flooring.
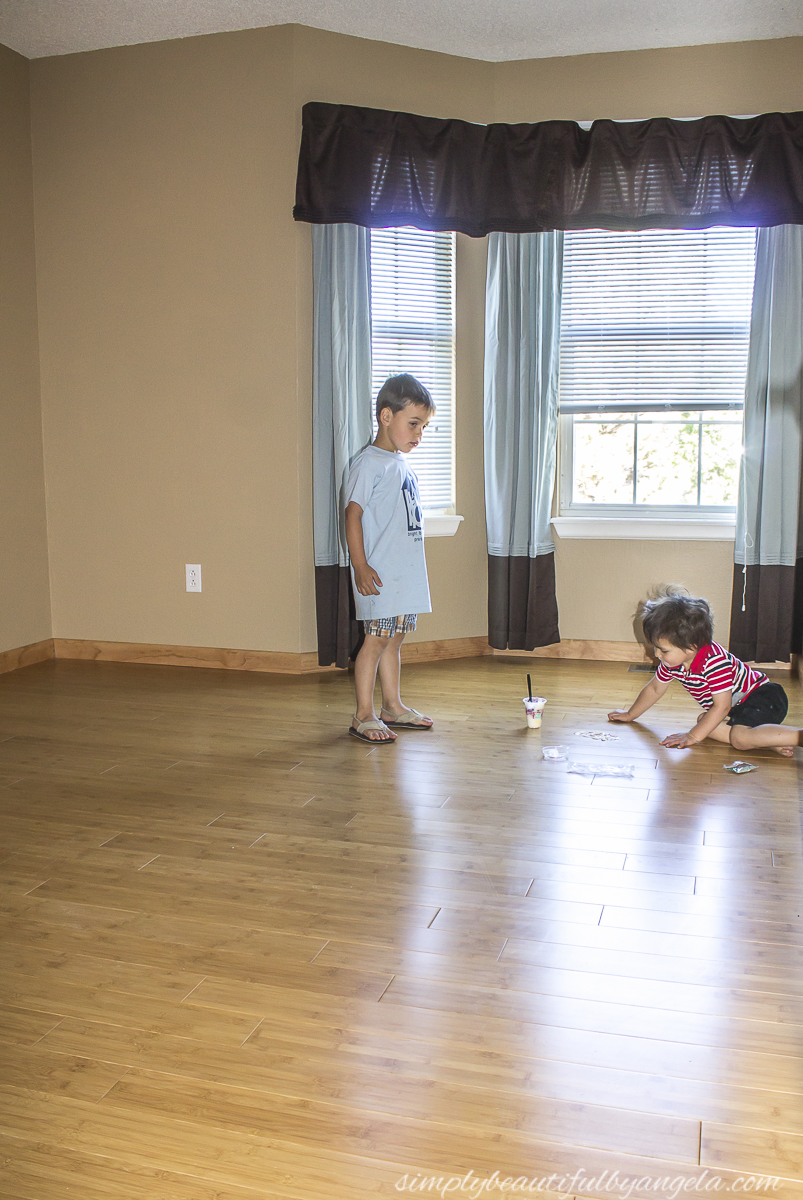
(1 Year After Move In)
The woodland theme moved with us from the old house and he’s enjoyed it for the last few years. But…
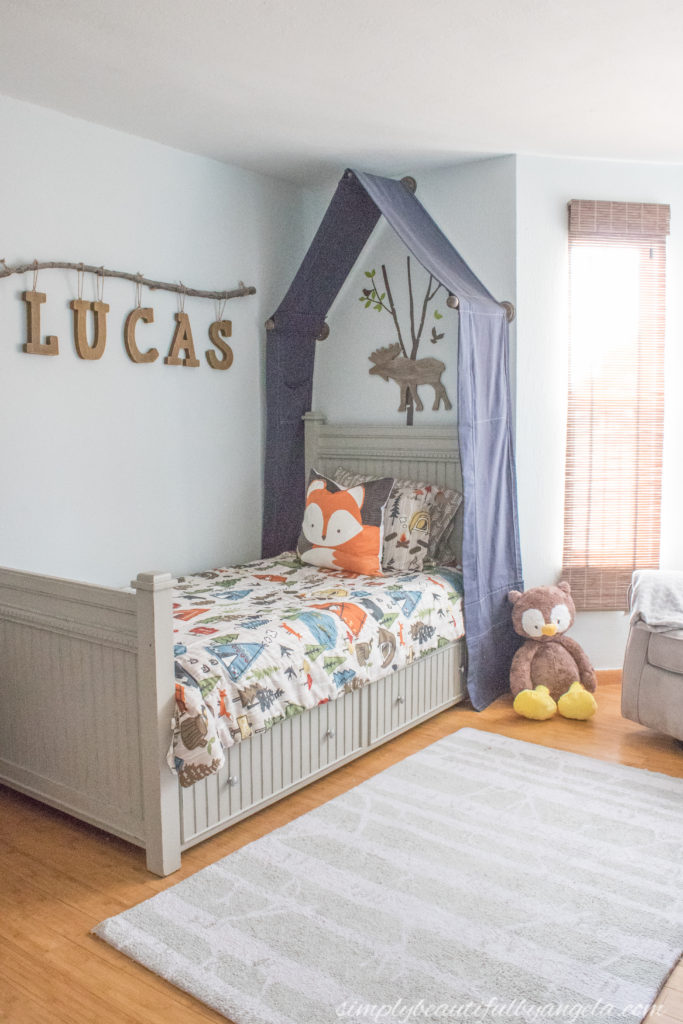
Can you guess what room is next on the makeover list? Stay tuned this fall to see it transformed into a superhero themed “bigger boy” room. I can’t wait!
Boys’ Bathroom
(Before)
The upstairs hall bathroom is designated as the boys’ bathroom and when we first moved in it was very beige-on-beige haha.
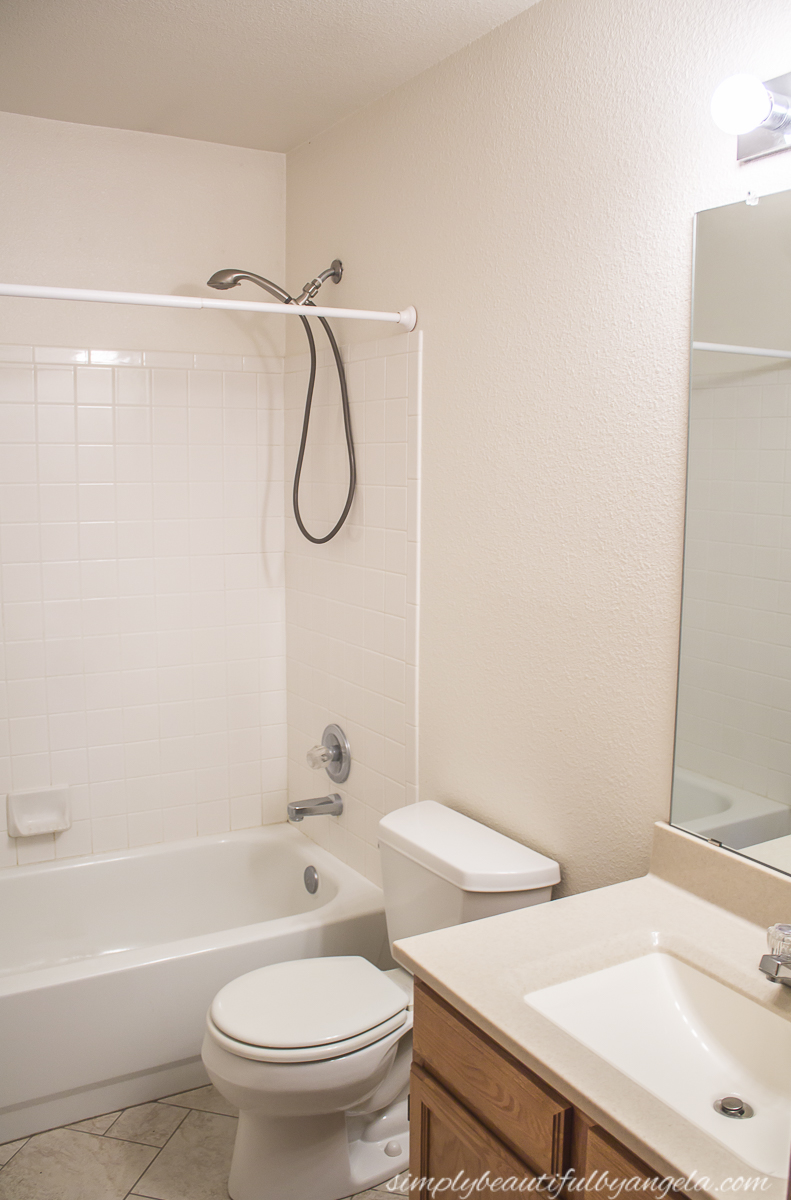
(1 Year After Move In)
This room wasn’t top of the priority list because we all know that most kids don’t care what their bathroom looks like. However, I had dreams of making this space so much more fun!
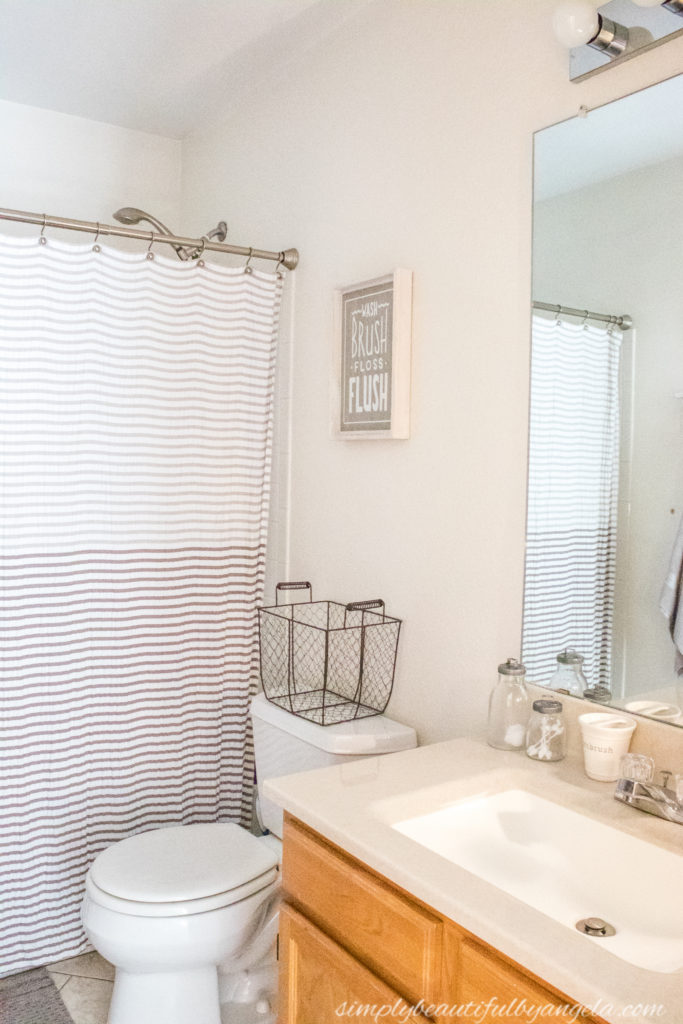
(Today)
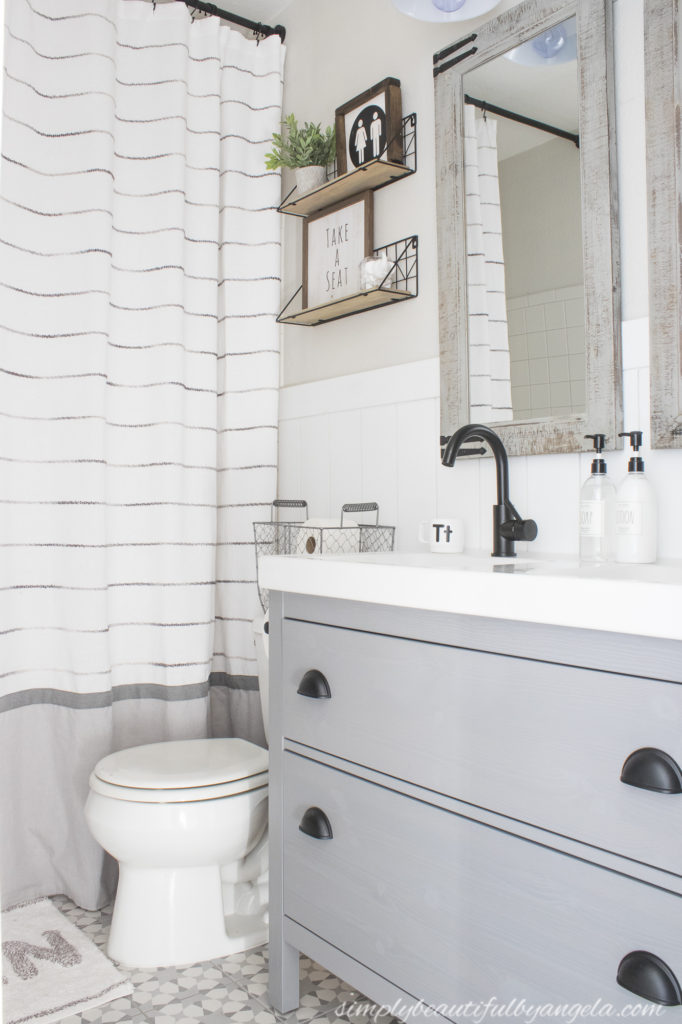
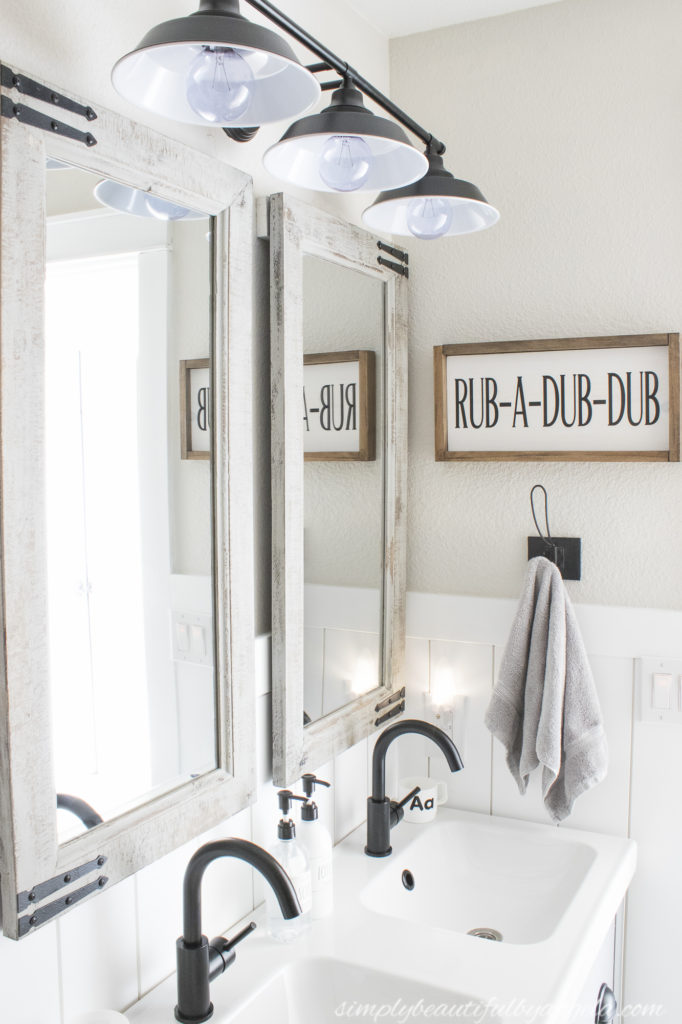
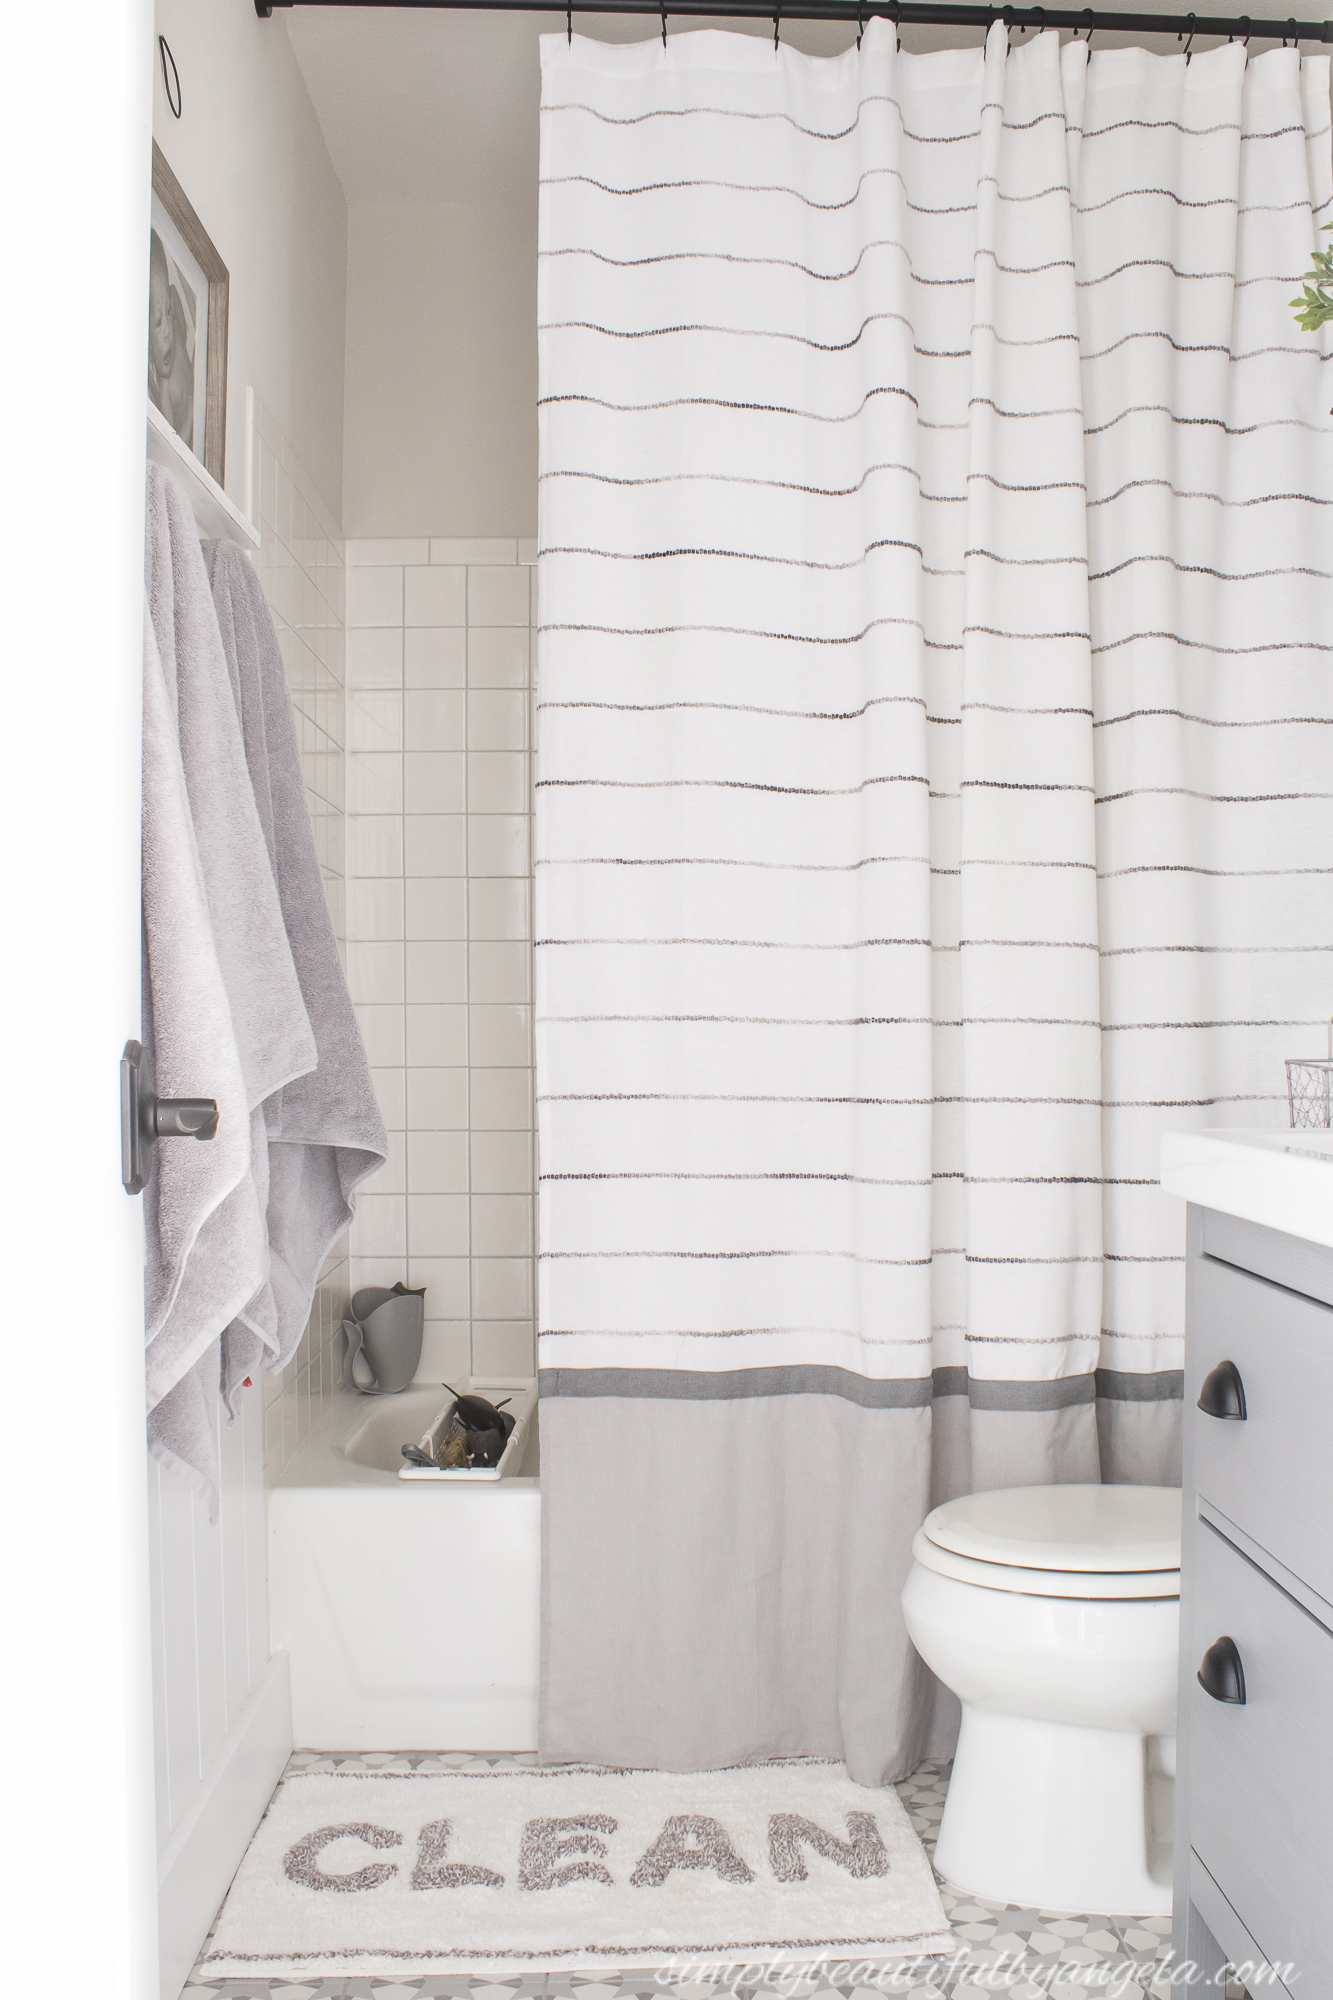
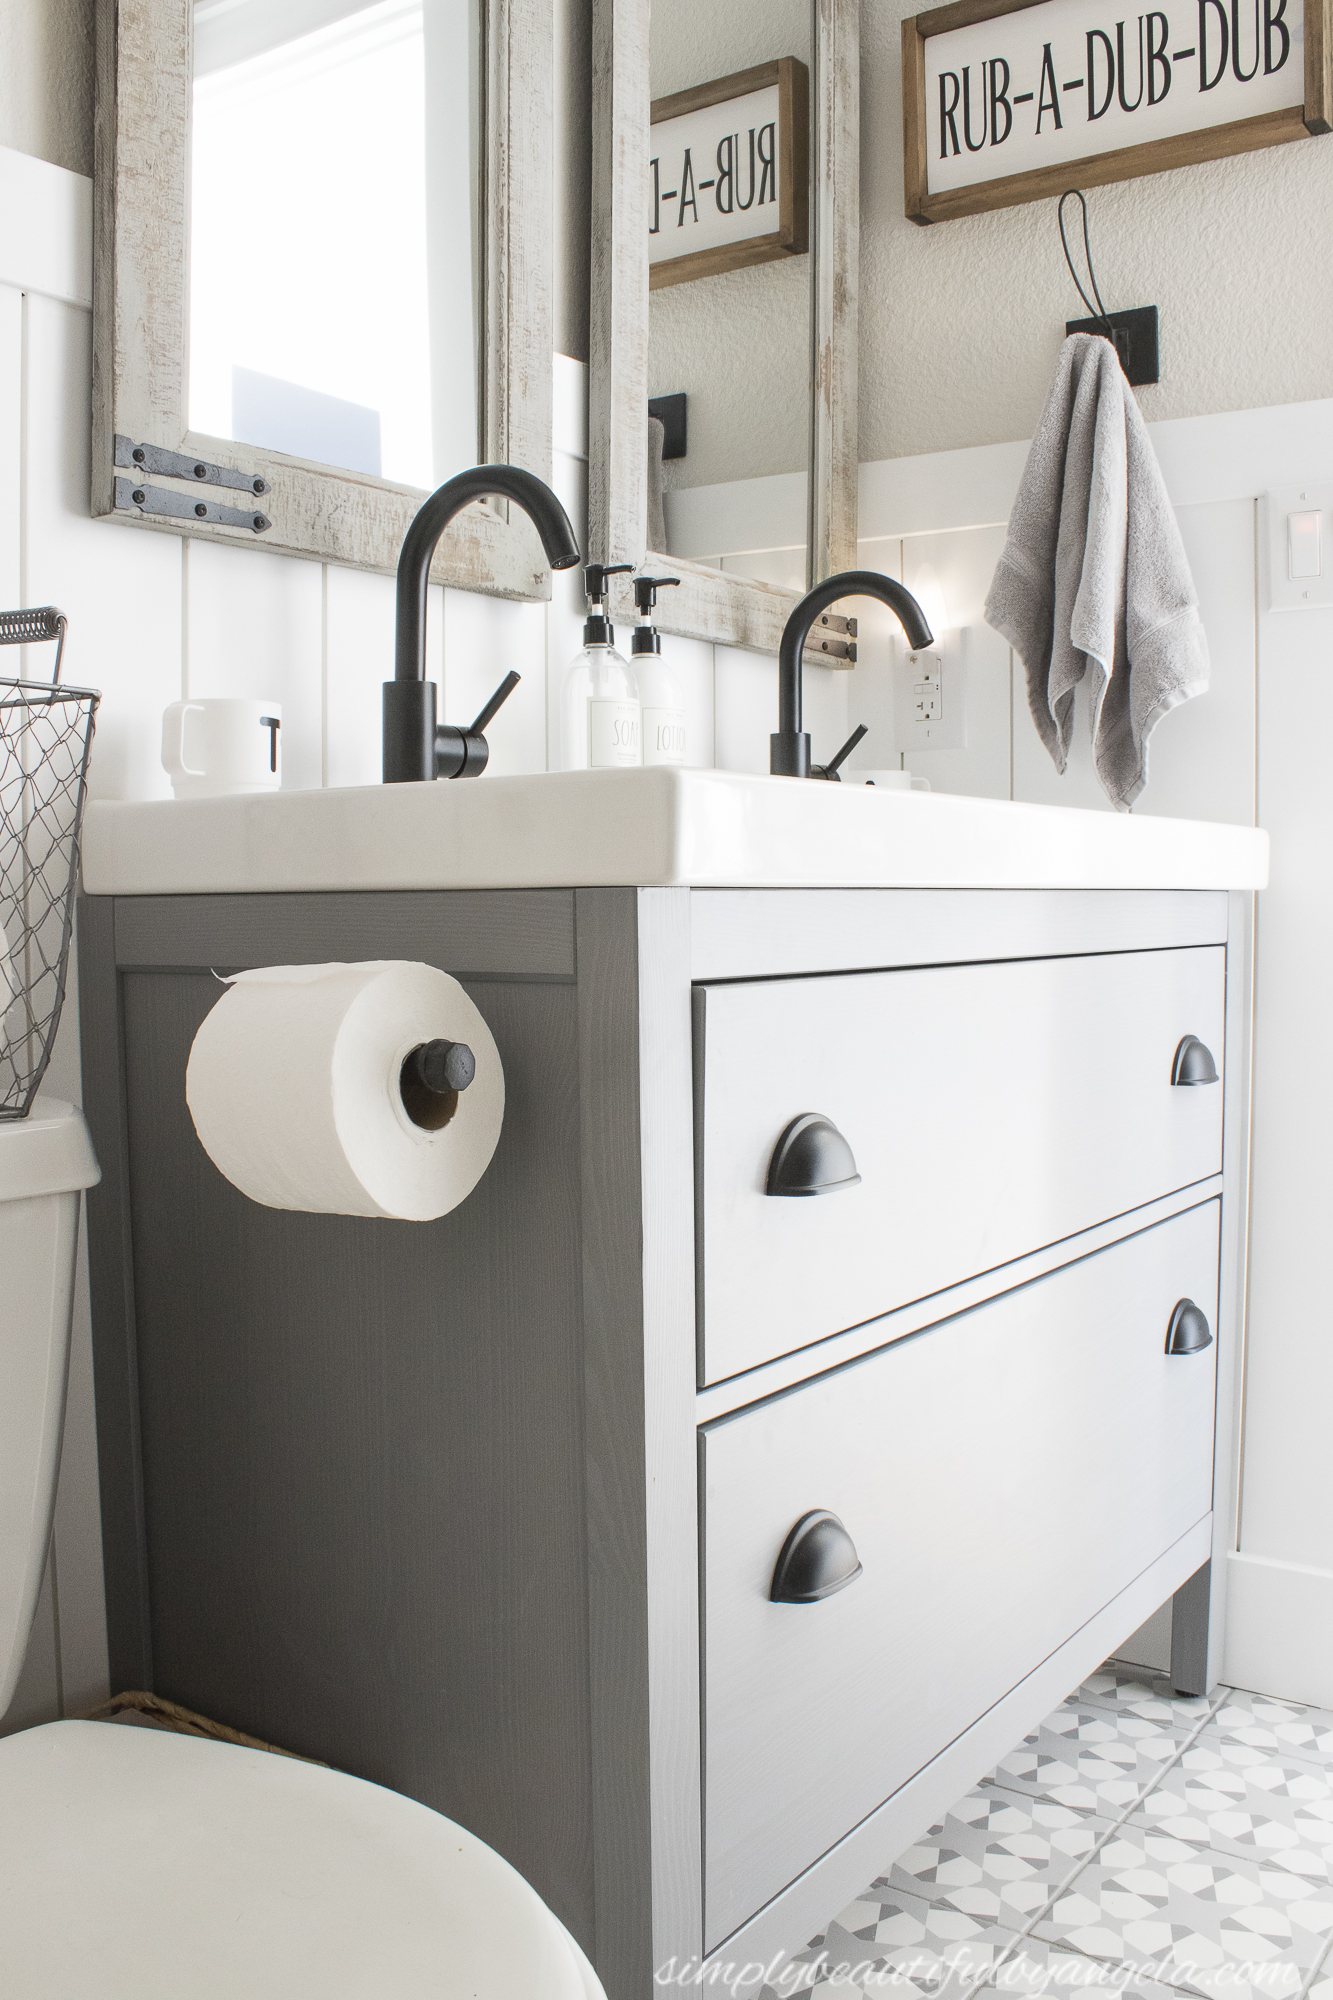
RELATED POSTS: Neutral Kids Bathroom Makeover
Playroom
(Before)
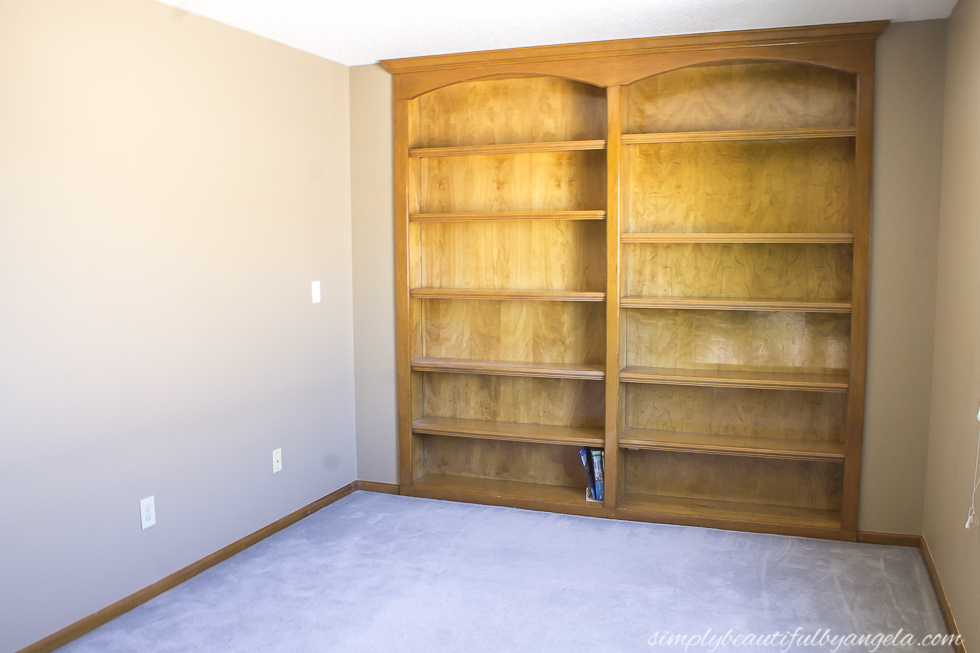
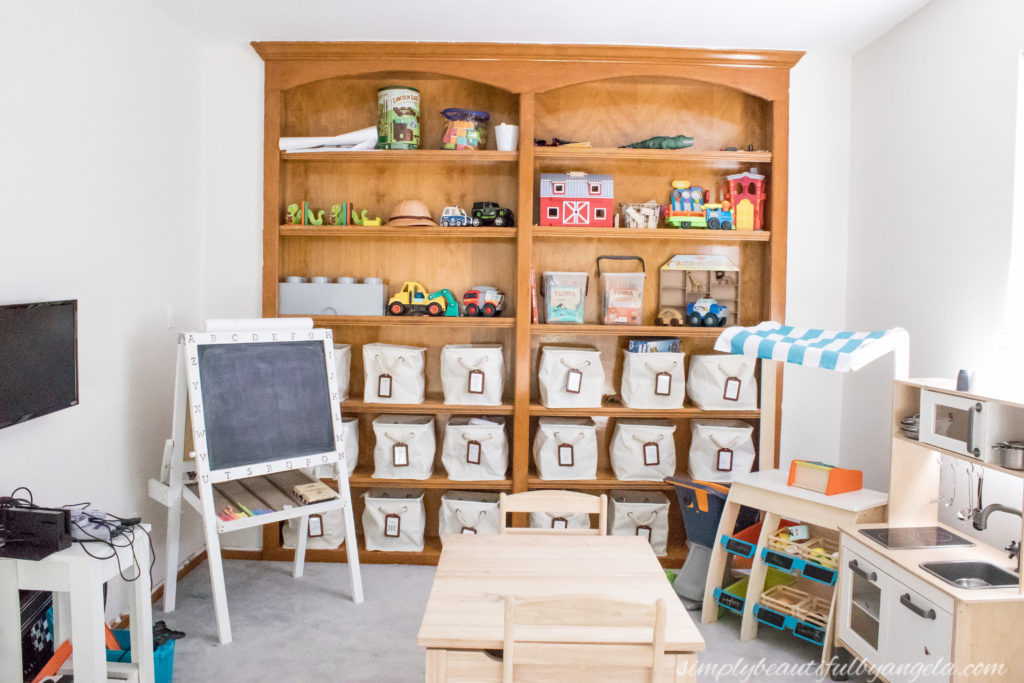
When we first looked at this house, we were so excited to see that it had a huge loft area upstairs. The built-in bookcase may not have been our style, but I knew that would be an easy fix.
(After 1 Year)
During the 1st year I didn’t do anything besides paint the walls. It quickly became very overrun with toys and although I had it cleaned up for this picture, it was usual total chaos in here!
(Today)
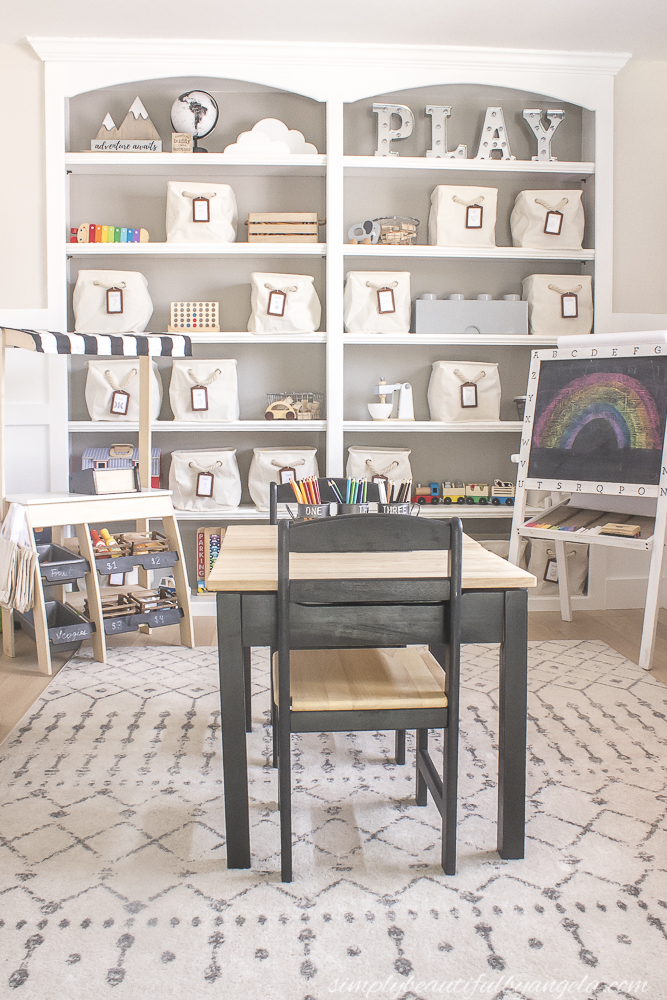
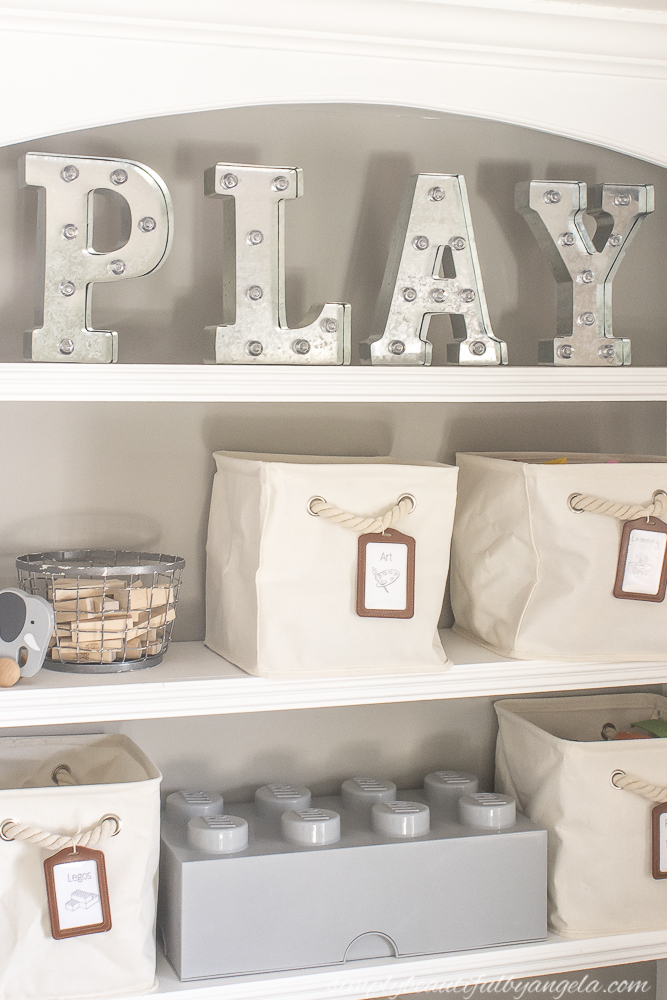
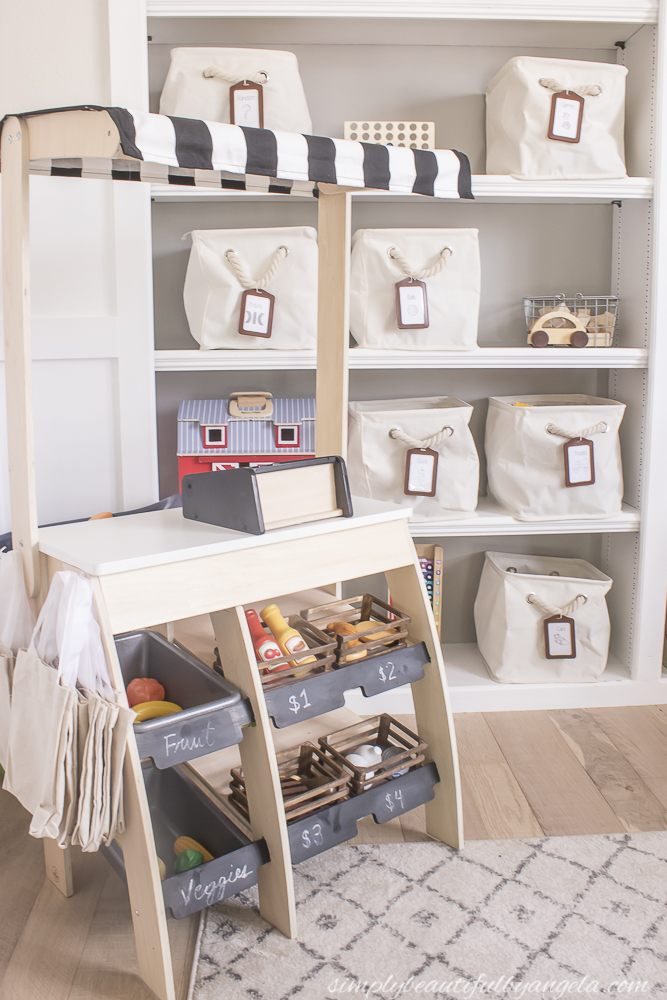
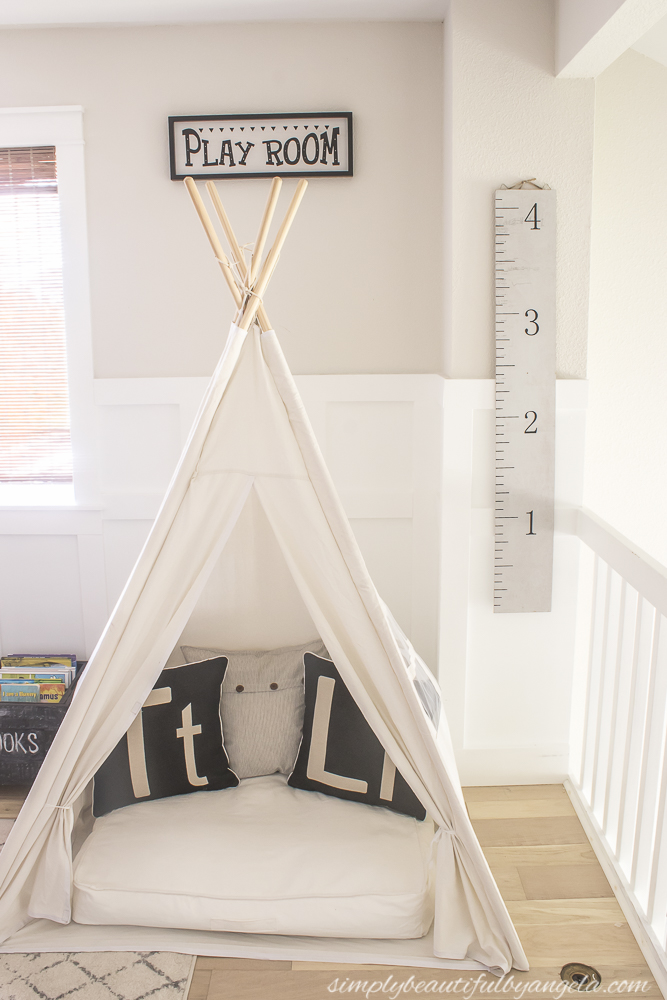
I gave this room a makeover as part of the One Room Challenge and the full reveal can be found here. Now this space is a fun area to let their imaginations run wild, all while keeping some sort of order since everything has a place to be put away at the end of the day.
RELATED POSTS: Neutral Farmhouse Playroom Reveal